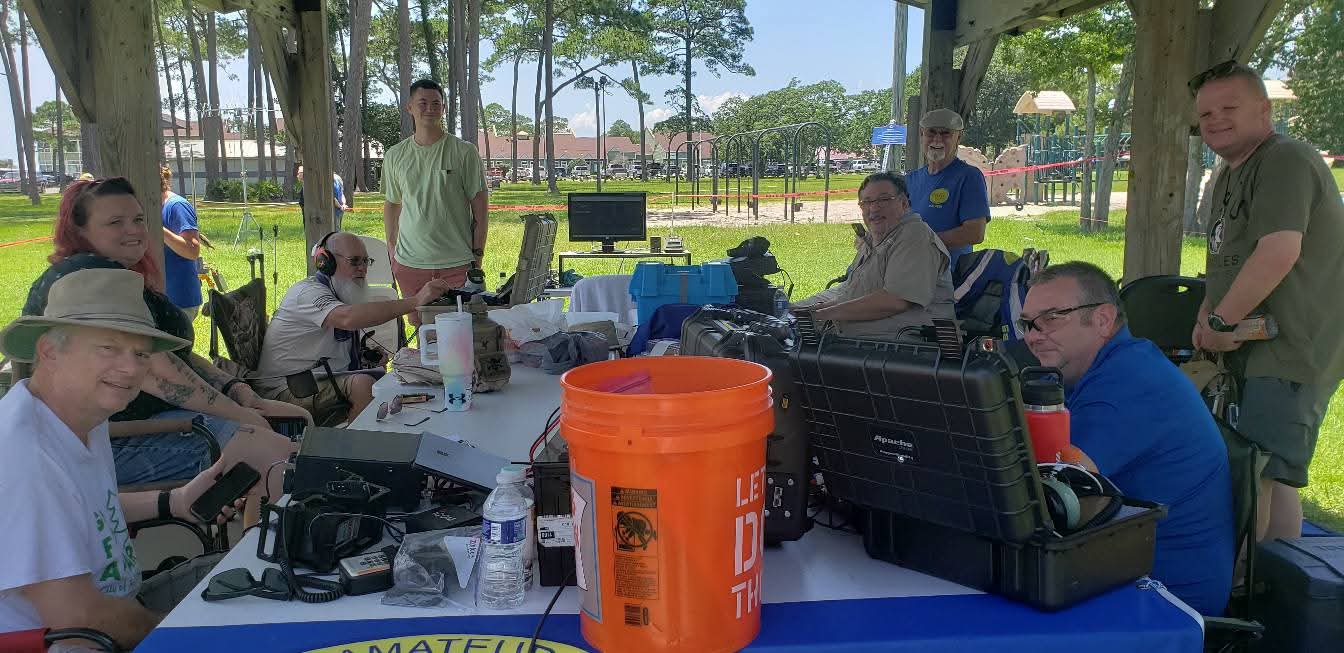
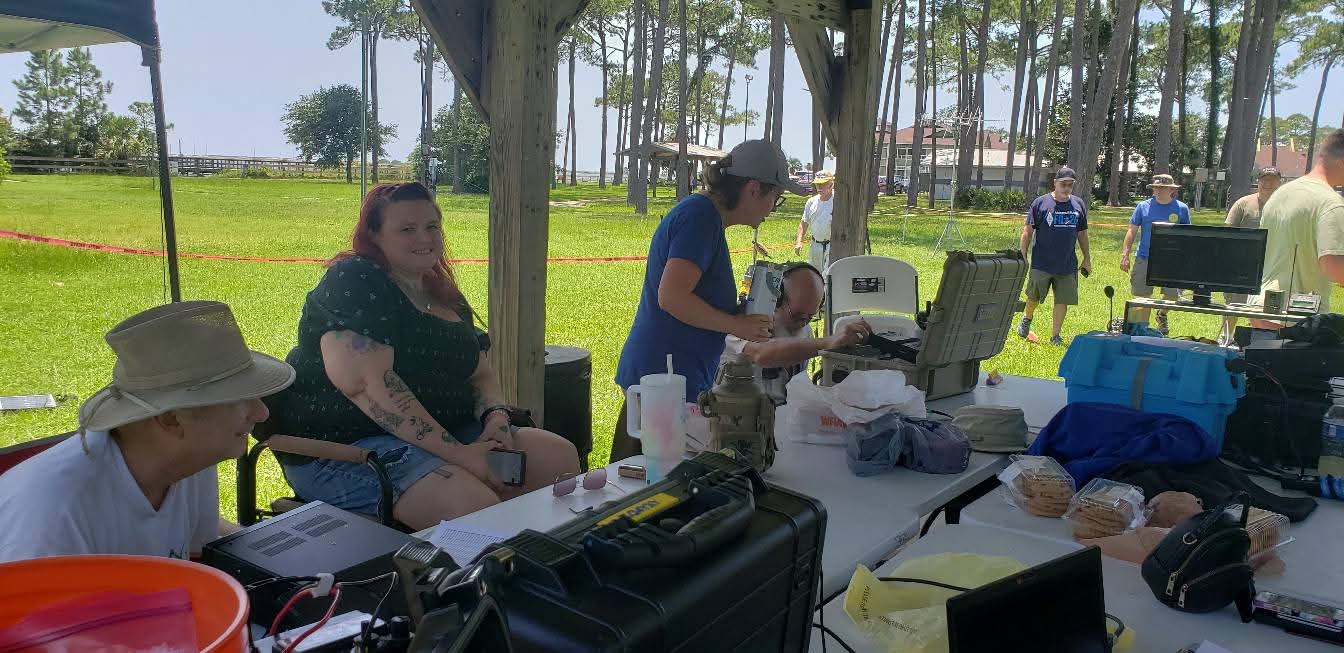
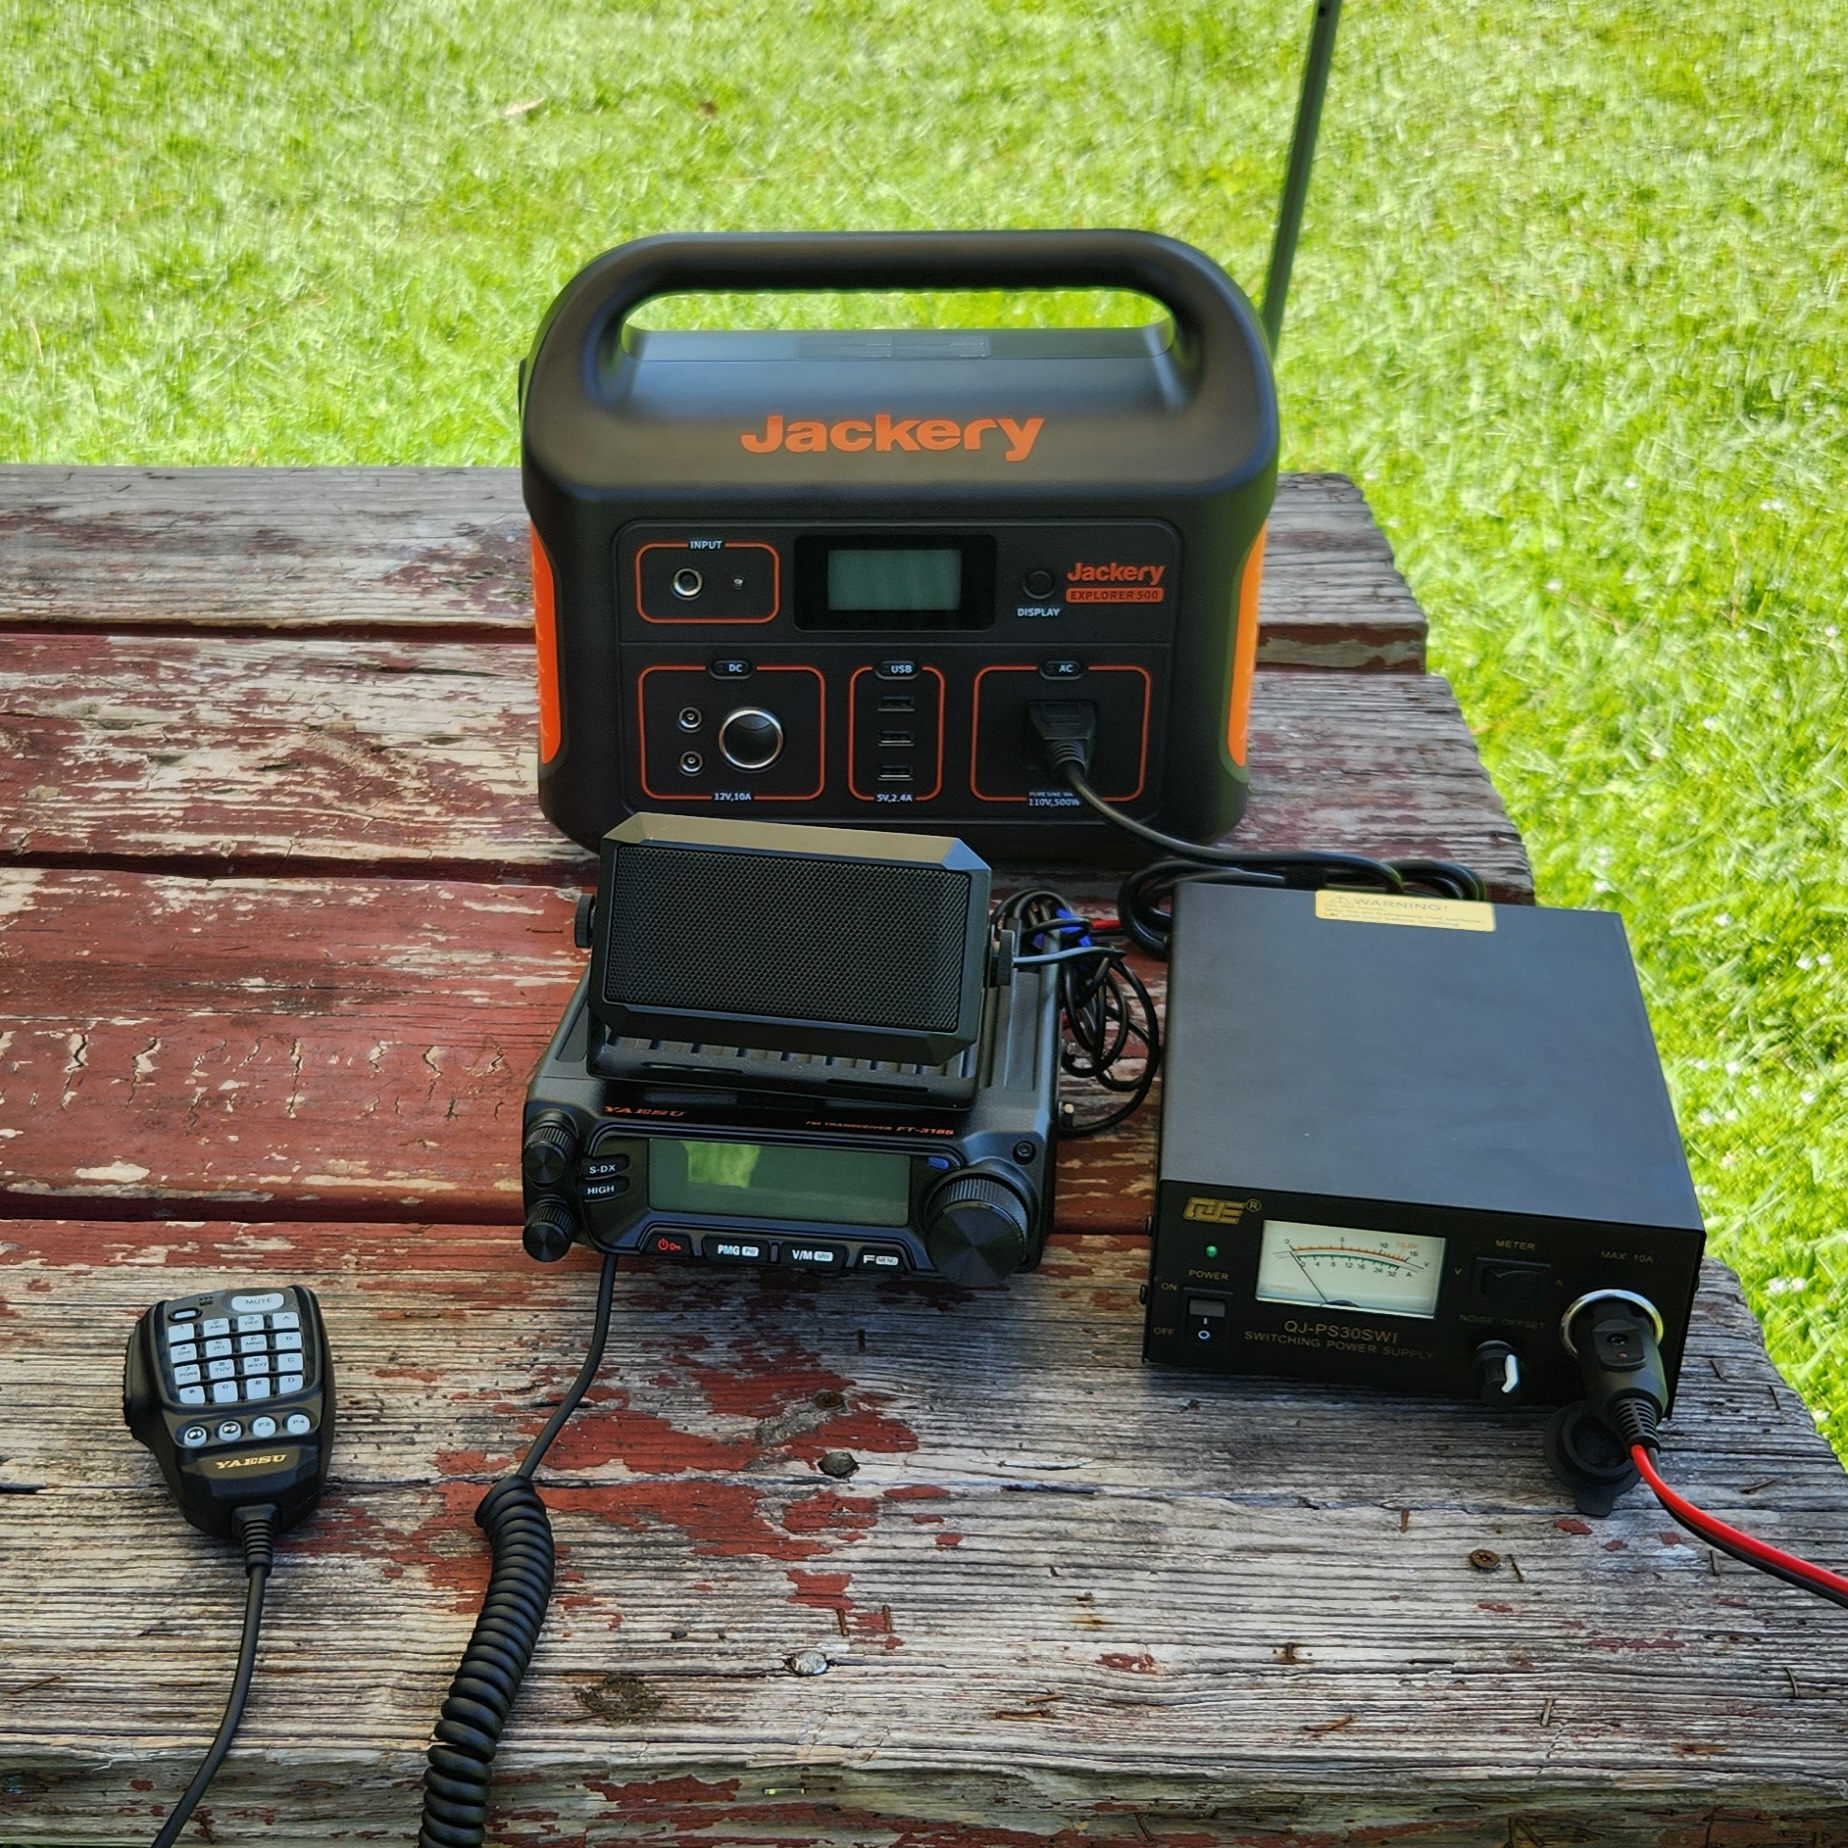
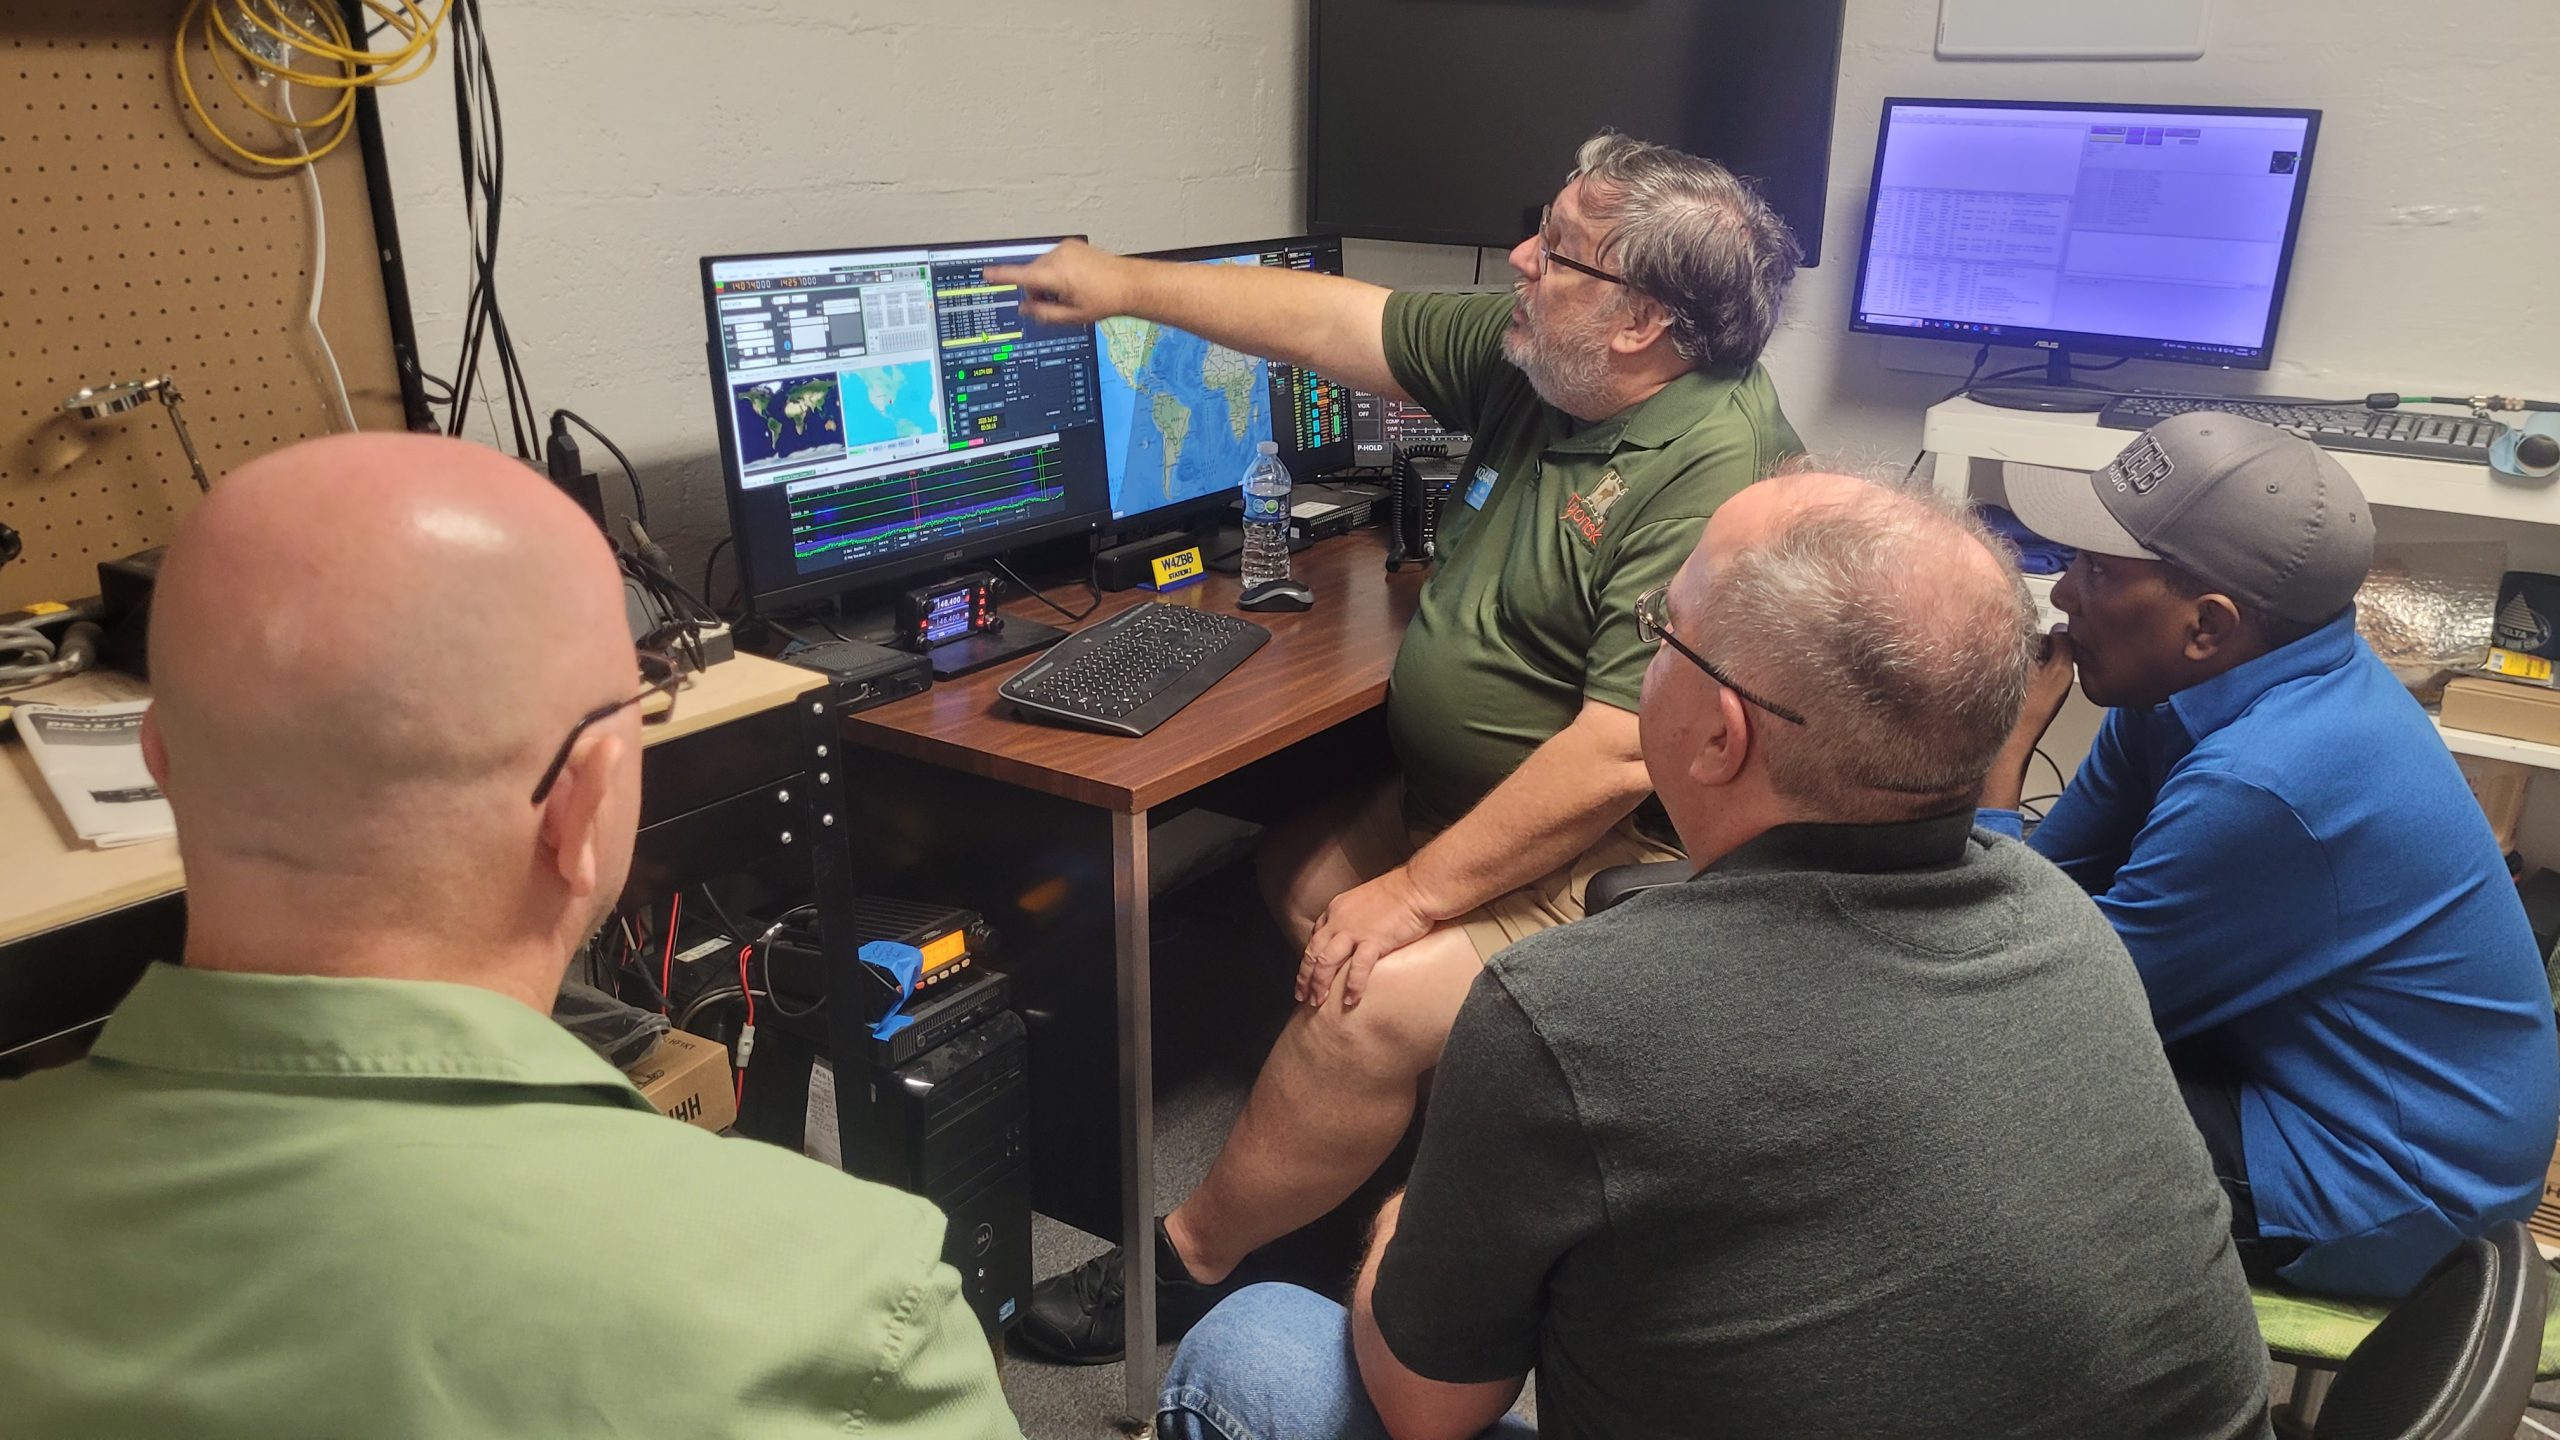
During break at the Playground Amateur Radio Club General Class we took some time out to show off the Digital Station at the Clubhouse!

During break at the Playground Amateur Radio Club General Class we took some time out to show off the Digital Station at the Clubhouse!
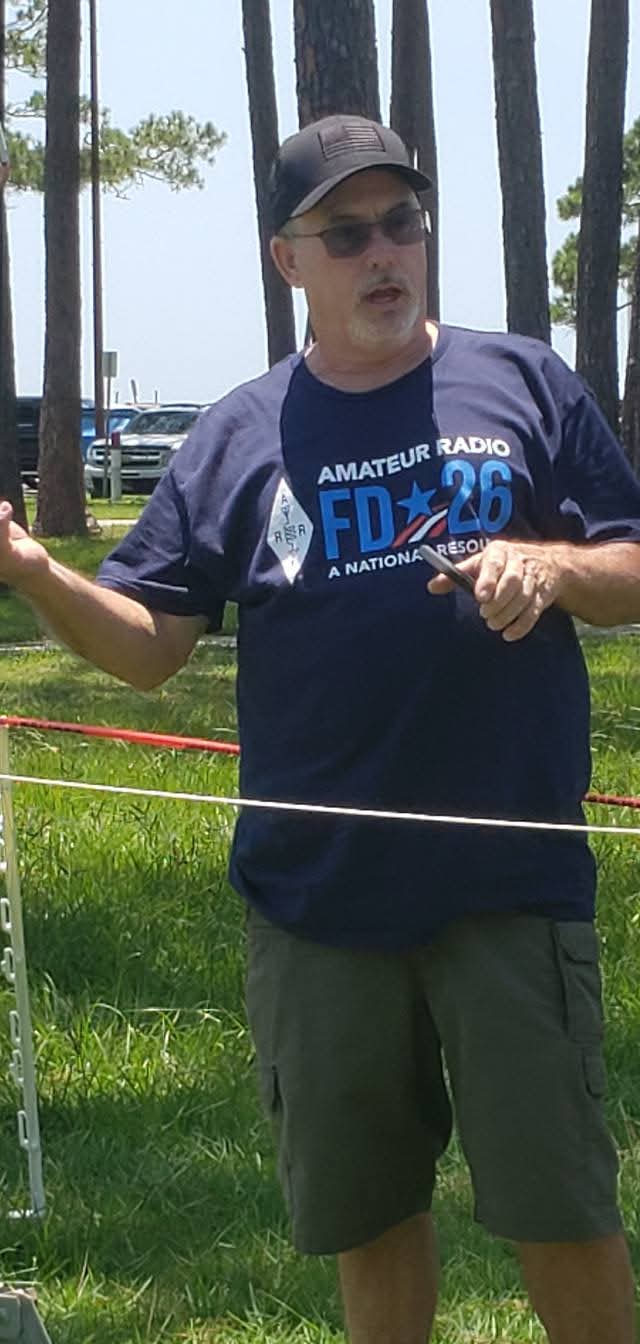
General Class at PARC has the bandwidth! Lessons are being taught and the energy is enthusiastic!
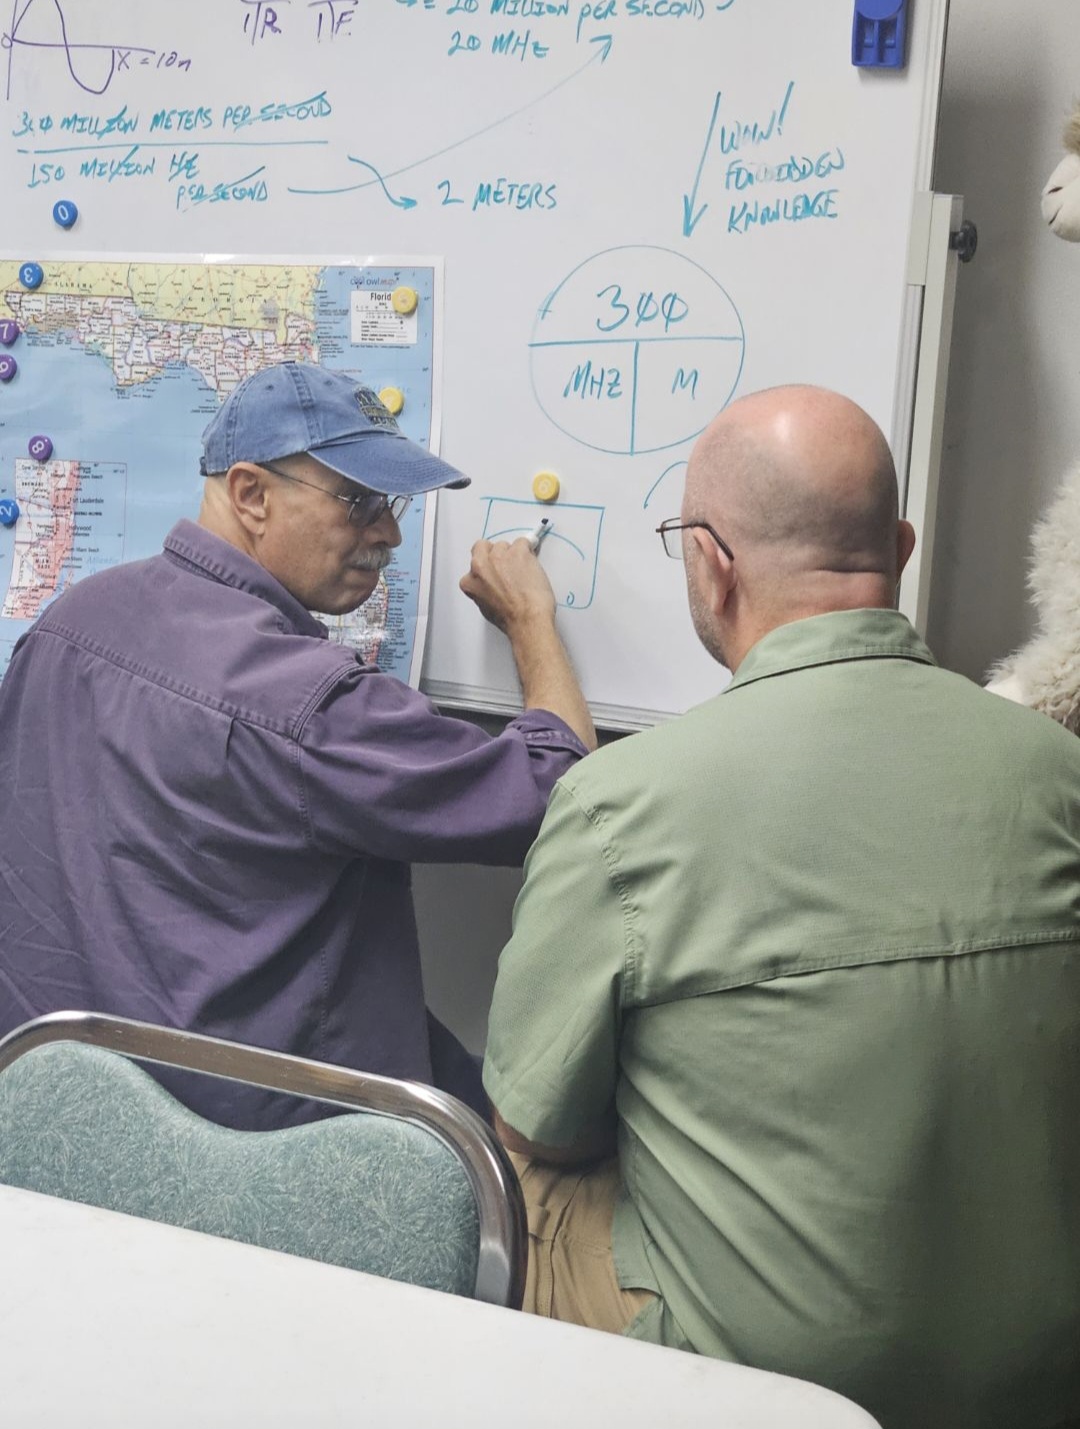
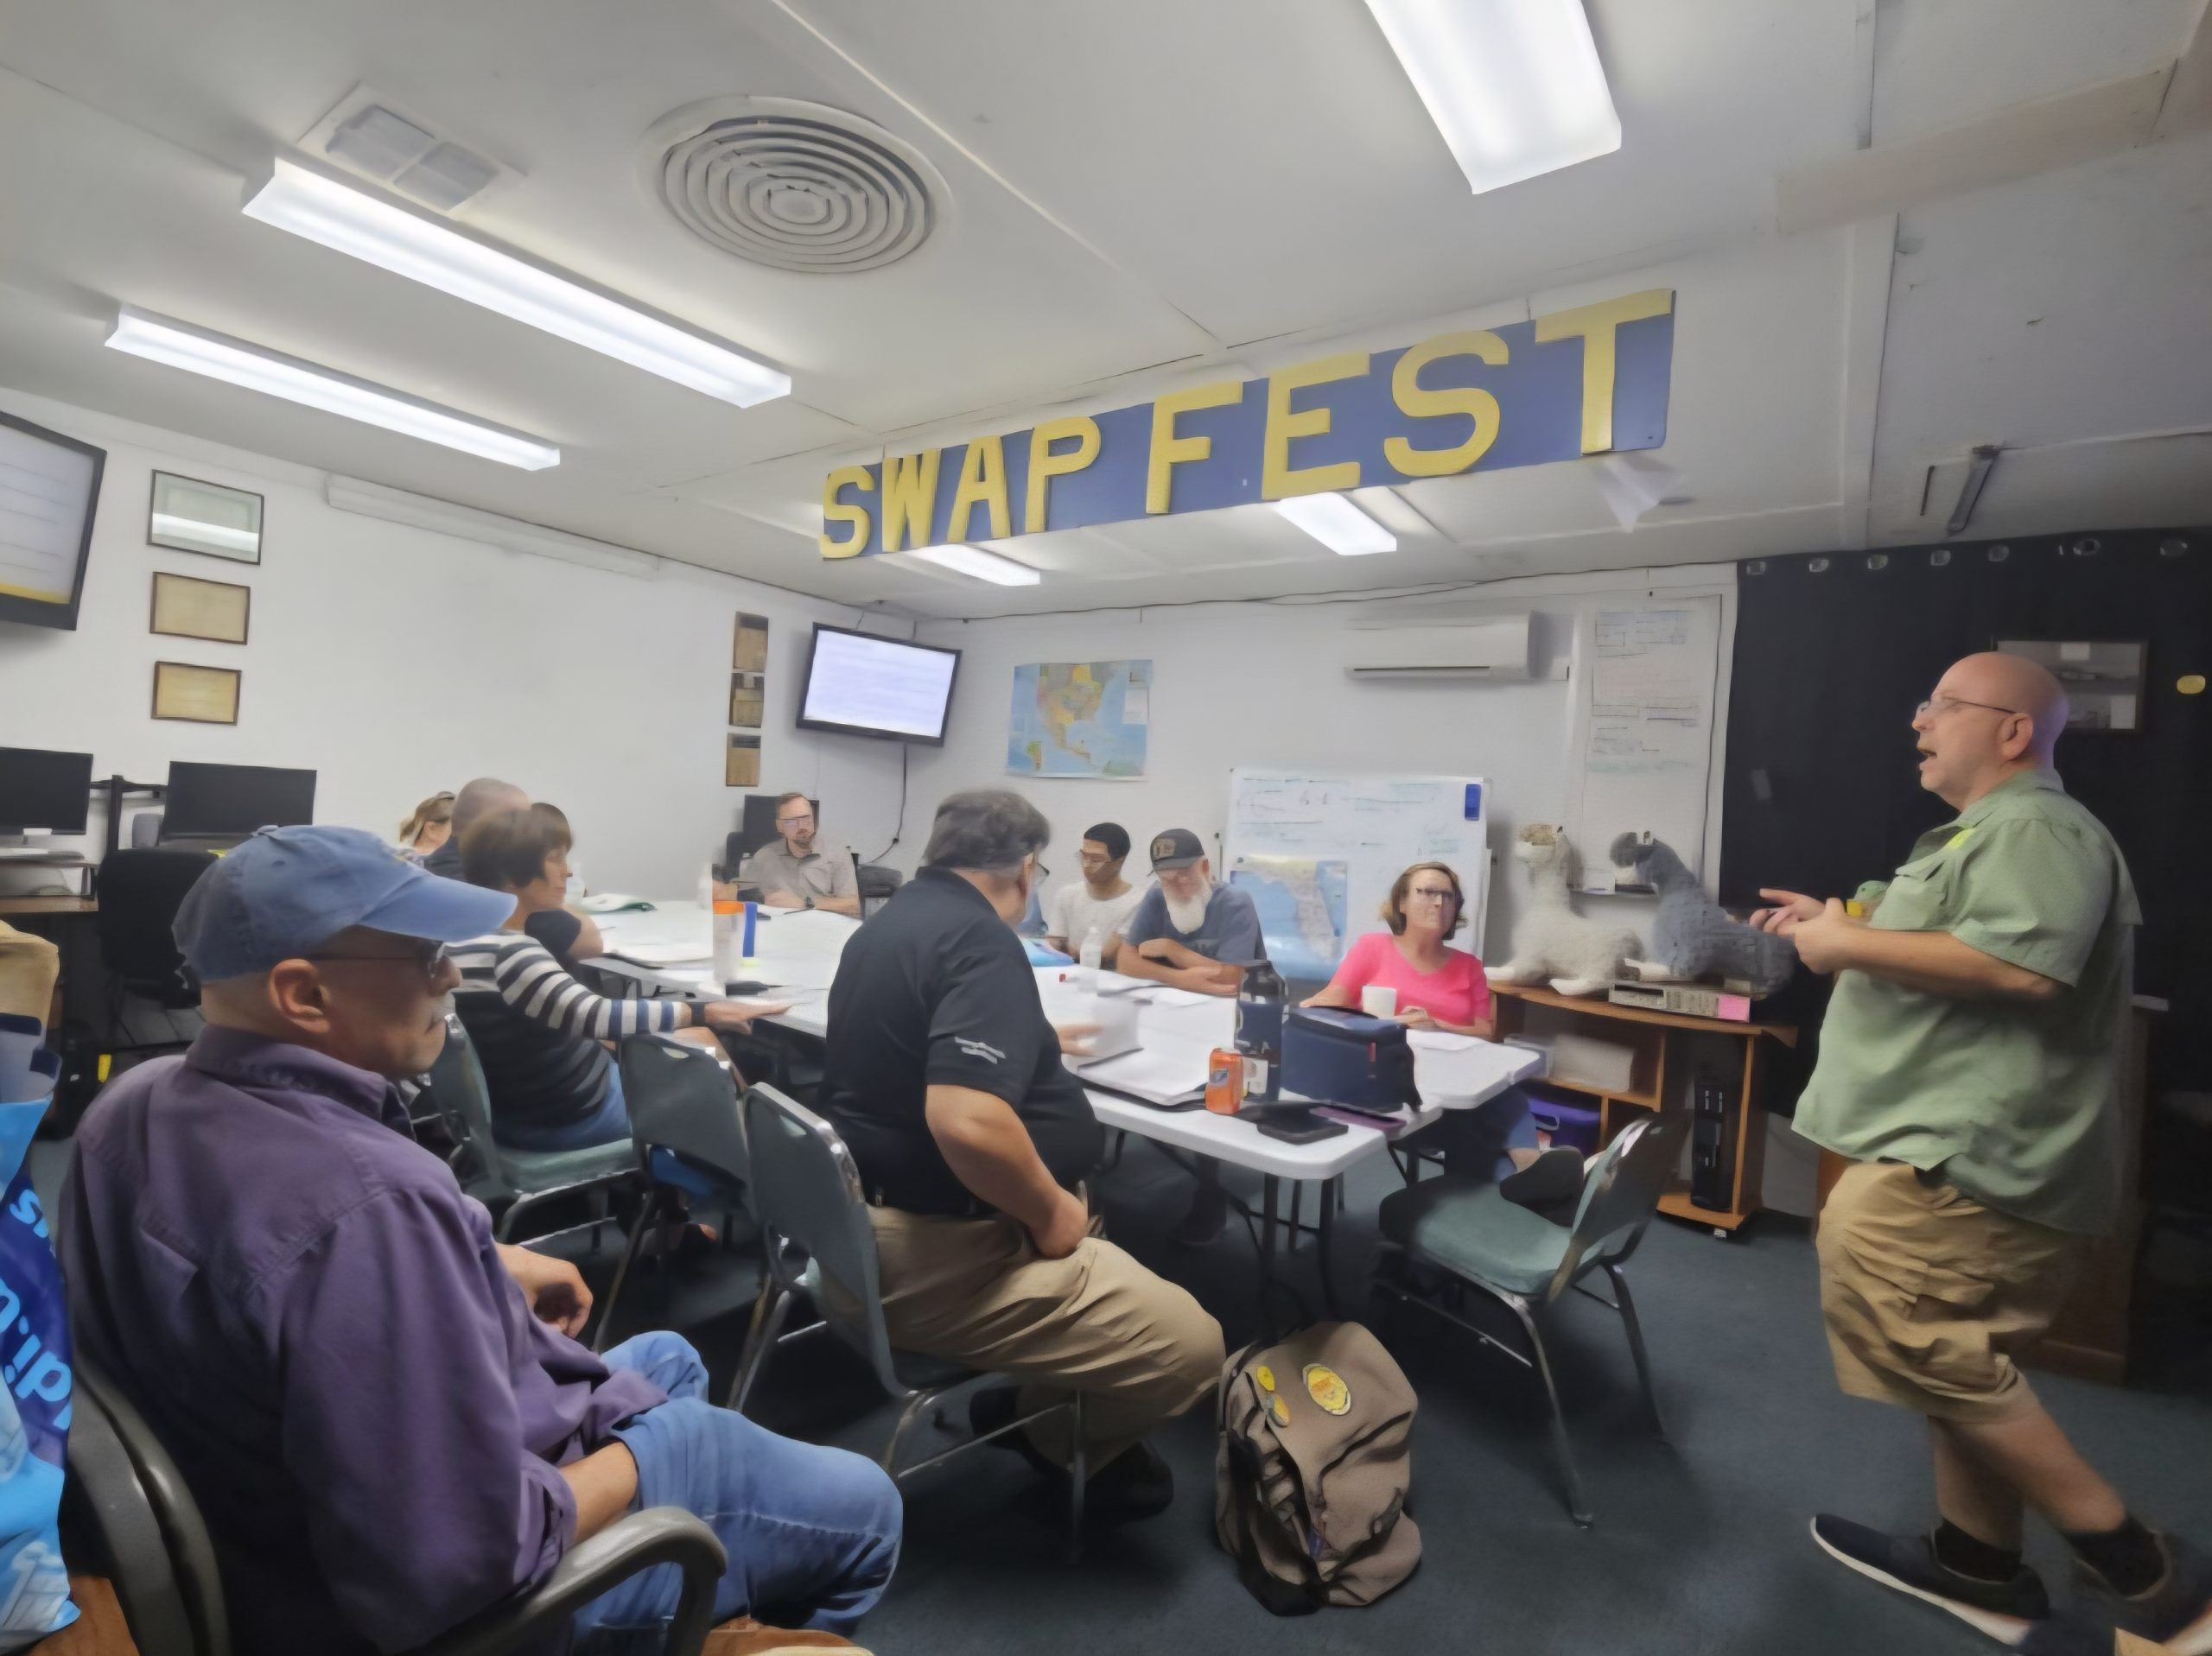
…And Boy Howdy!
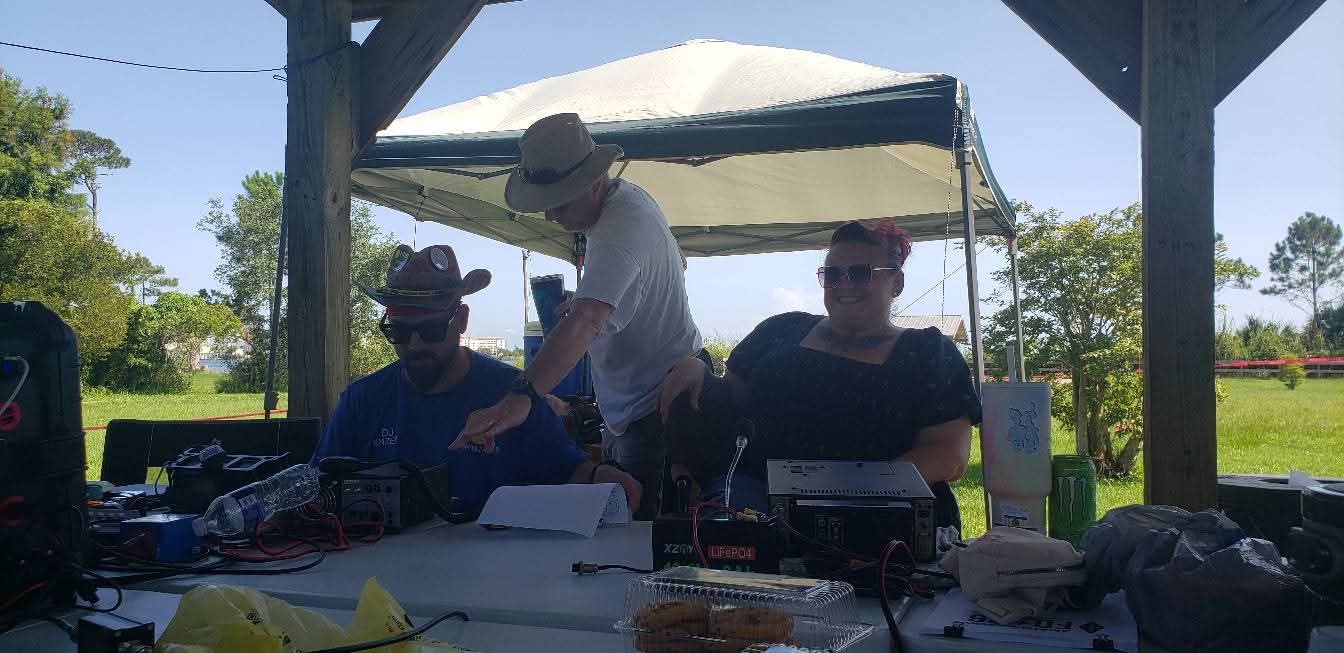
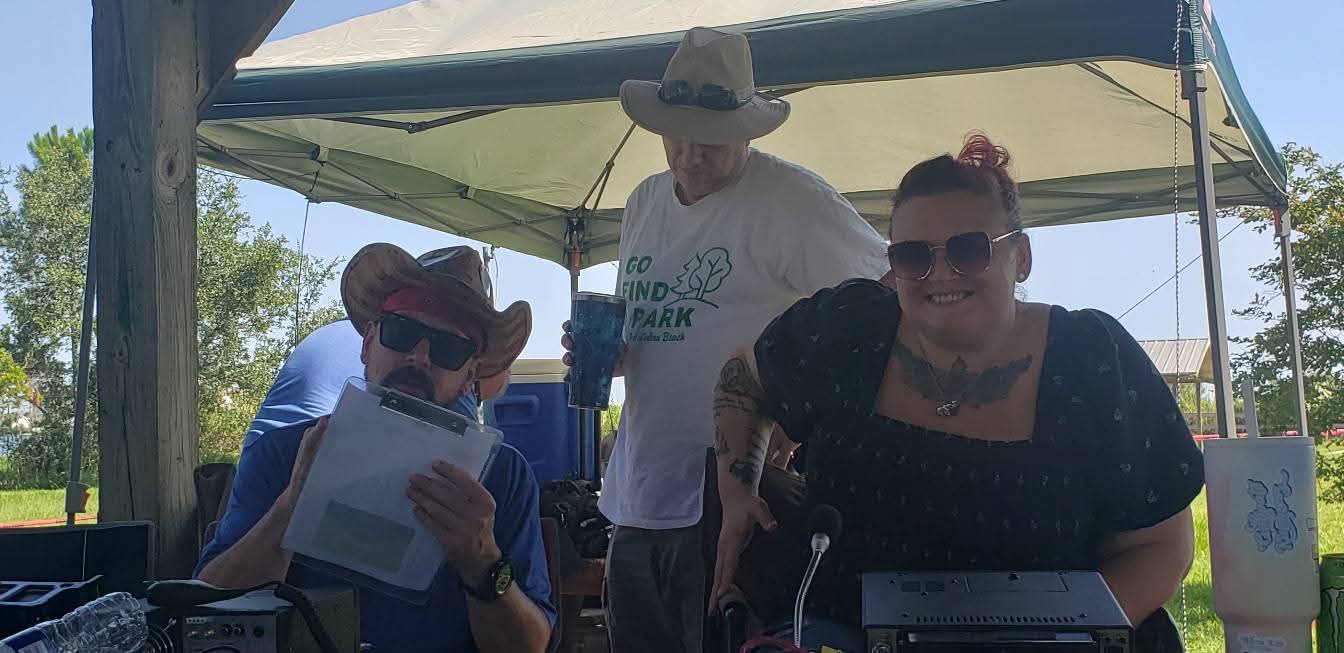
Hope your Sunday is a hamtastic day! PARC started off at the Panhandle United Roller Derby Junior Bombers Market! We demonstrated the ease and use of Amateur Radio while also continuing the public role of representing Amateur Radio!
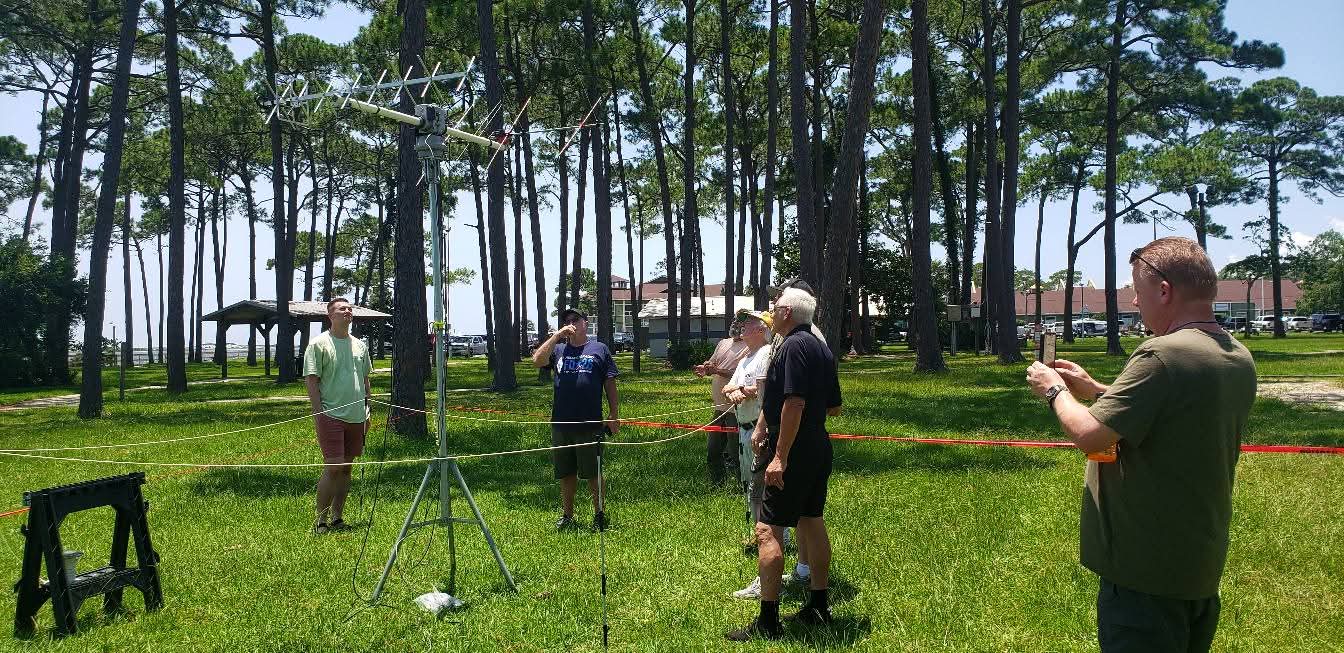
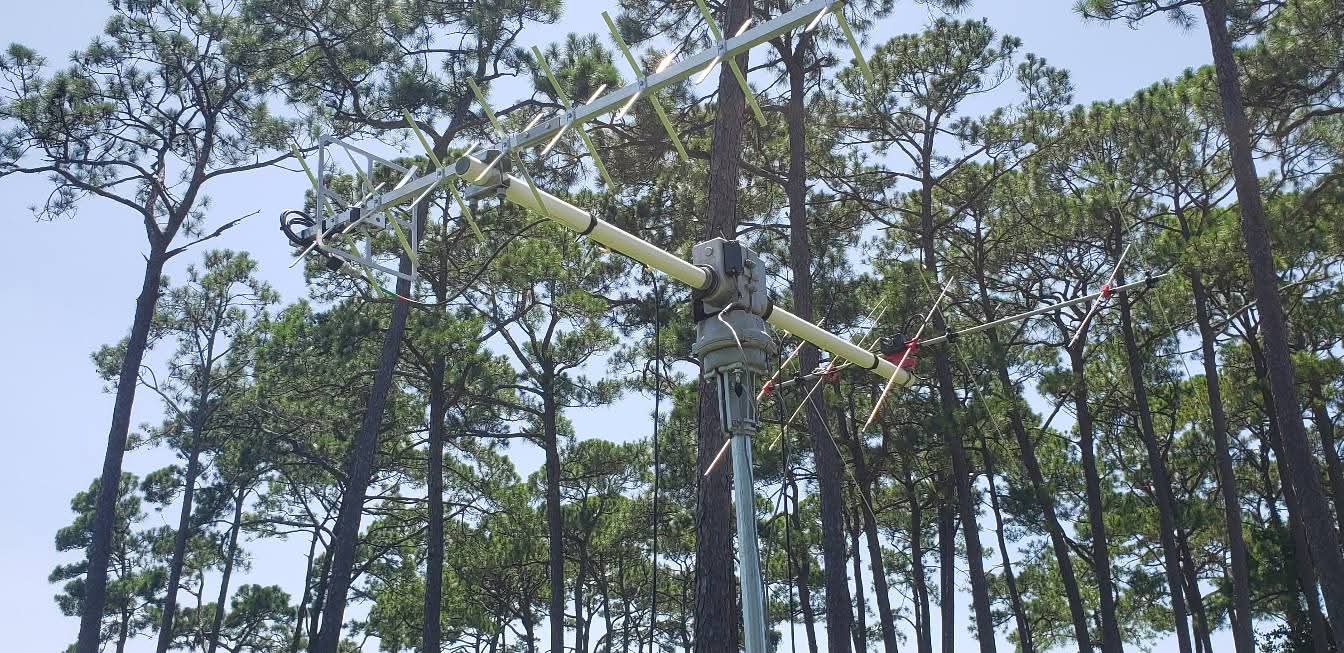
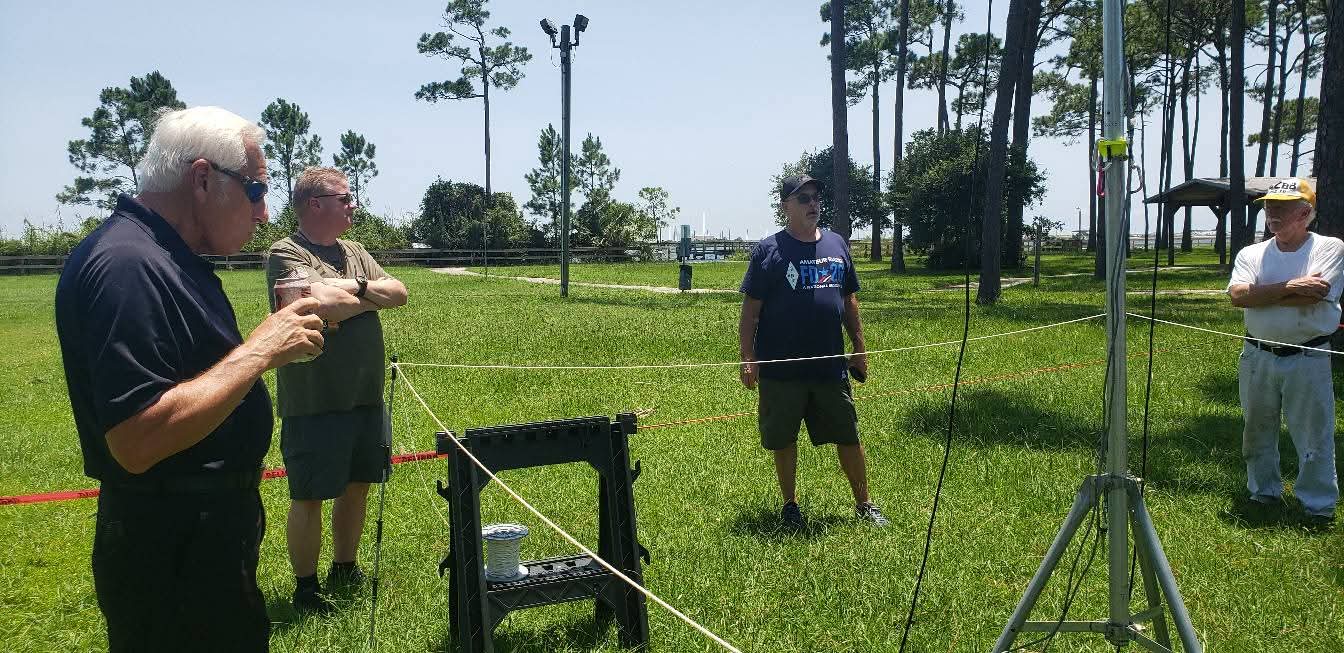
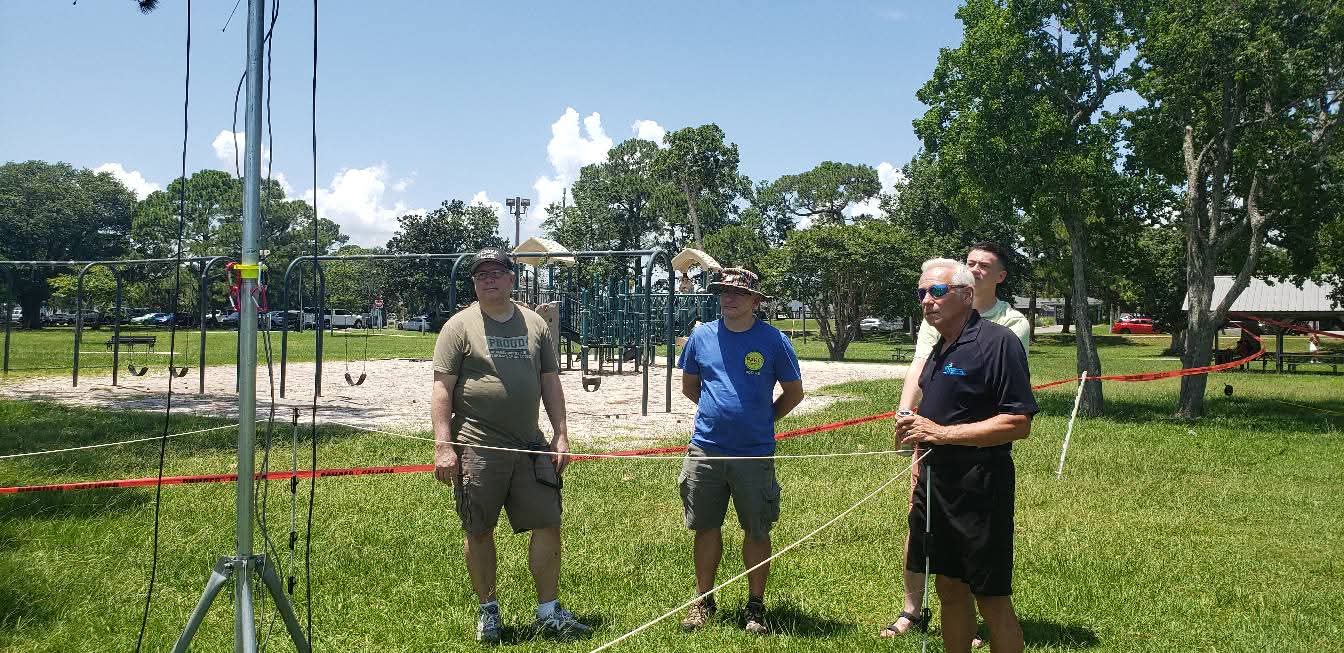
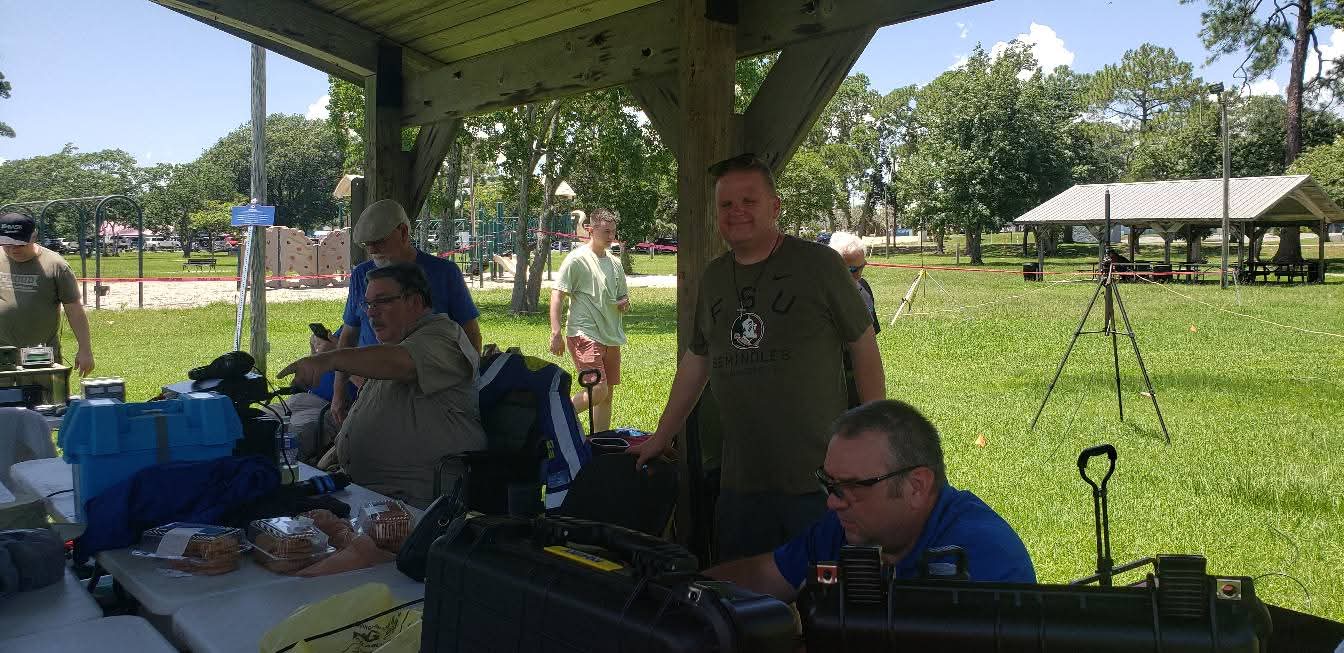
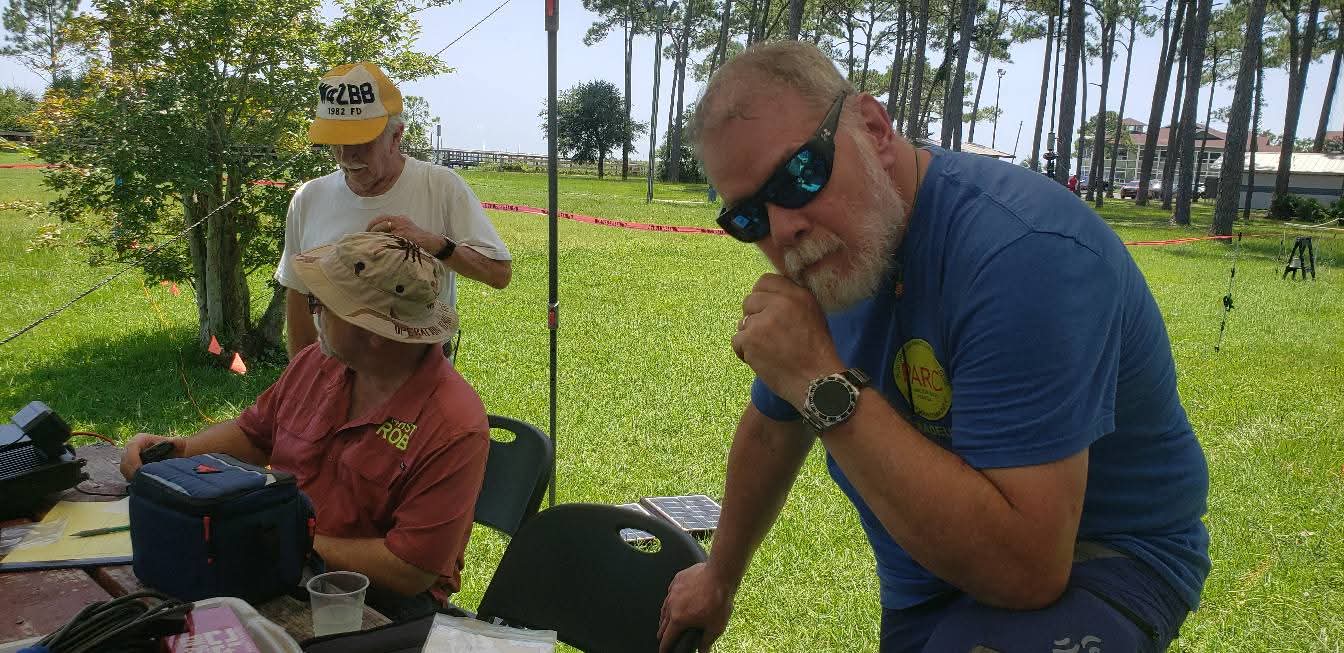
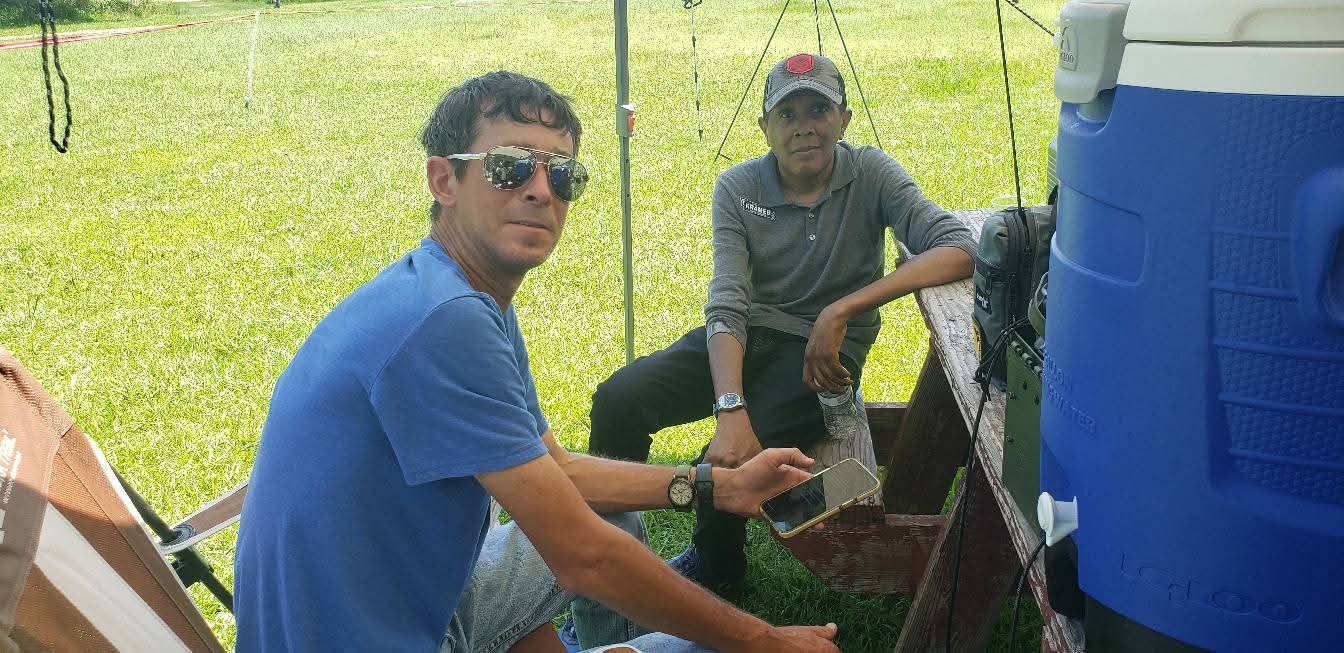
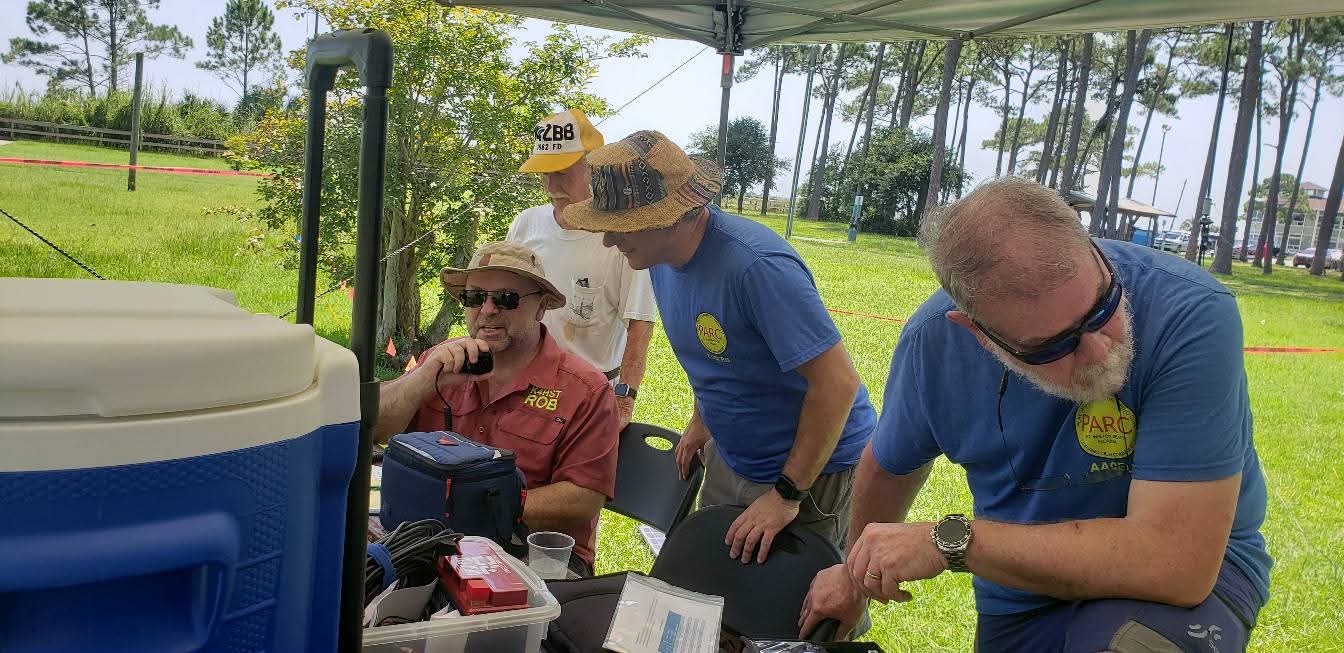
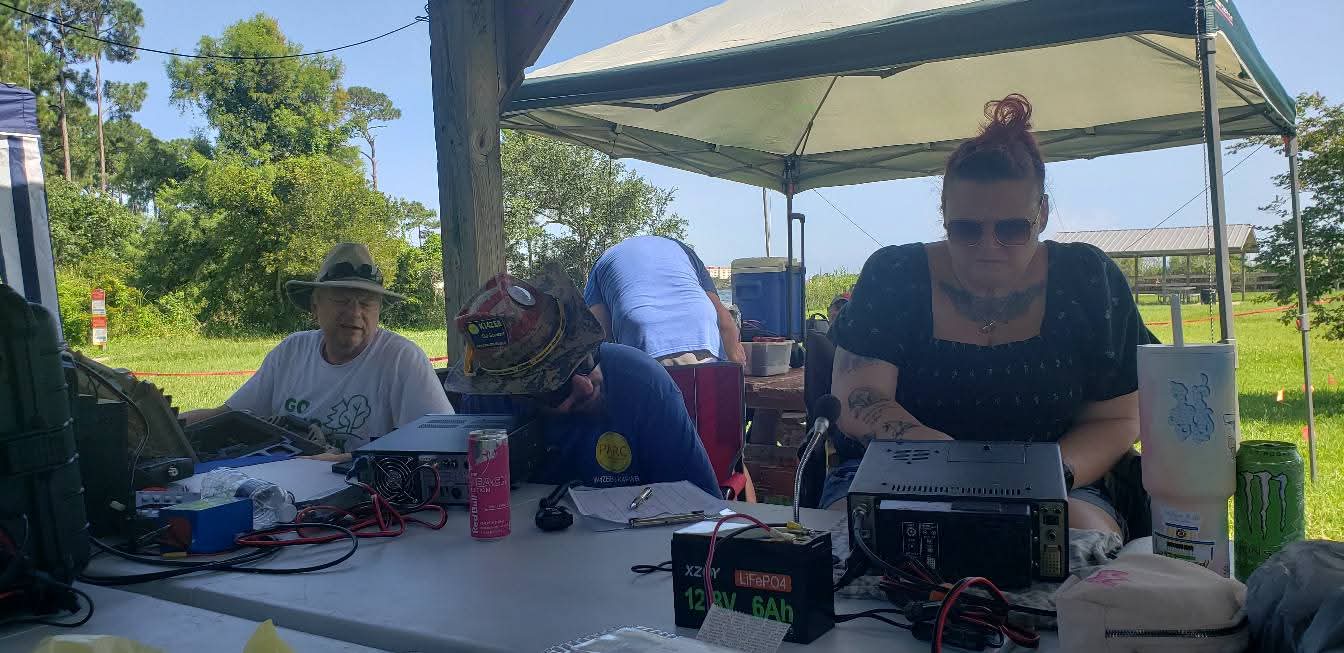
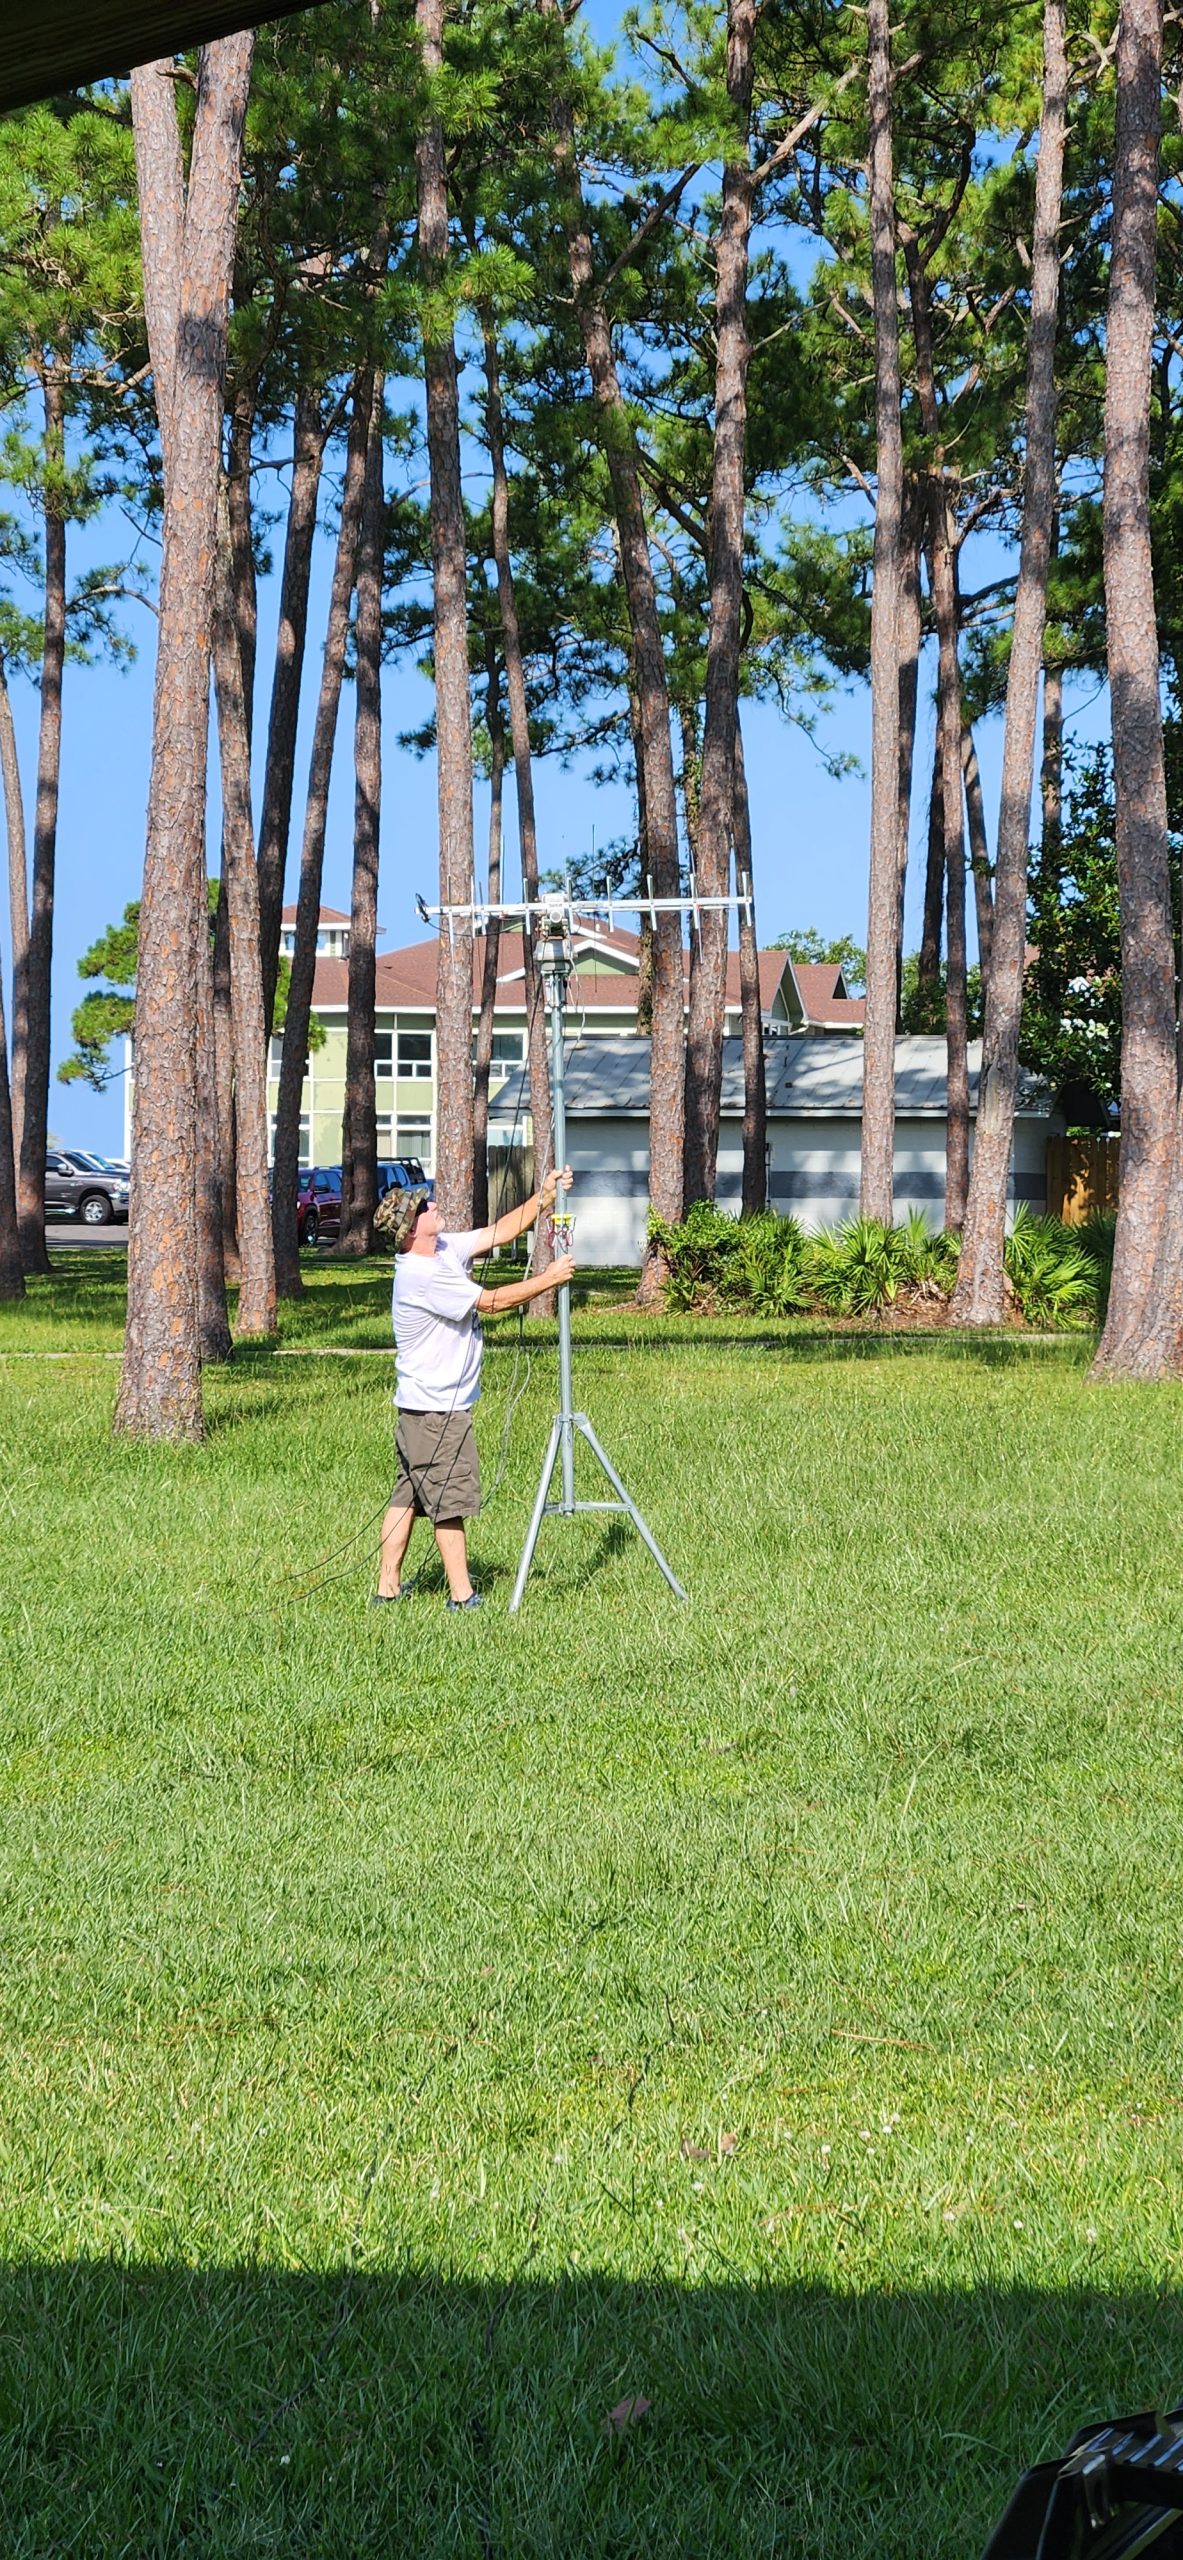
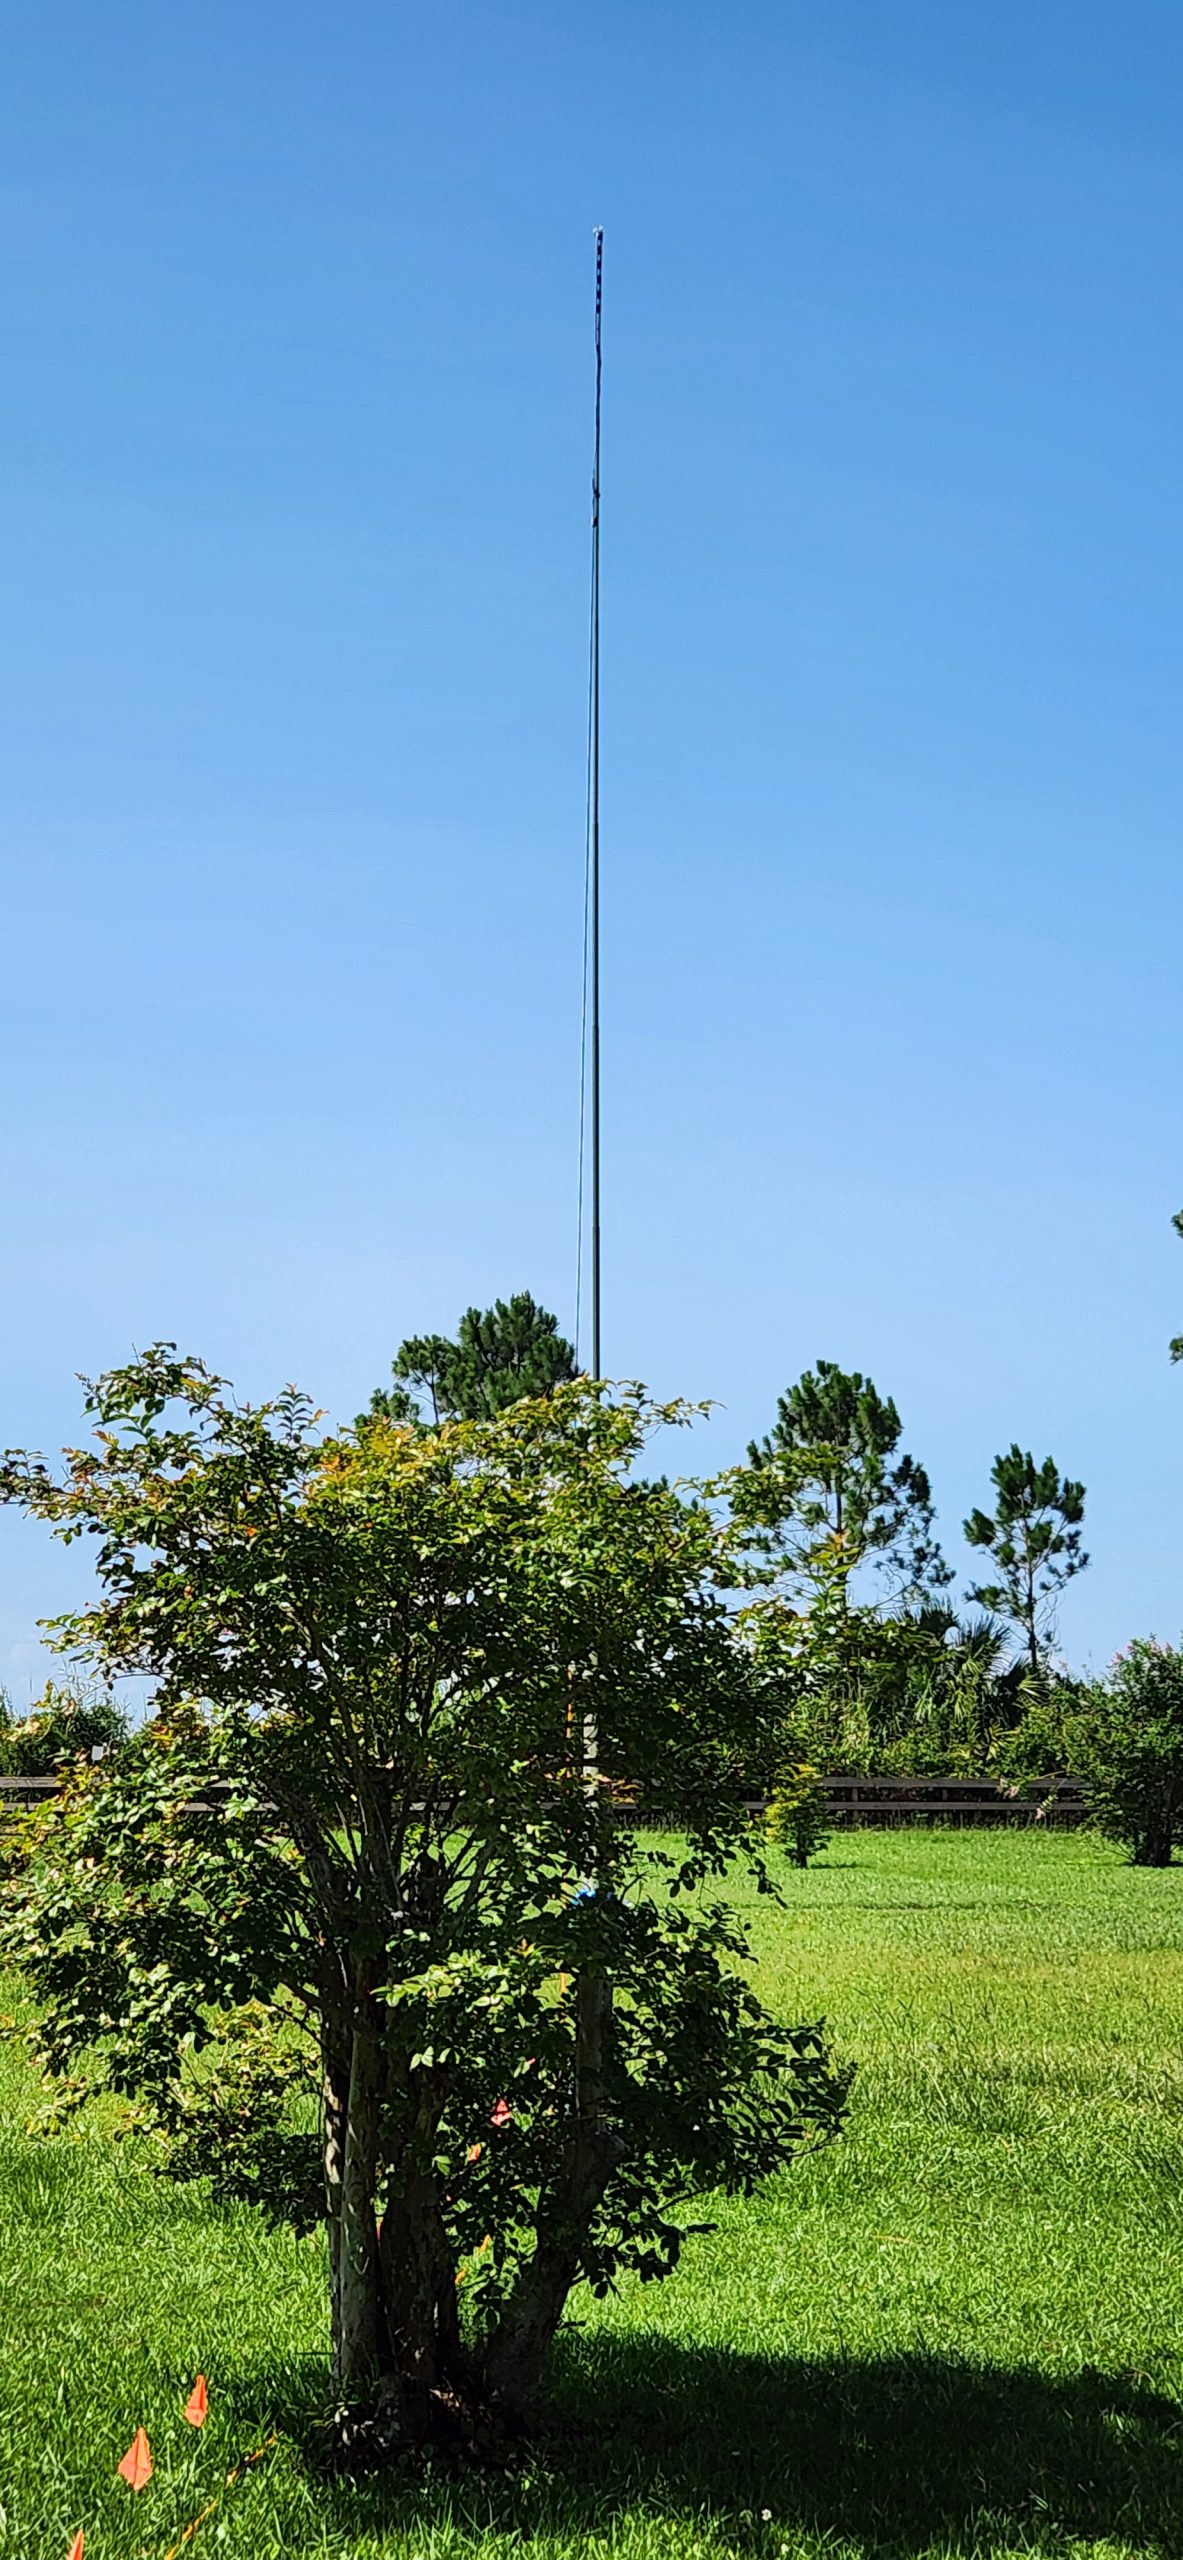
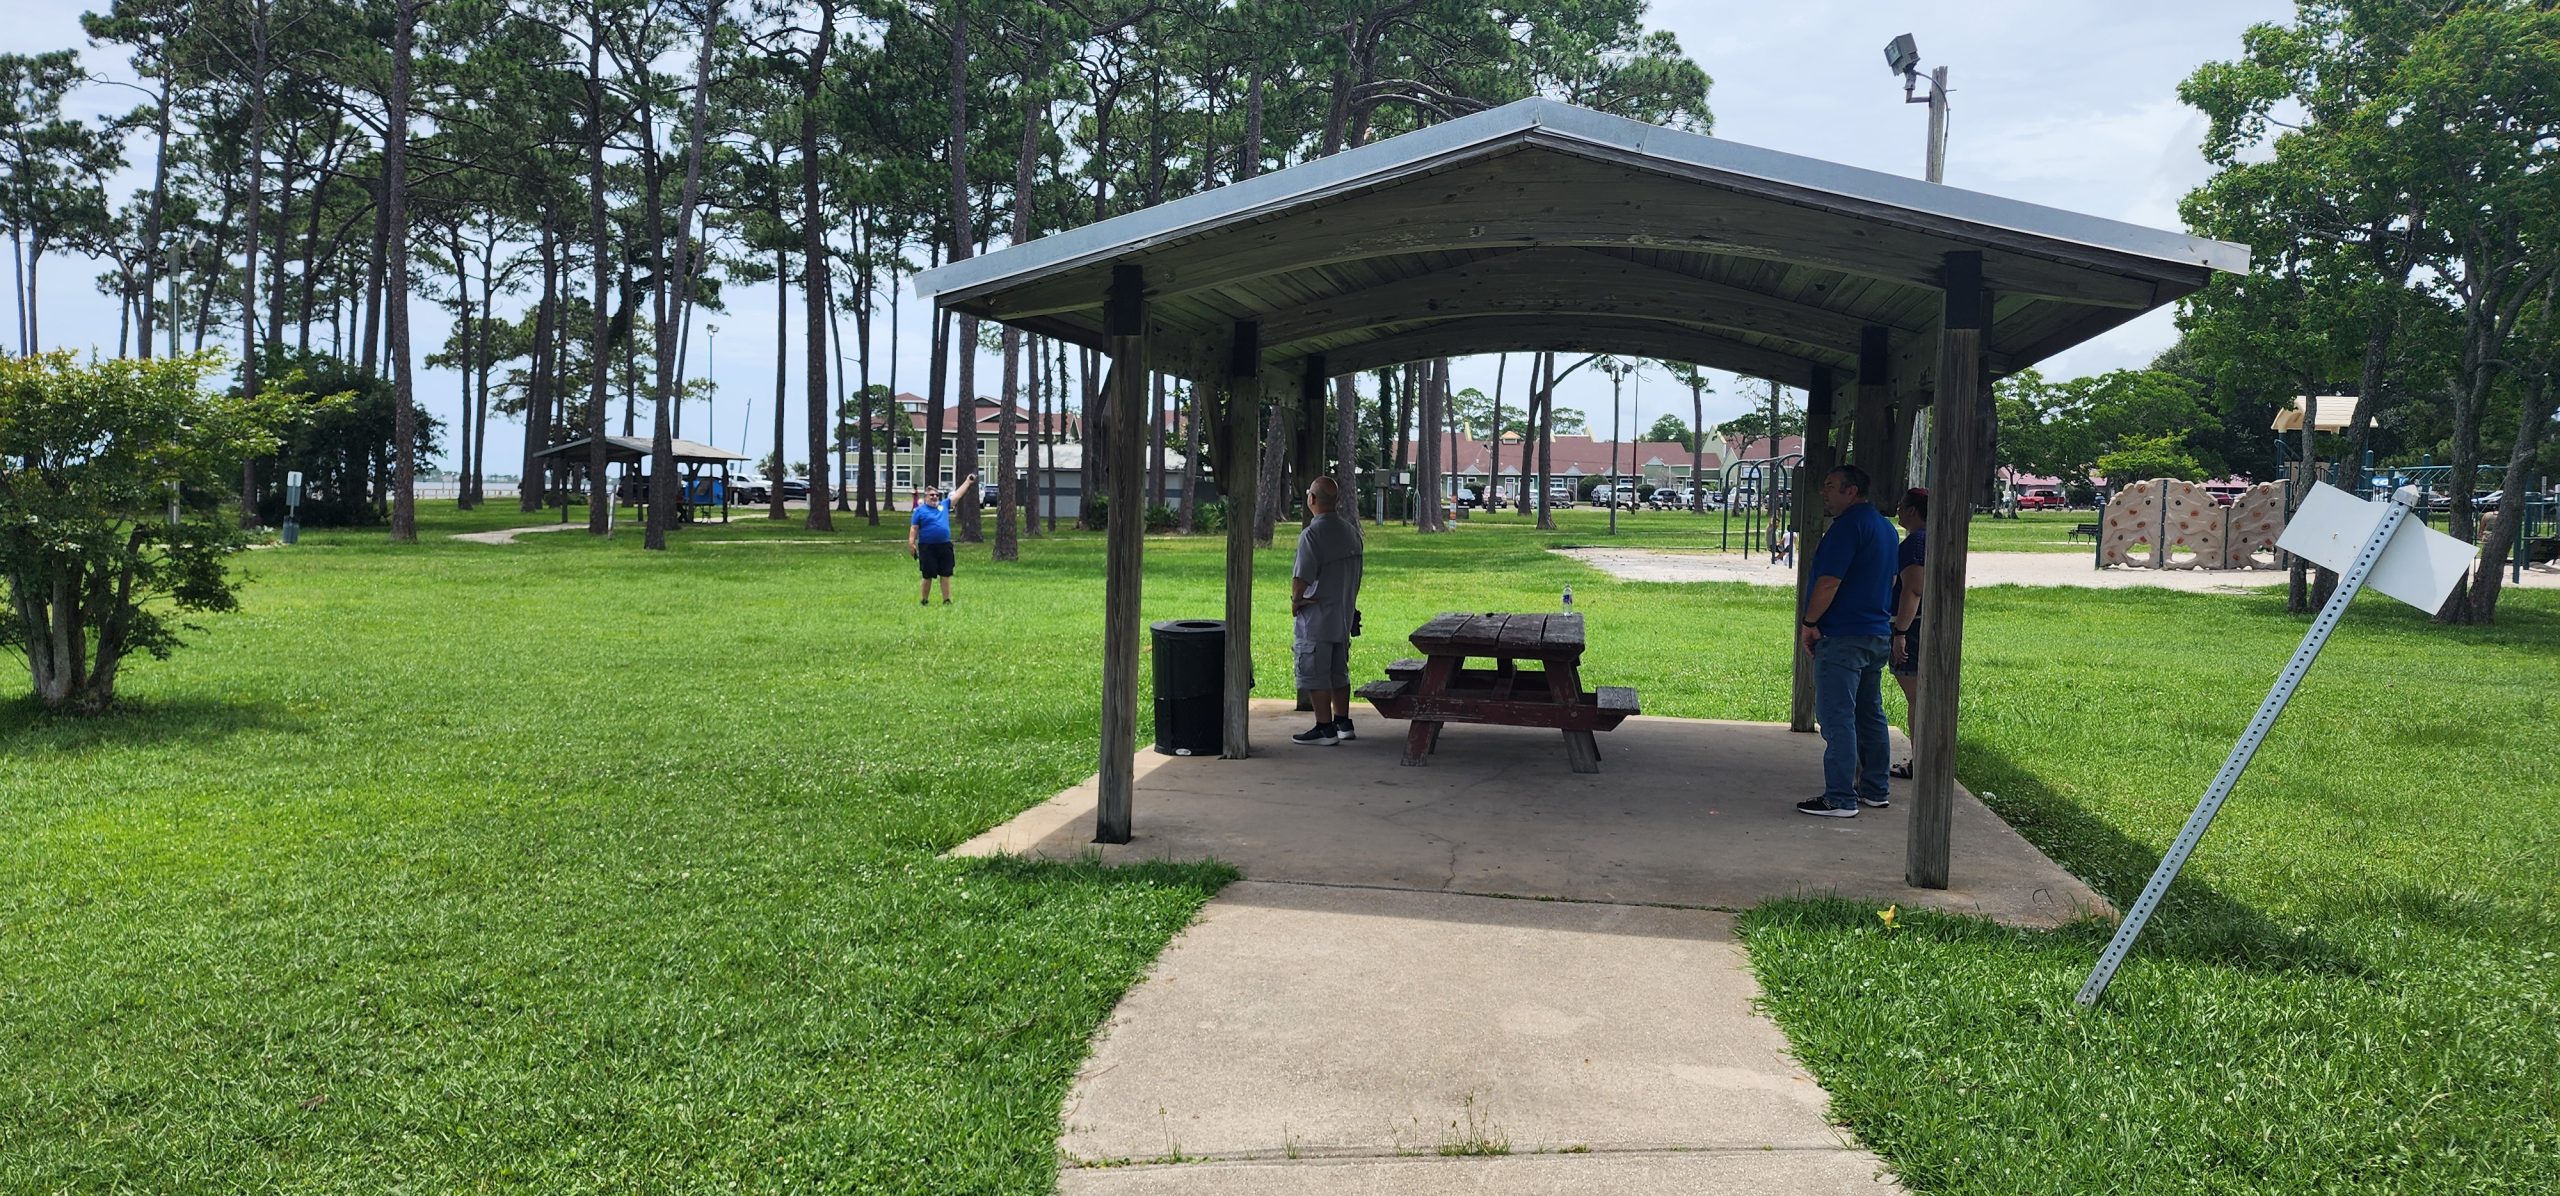
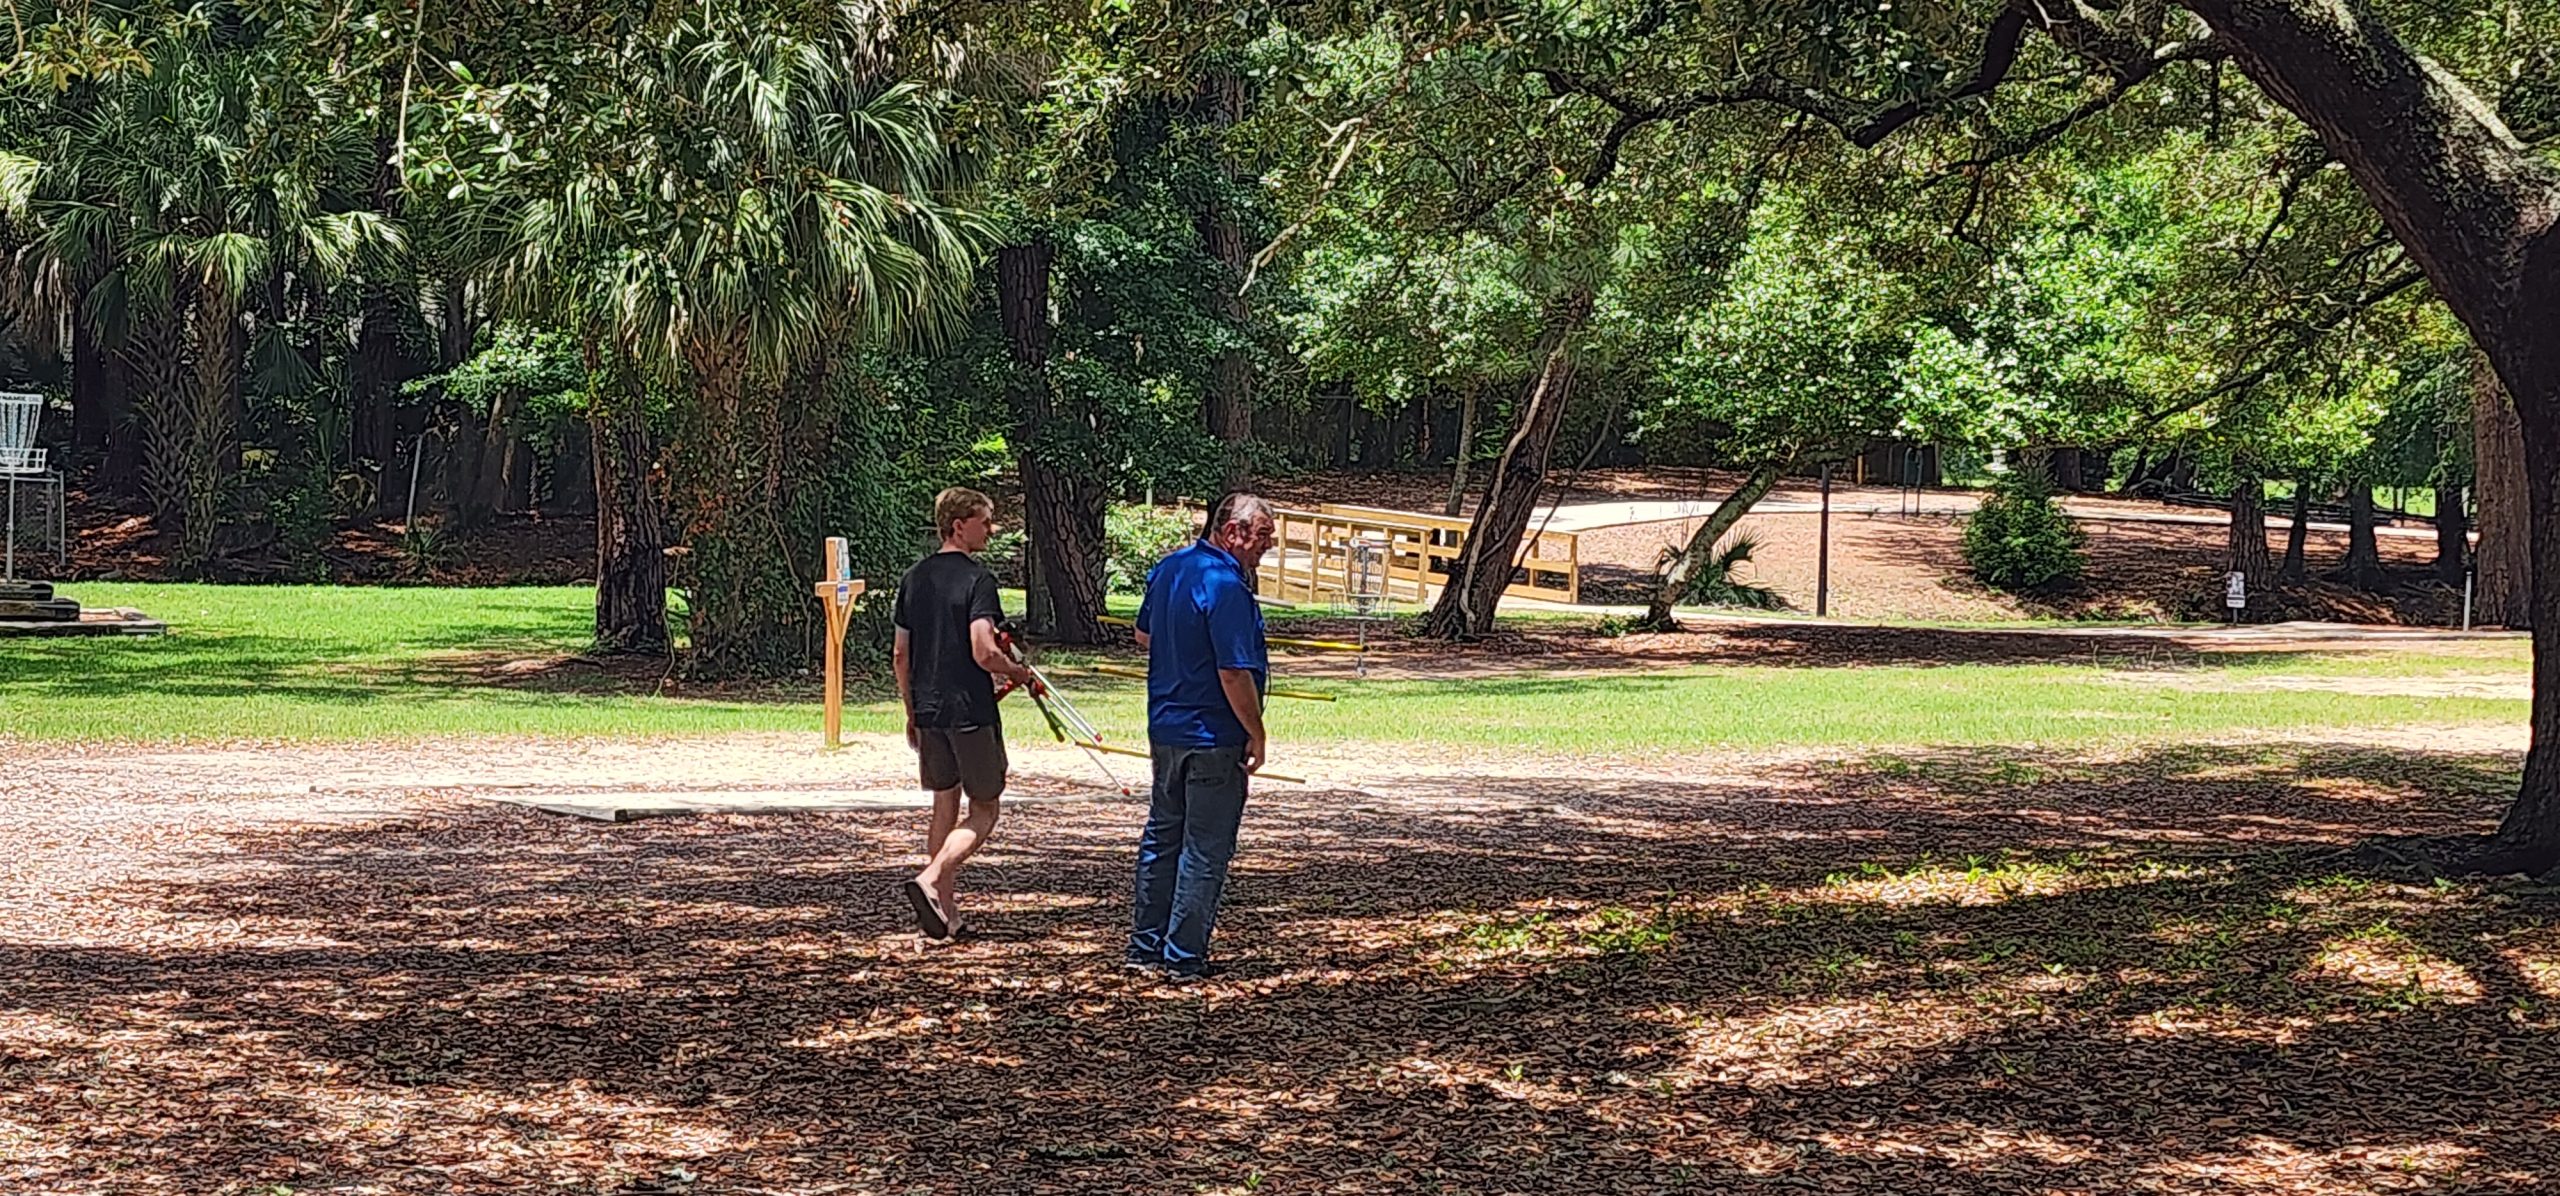
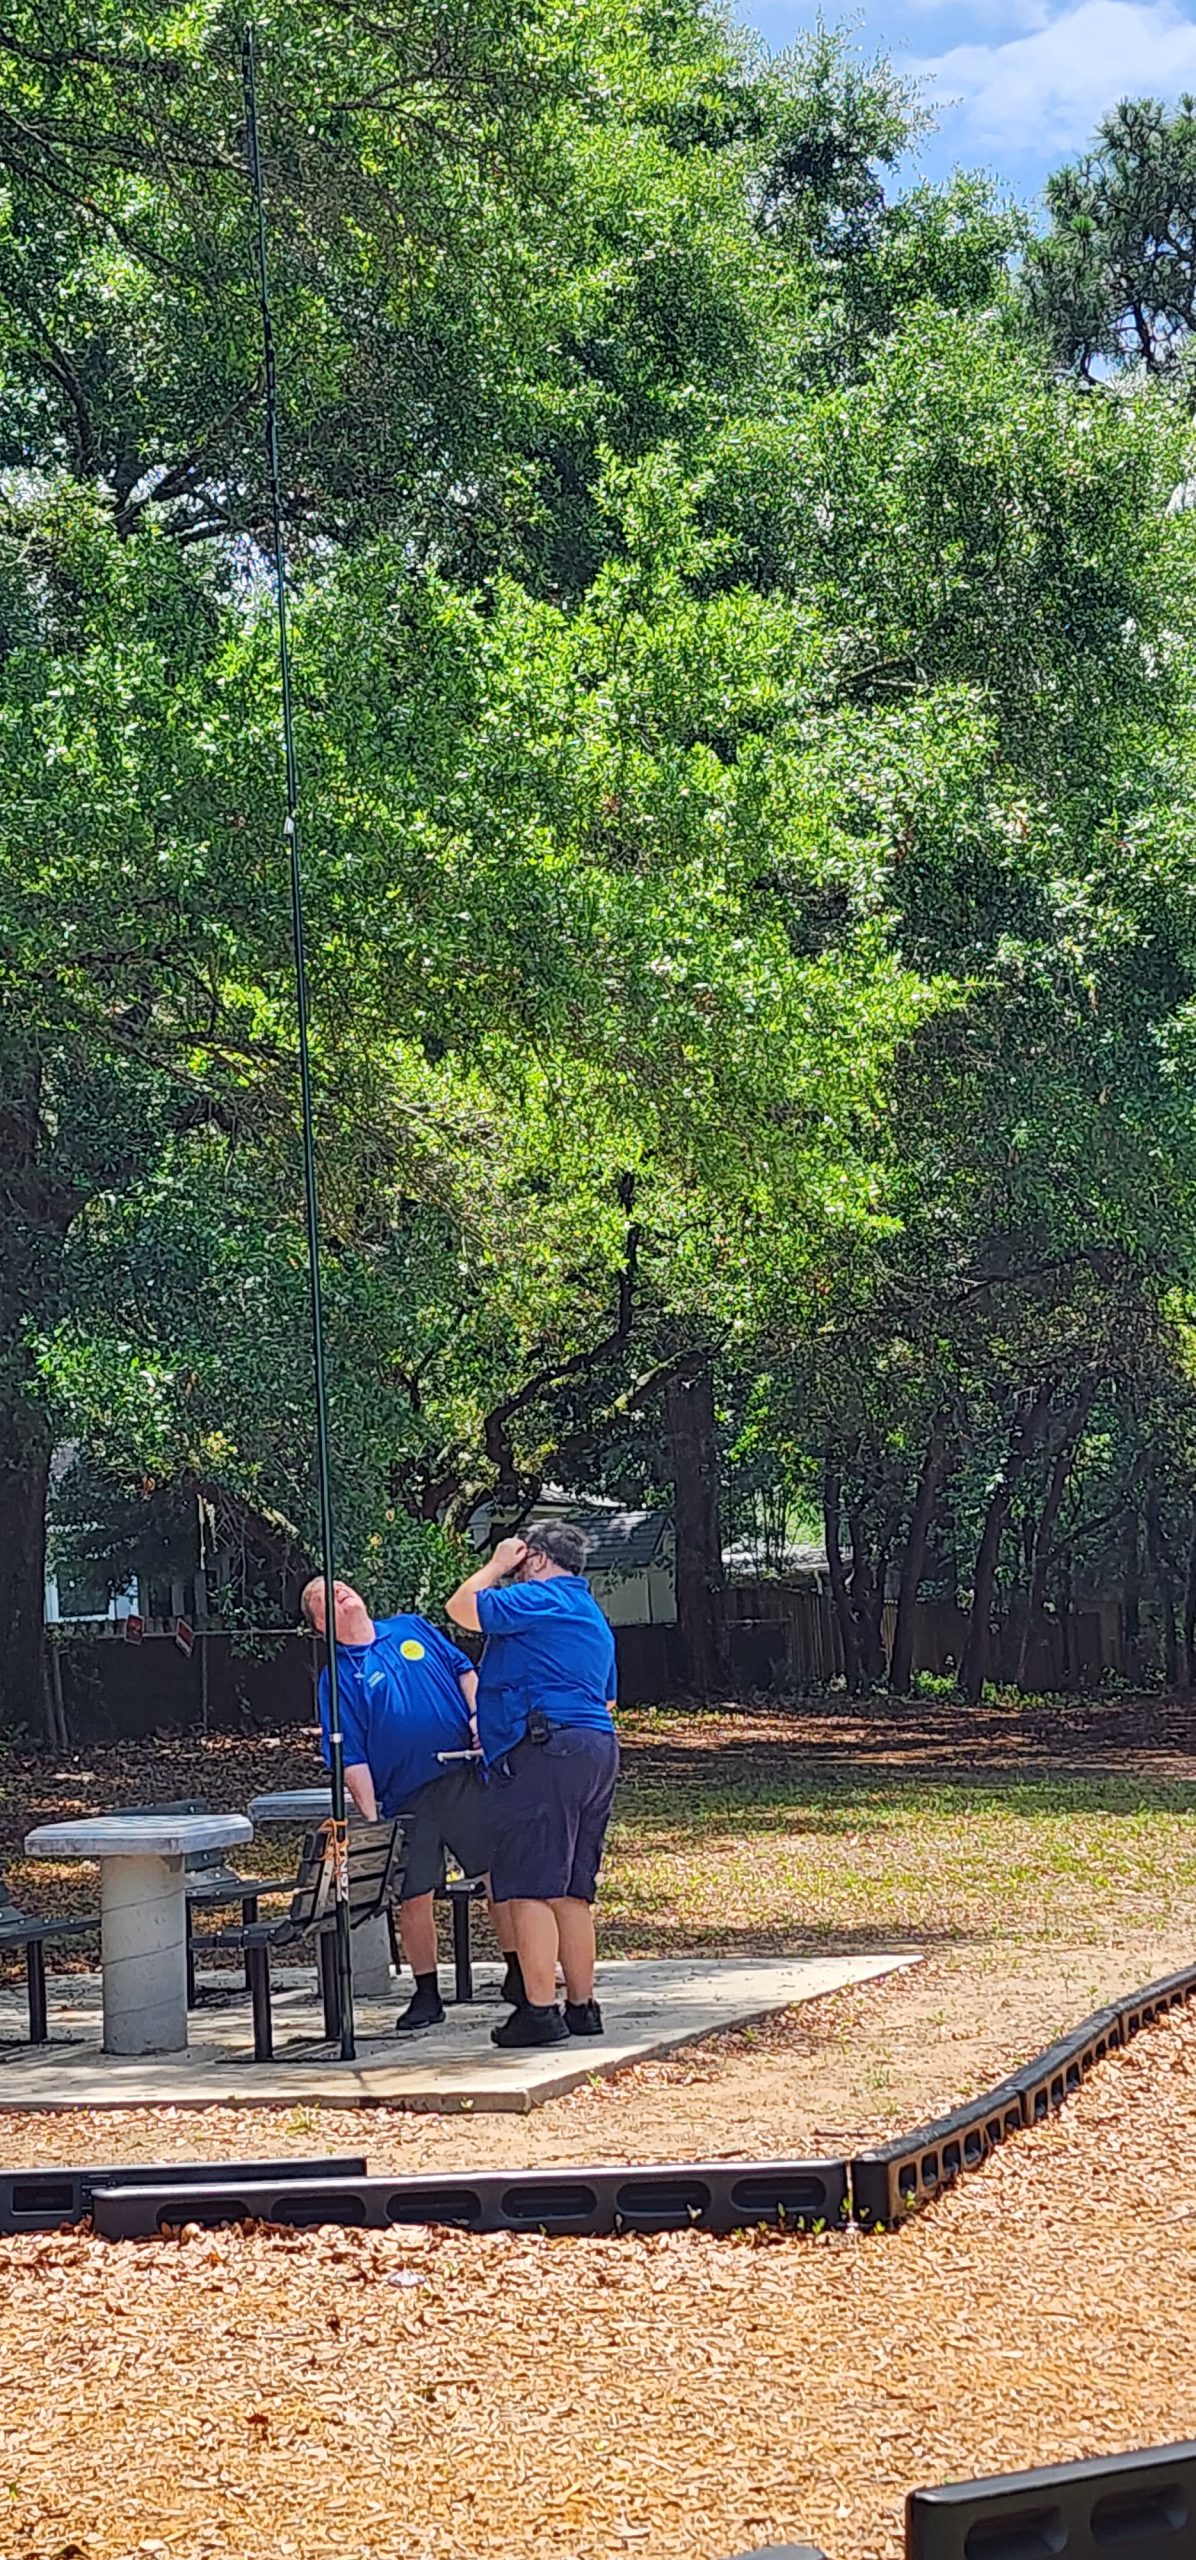
This was followed by a site sur4vey for the Field Day event at the end of this month! Multiple Hams gathered to goc over last Thursday’s presentation and see the property at Liz Jackson in person to map out the extensive and exciting antenna field!
Be sure to tune tune your RF to the Playground Amateur Radio Club!

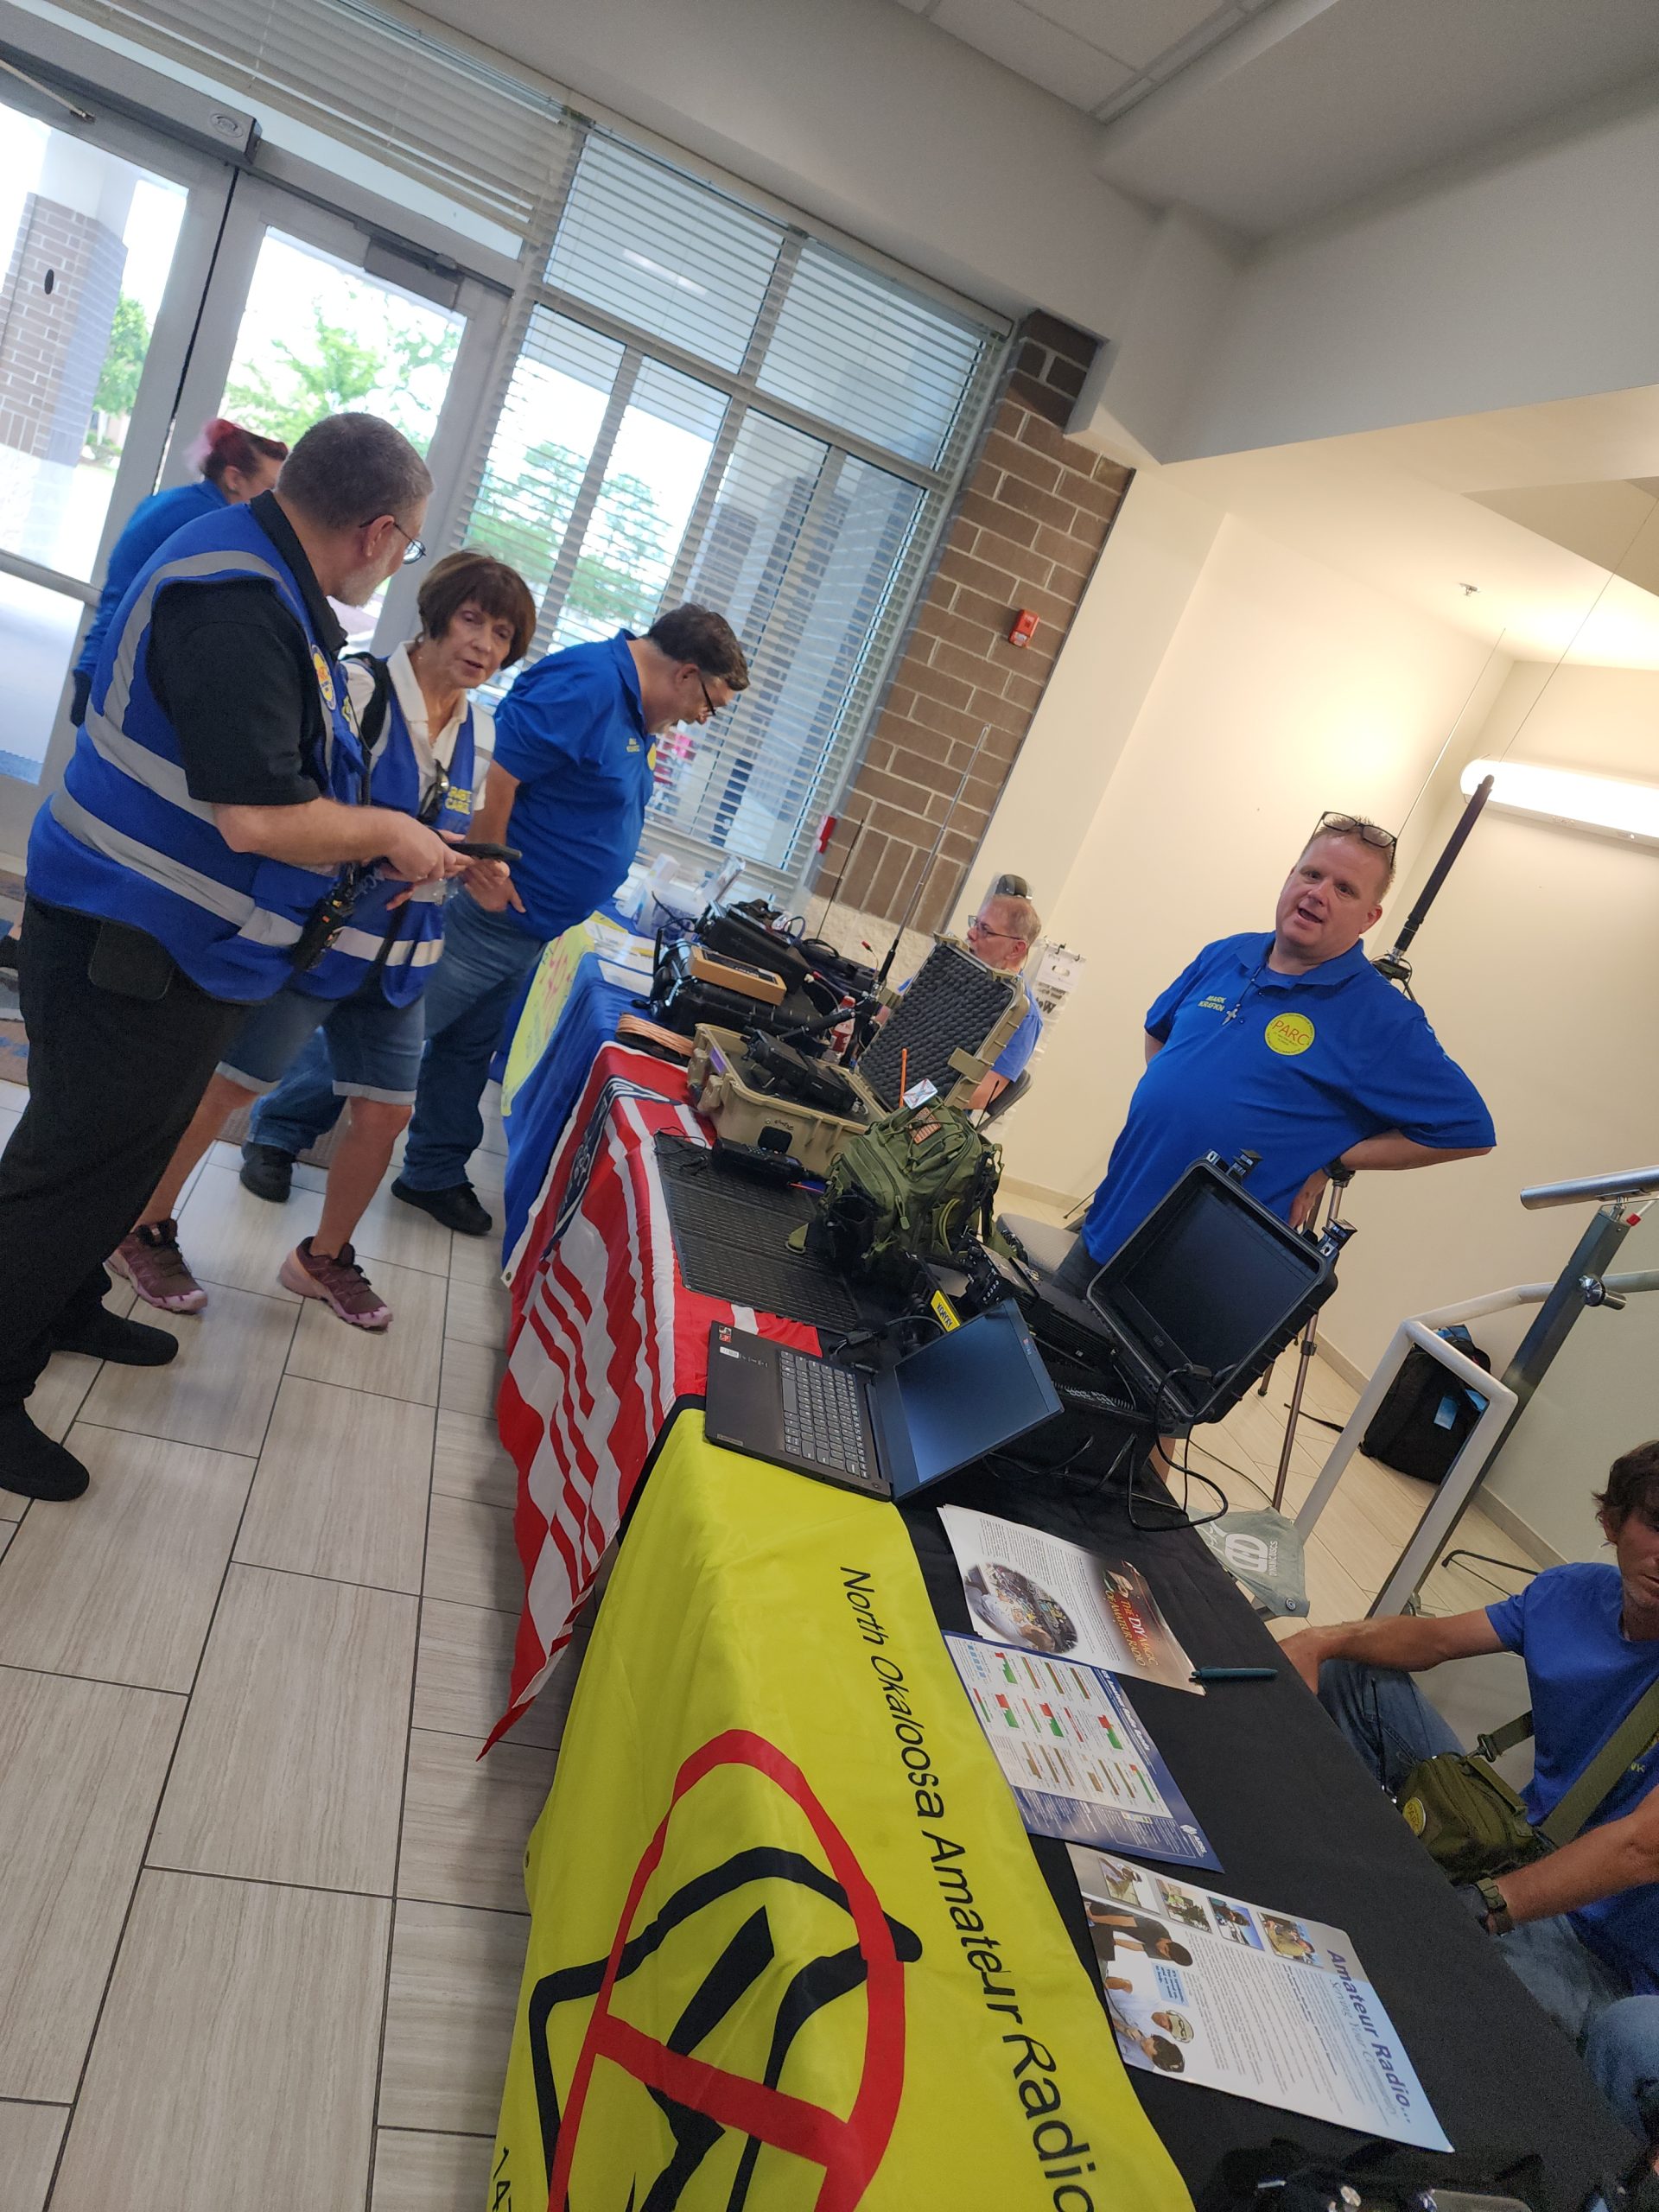
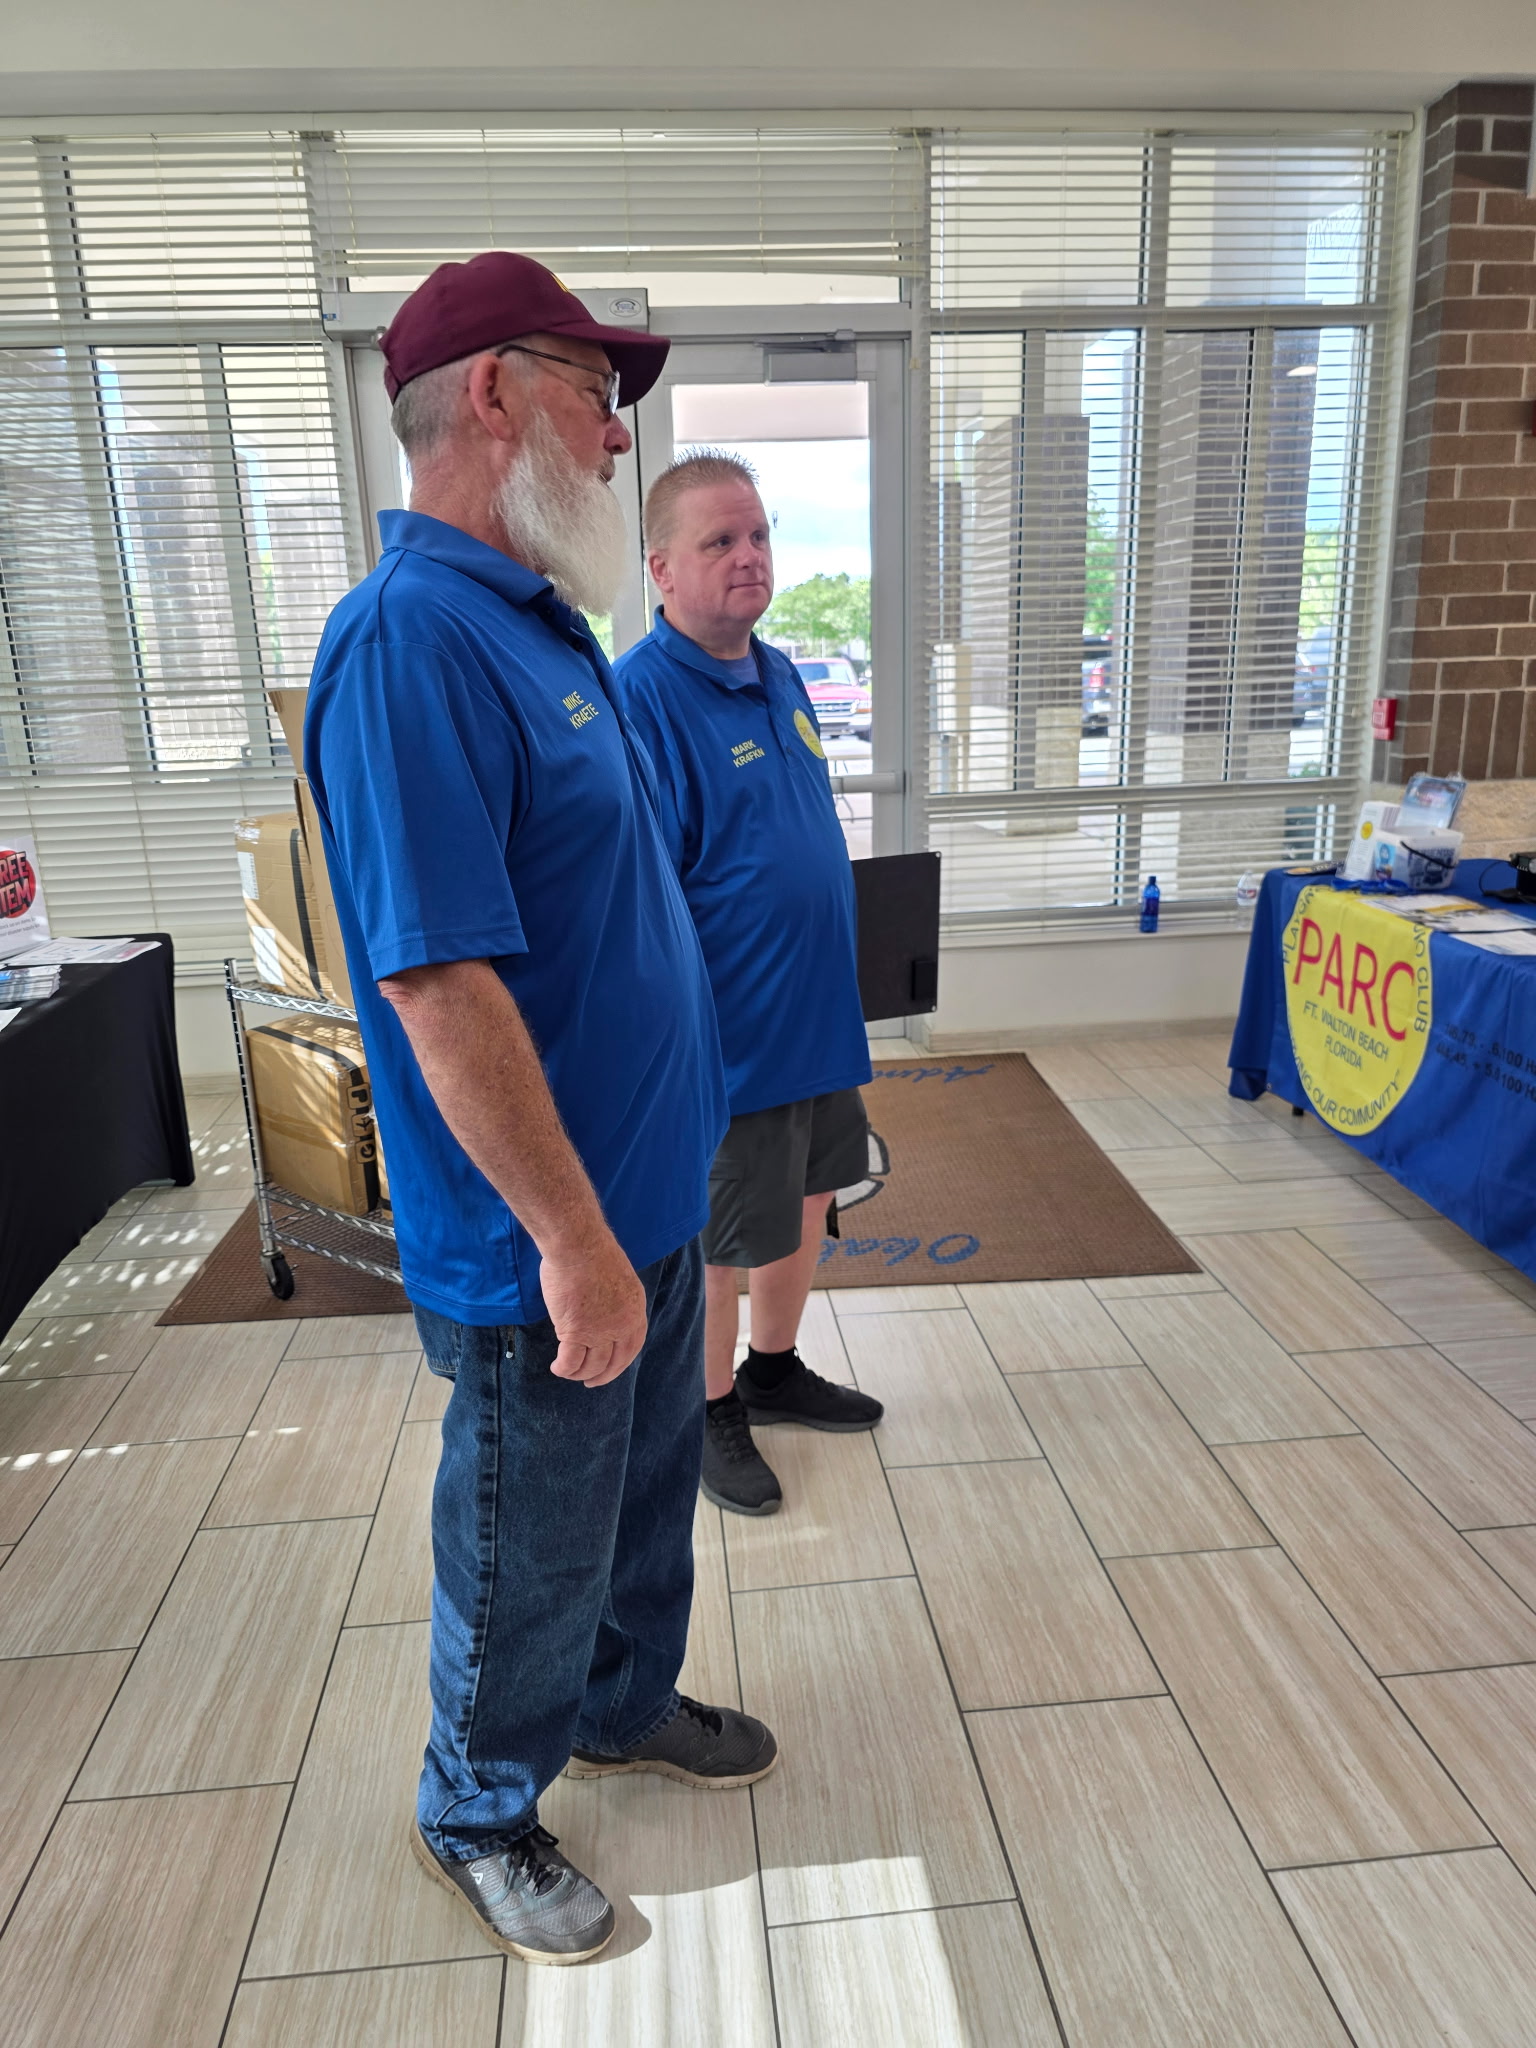
Okaloosa County’s Annual Hurricane Preparedness Expo is a free public event focused on hurricane readiness, disaster kits, and preparedness resources. For 2026, it was scheduled for Saturday, May 30, from 10 a.m. to 1 p.m. at the Okaloosa County Administration Building, 1250 N. Eglin Parkway in Shalimar.
The county described it as an opportunity to pick up free items for disaster kits, and local posts also mentioned food trucks and giveaways. Multiple county commissioners may attend, but the notice says it is not an official board meeting.
Learn about storm preparation before hurricane season ramps up.
Gather supplies or information for emergency kits.
Connect with county and community resources
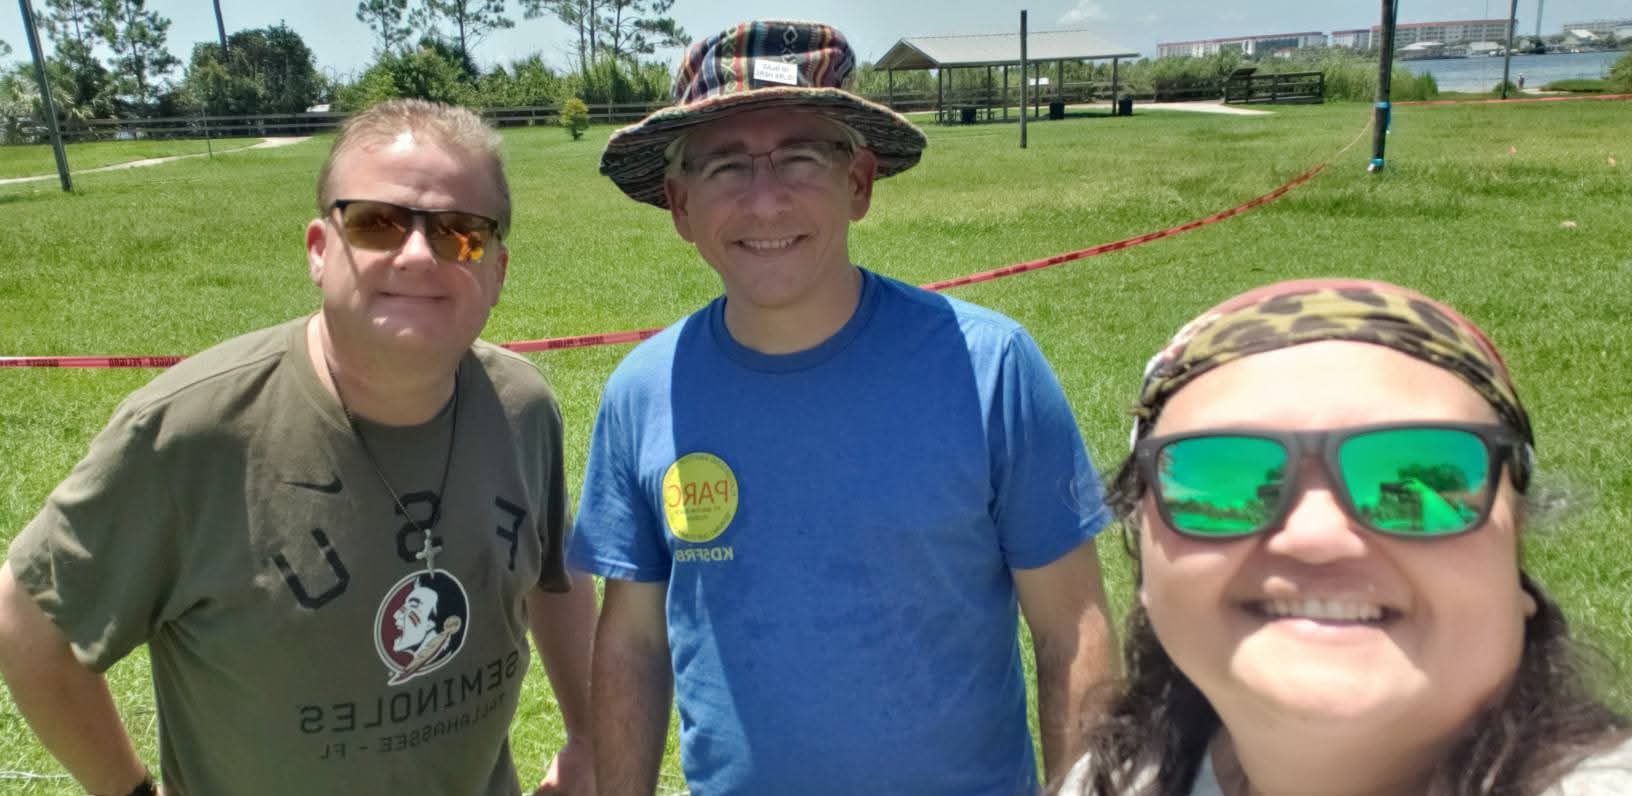
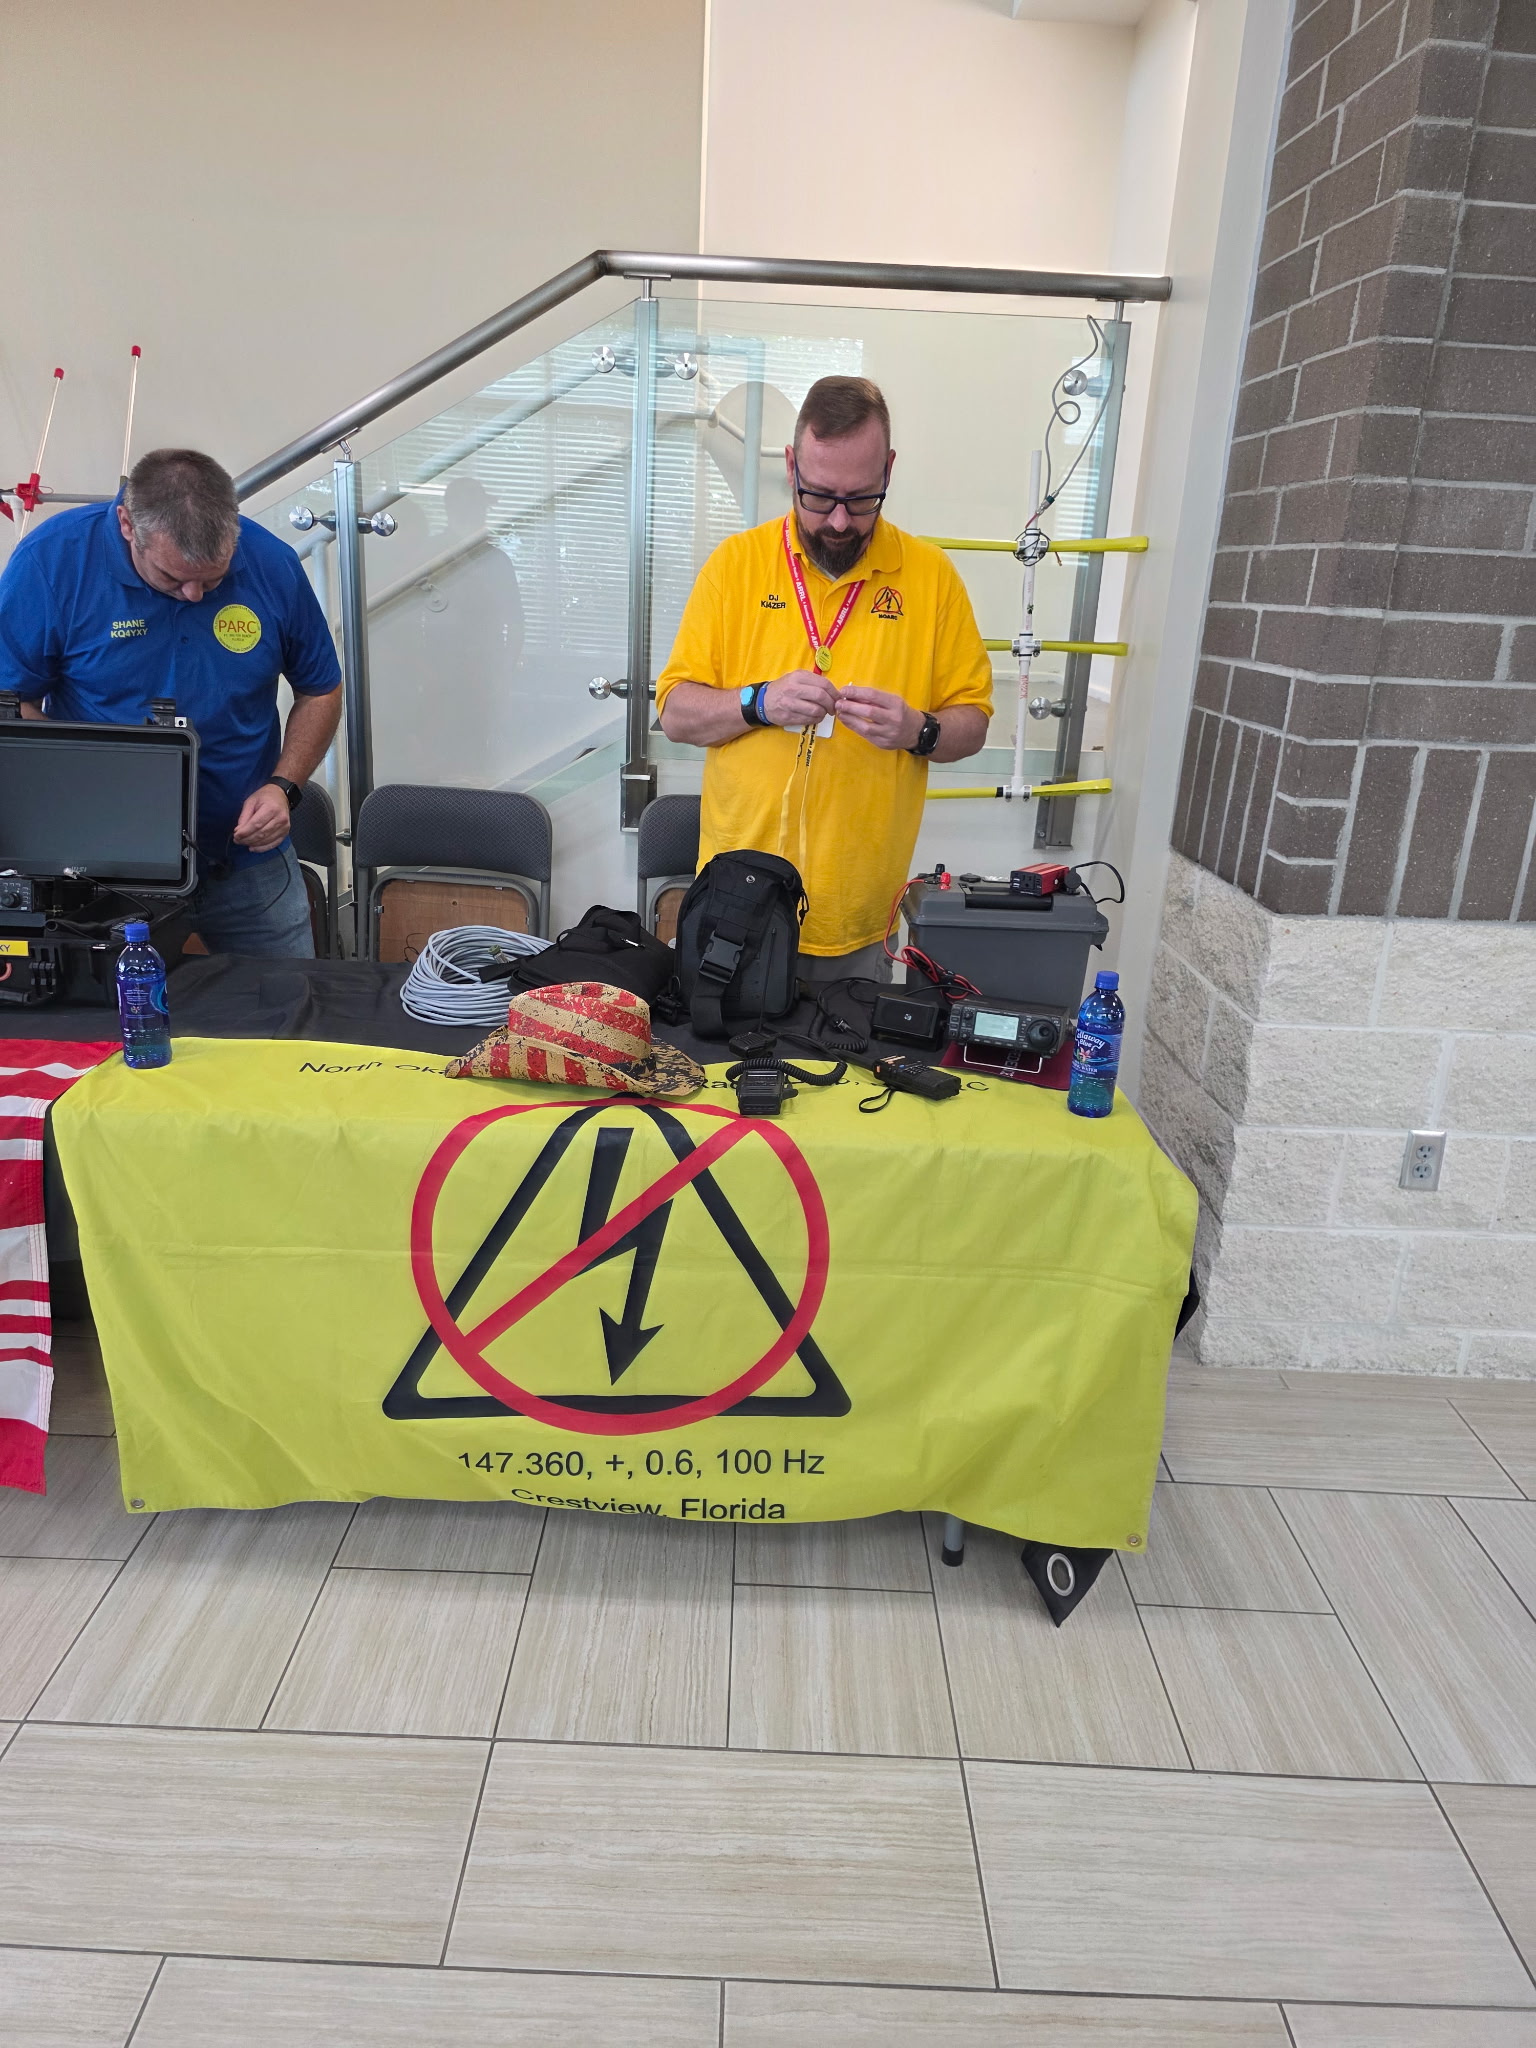
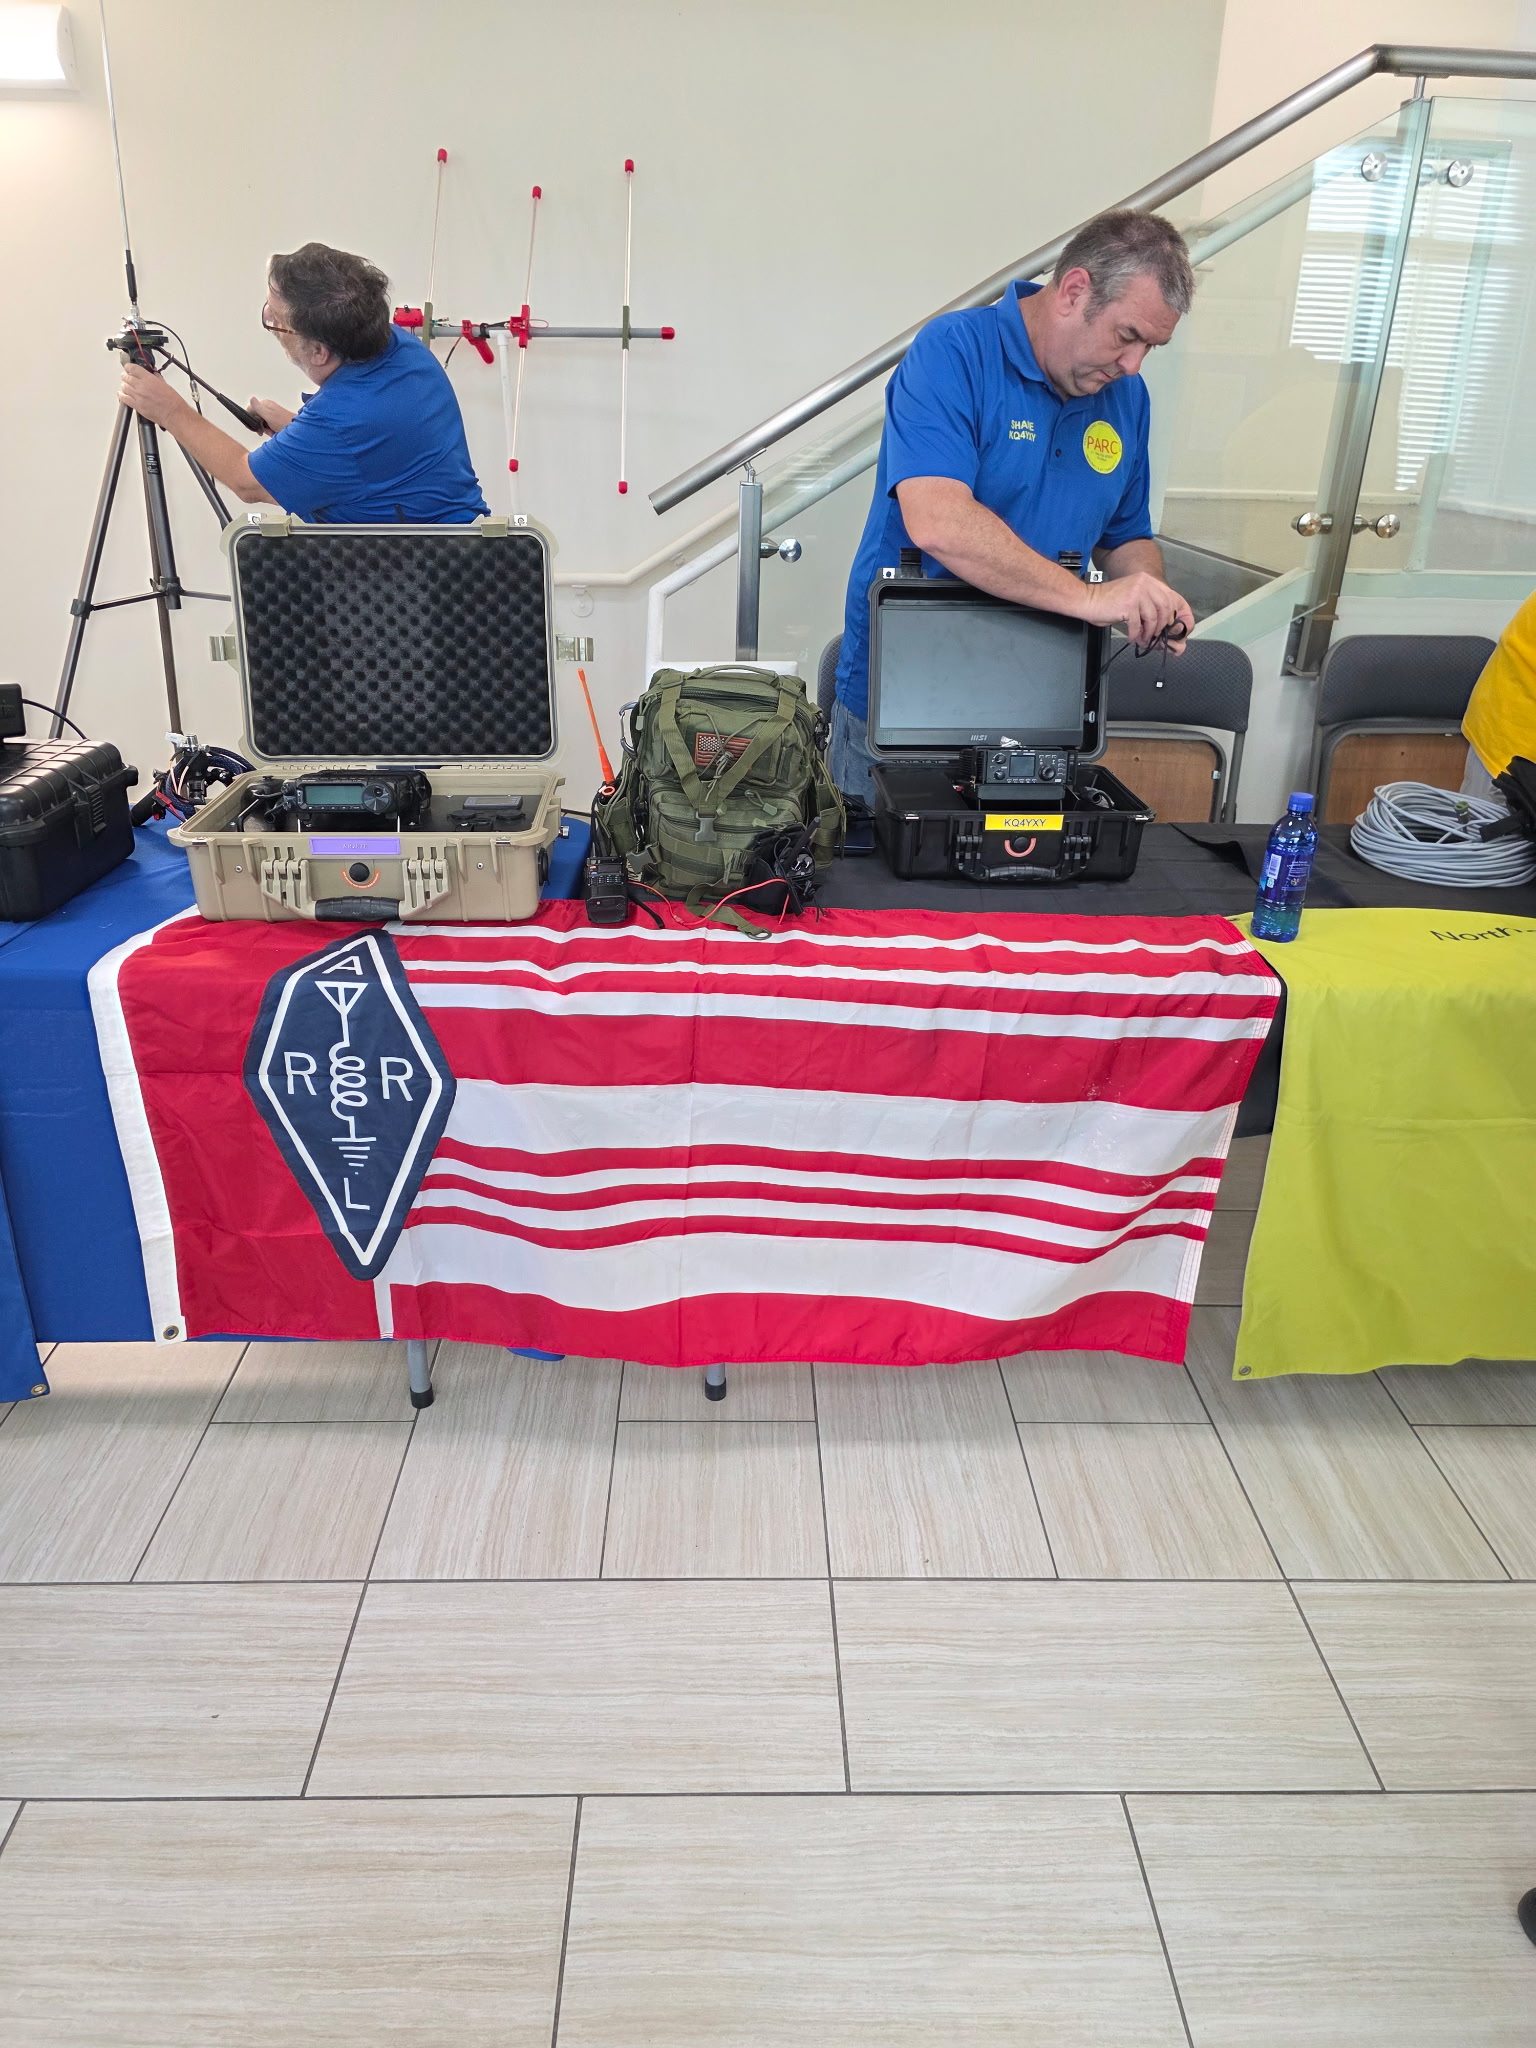
PARC Teamed up with the North Okaloosa Amateur Radio Club, Eglin Amateur Radio Society, the ARRL and others to promote Ham Radio! They all hosted live demonstrations of Radio and its usefulness!
From the desk of KR4YXX!
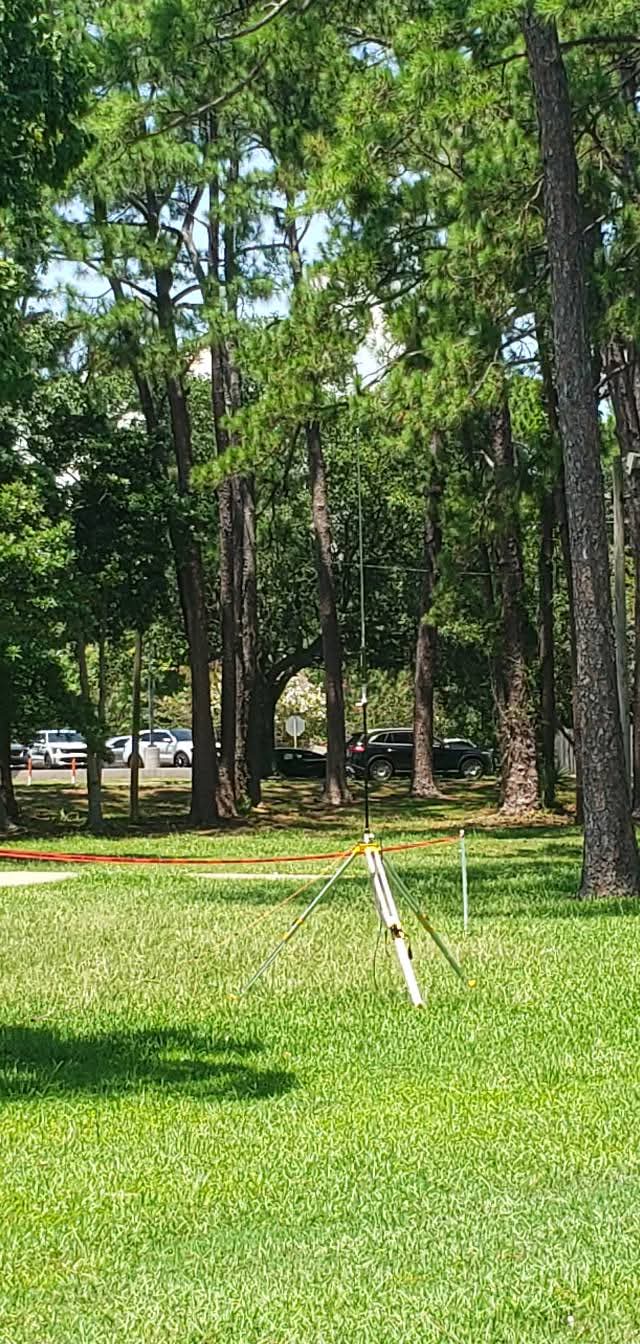
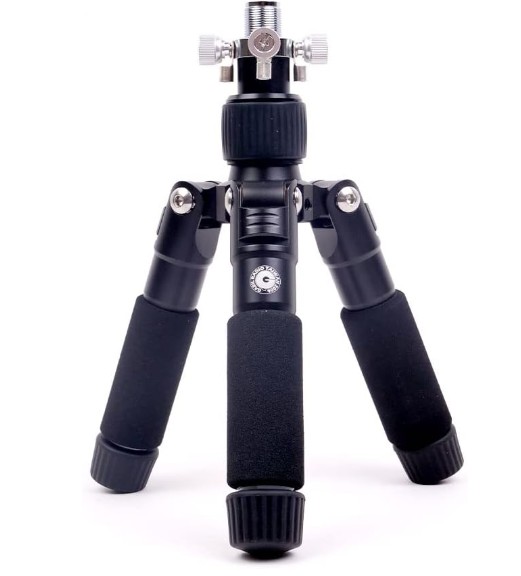
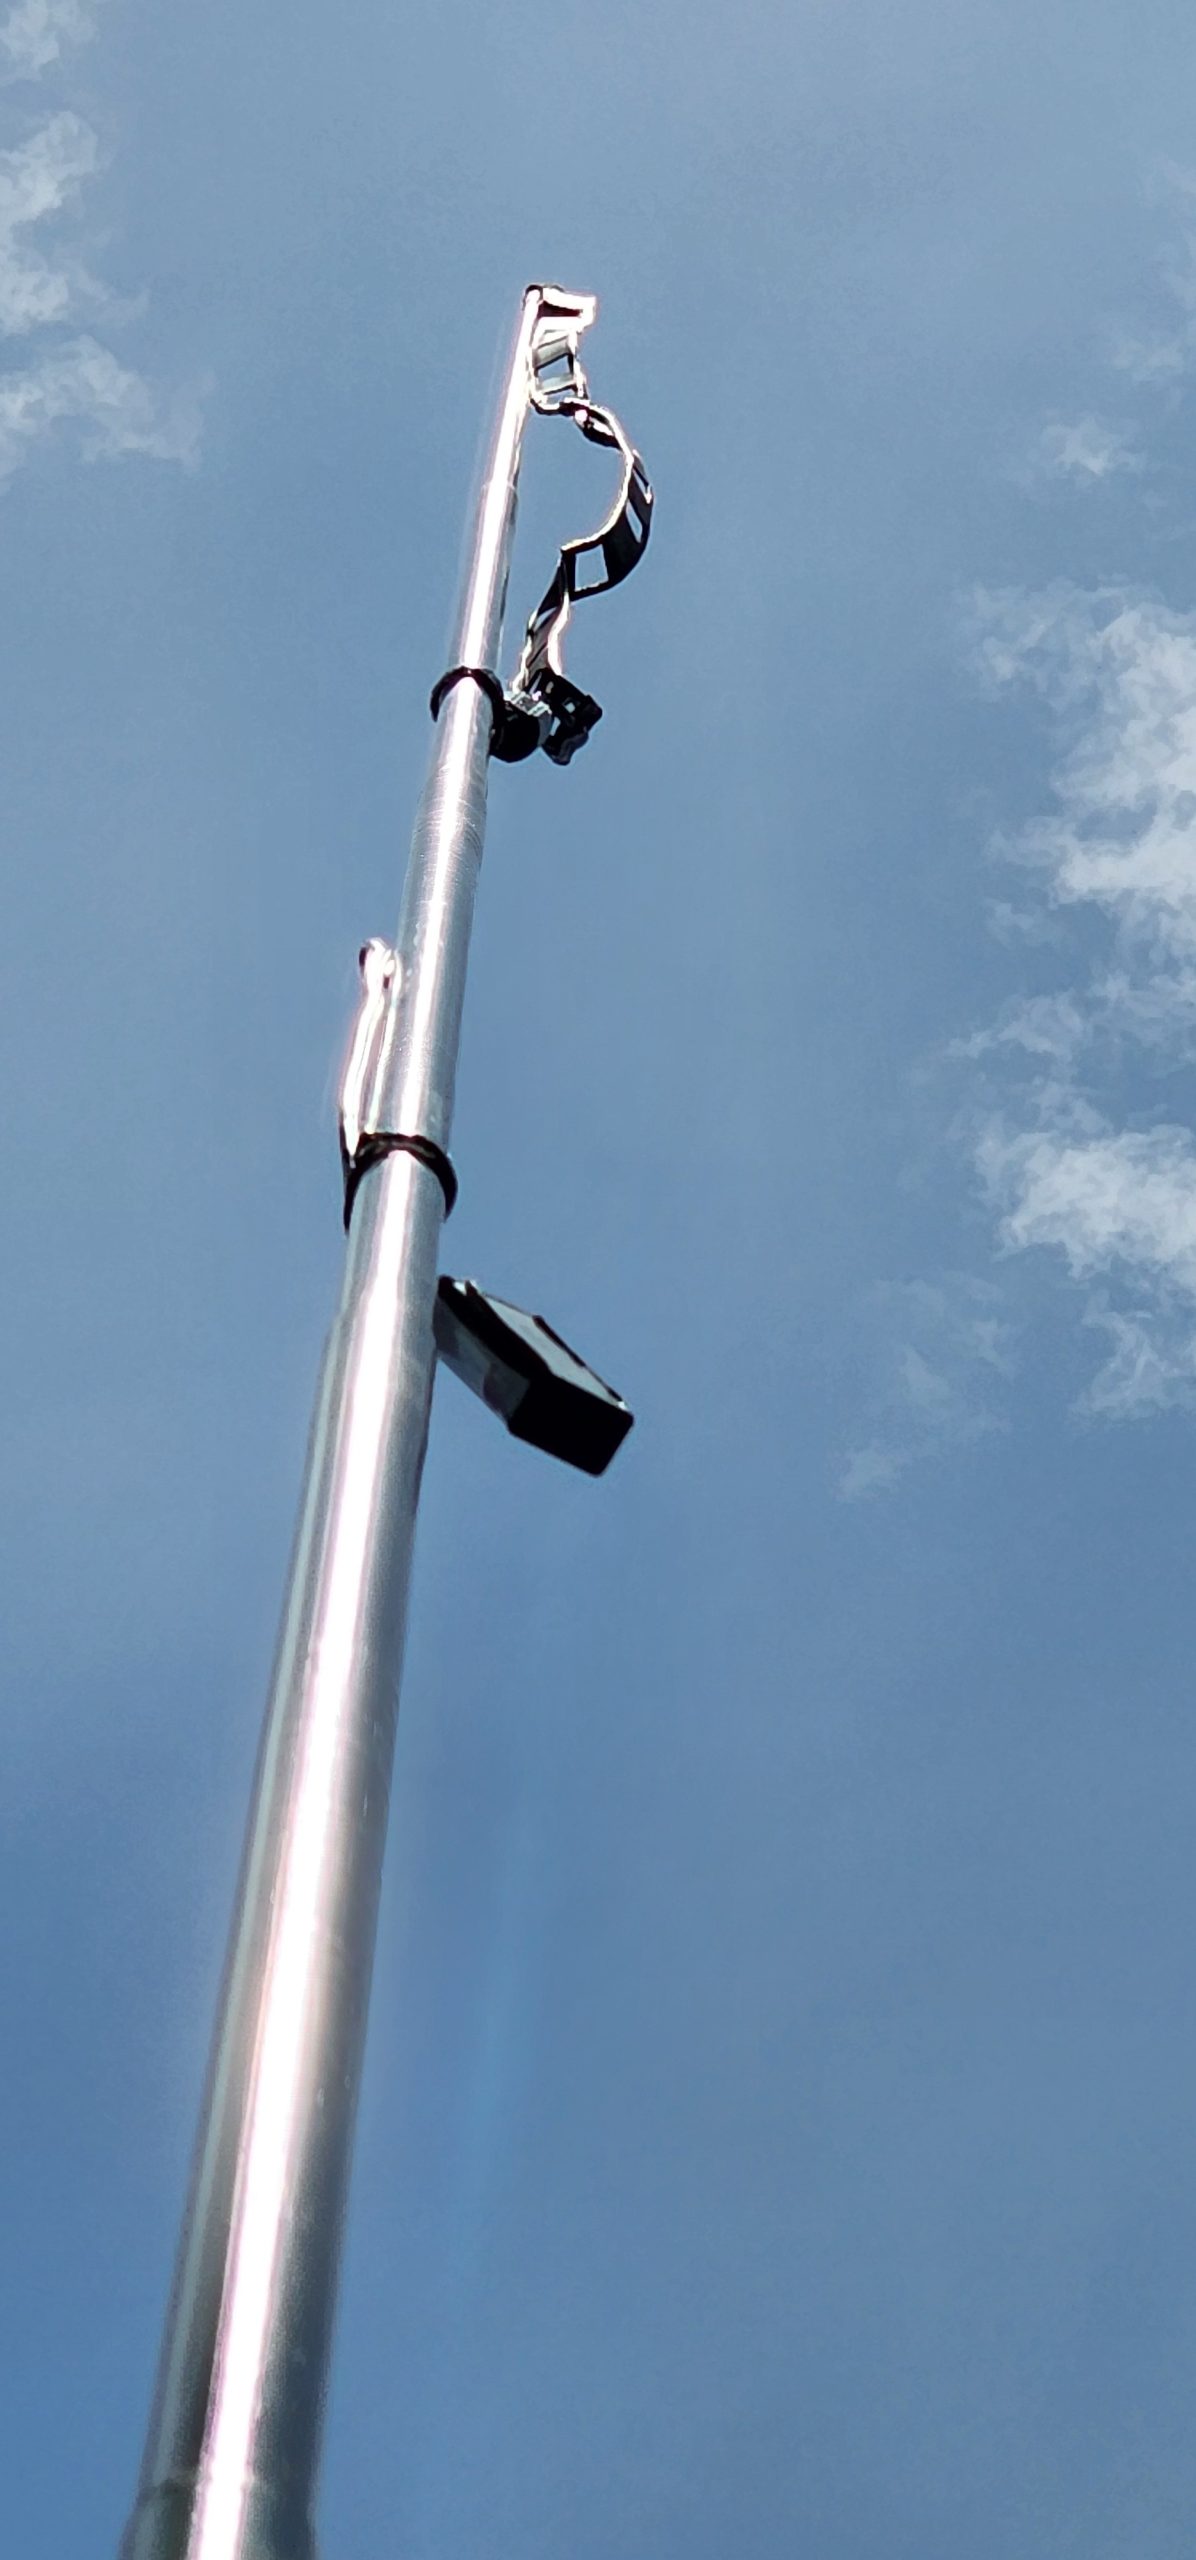
For POTA operations, the Yaesu ATAS-120A is best mounted on a tripod using a BuddiPole Vertical Antenna Clamp or a Gabil antenna tripod, which often includes thumbscrews for attaching ground radials. Operators frequently use the large TIA tripod or modified mini-tripods, ensuring the legs are extended and angled to provide stability against wind. A critical requirement for tripod use is adding a ground plane system; this typically involves installing 4 to 8 radials (often 1/4 wavelength for lower bands like 40m and 20m) to achieve acceptable SWR, as the antenna performs poorly without them.
For home use with HOA restrictions, the ATAS-120A can be mounted on a balcony rail using a Diamond CRM mount or a Vice Grip, or elevated on a 6-foot mast positioned at rain gutter height to remain unobtrusive. To maintain low SWR in these elevated setups, users have successfully run counterpoise wires inside rain gutters or along the structure, though this requires testing for electrical continuity. Alternatively, mounting the antenna on a ground spike with a robust radial system is an option, though it may be less aesthetically pleasing for some HOA environments compared to elevated, hidden counterpoises.
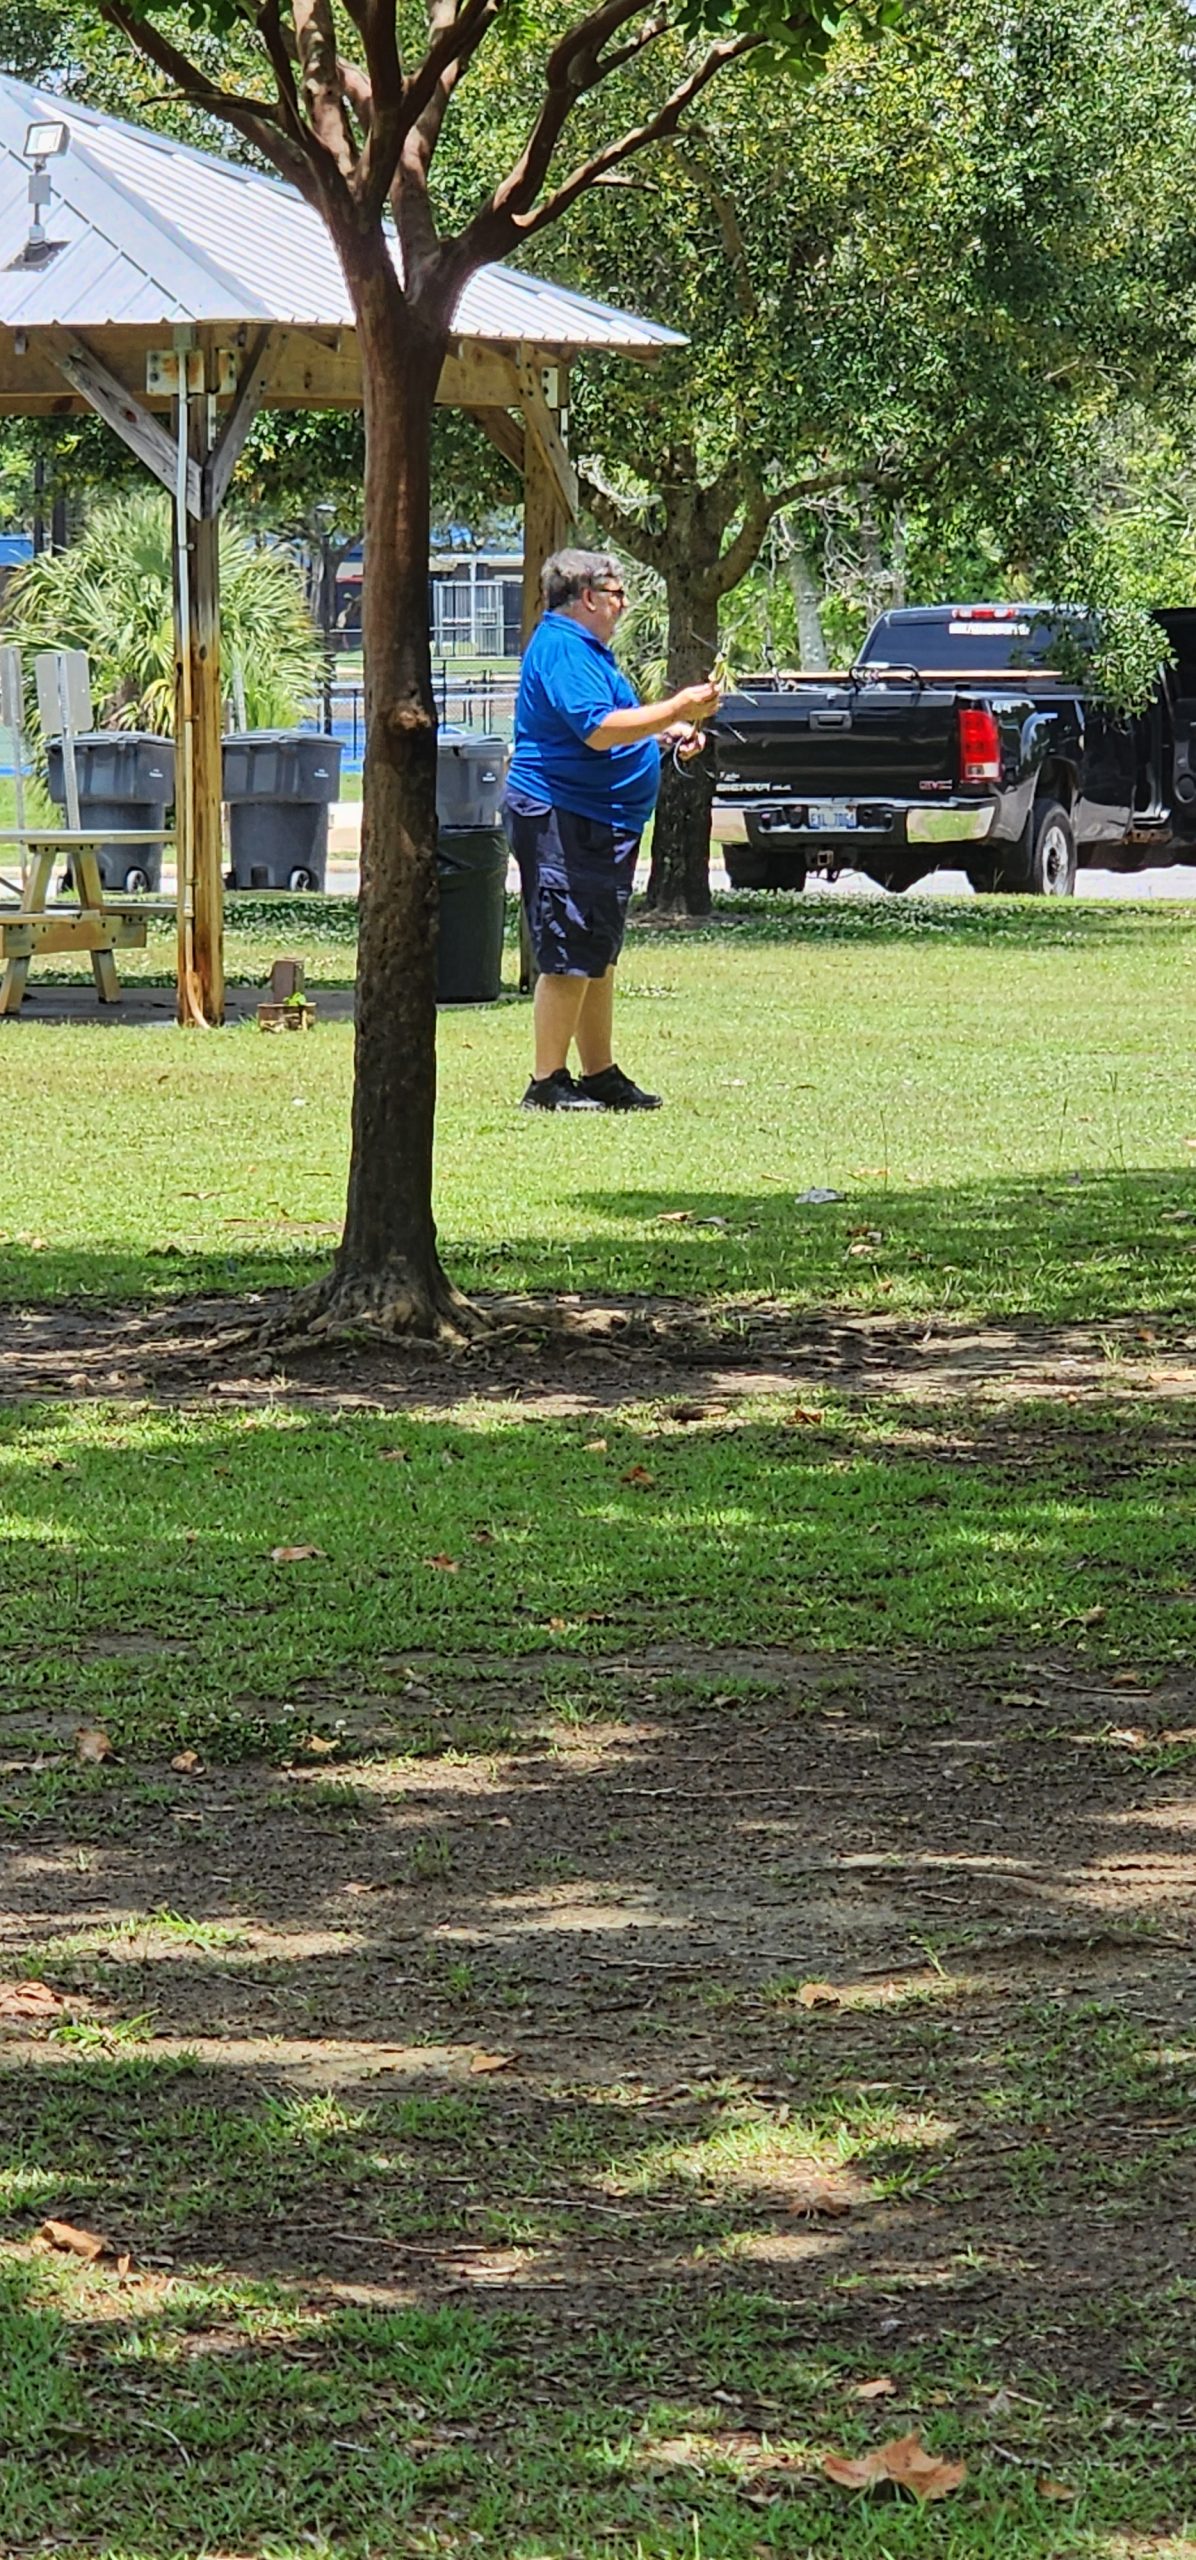
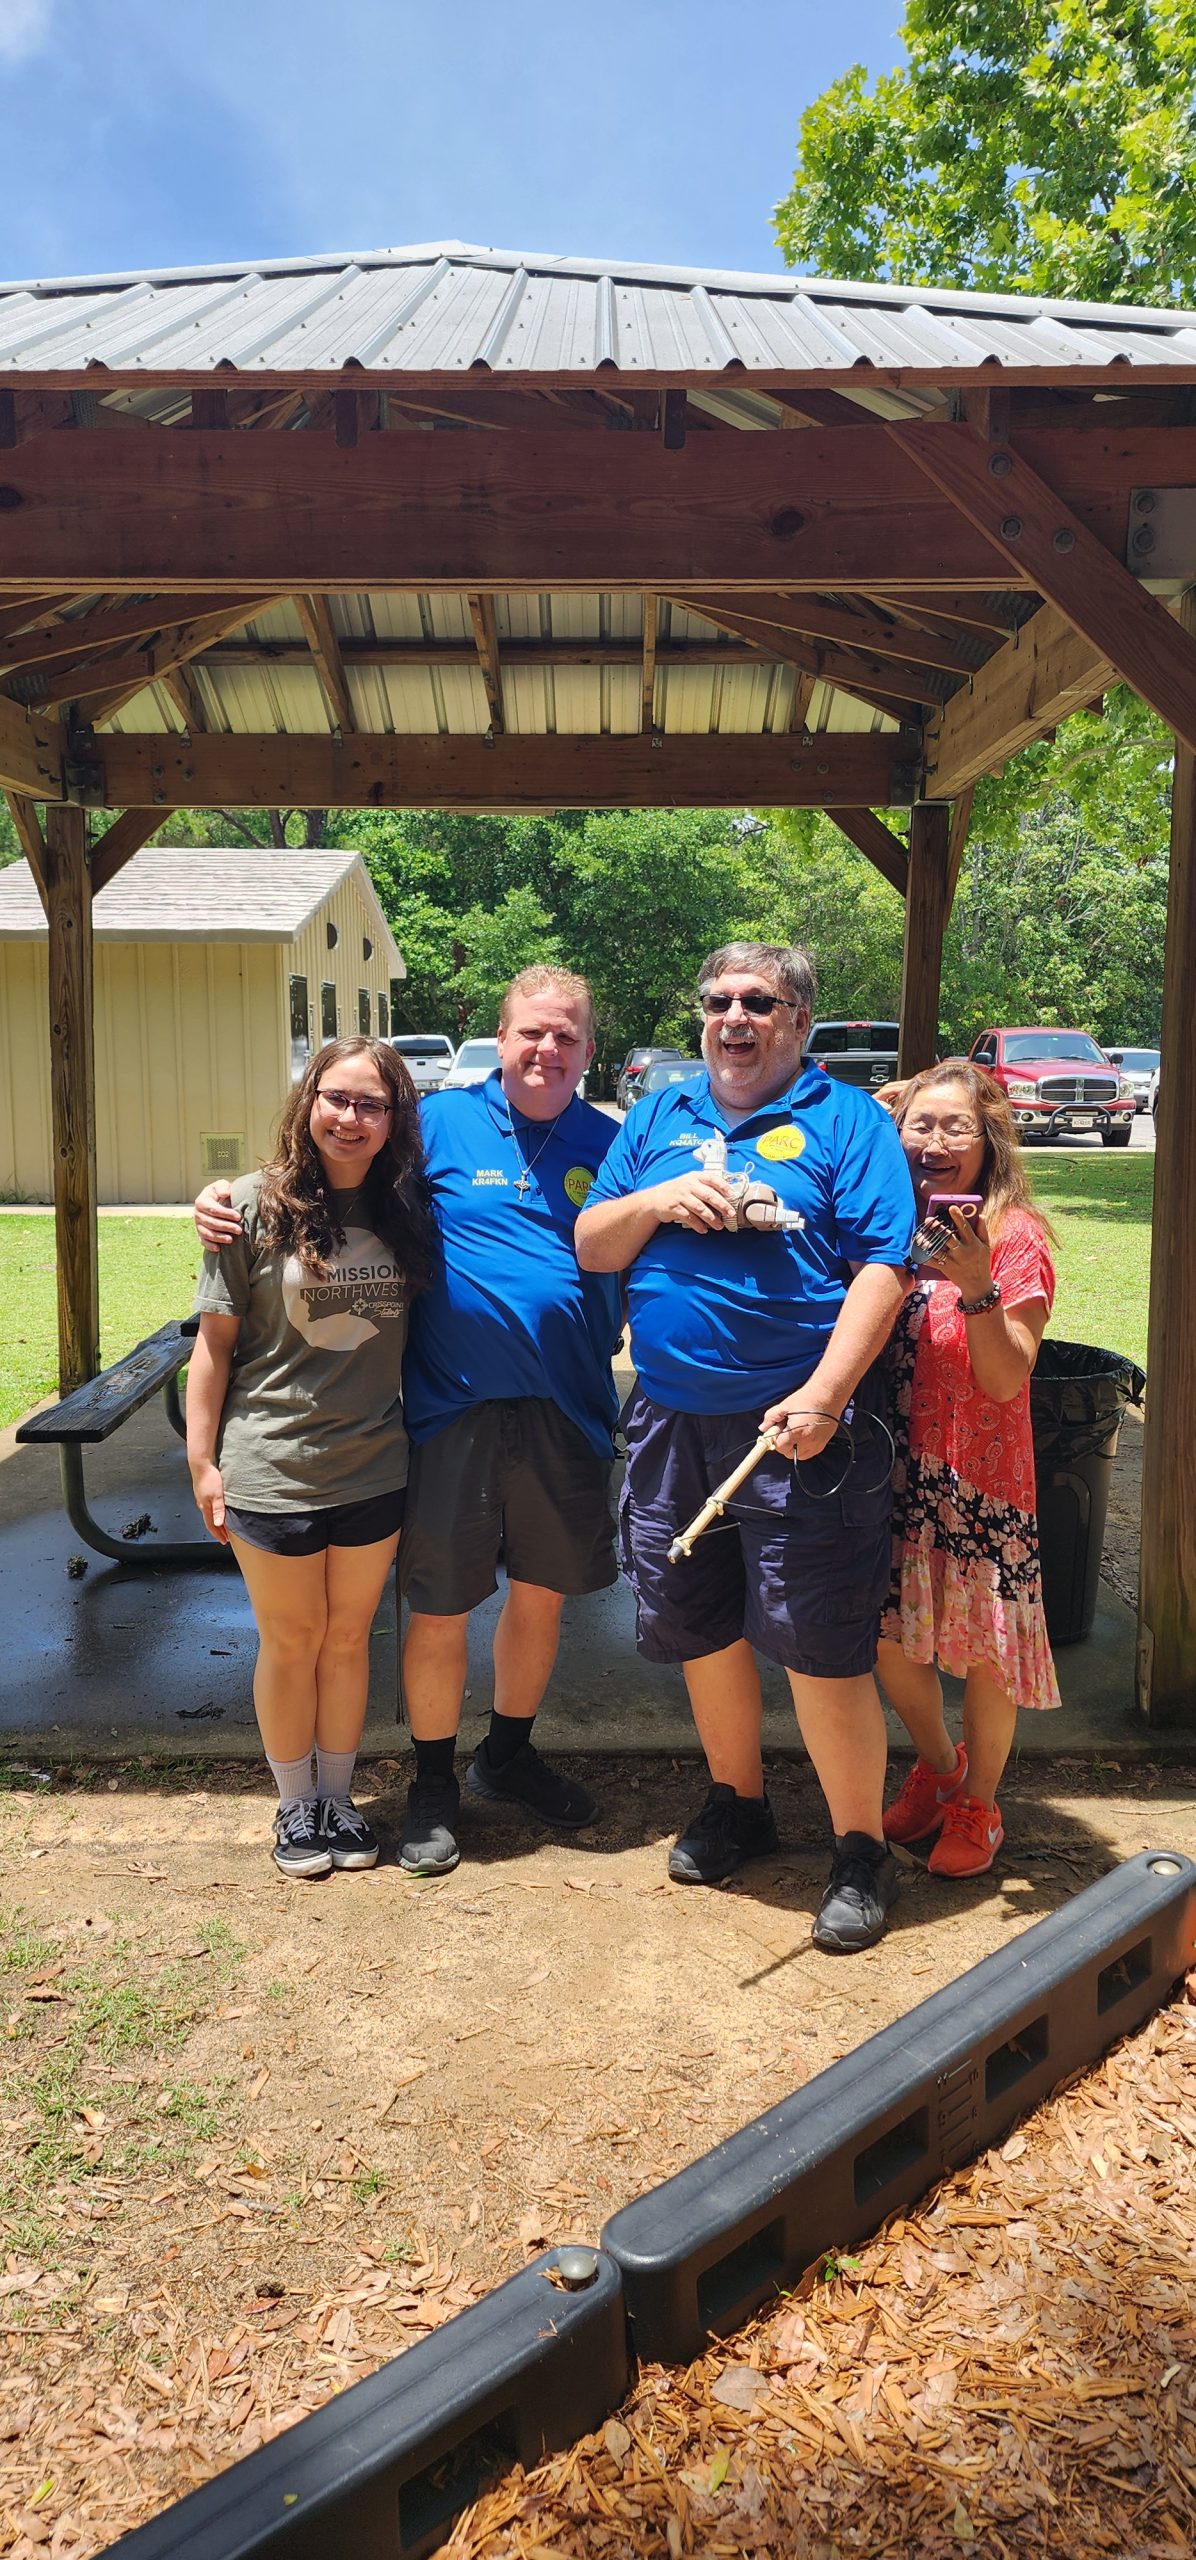
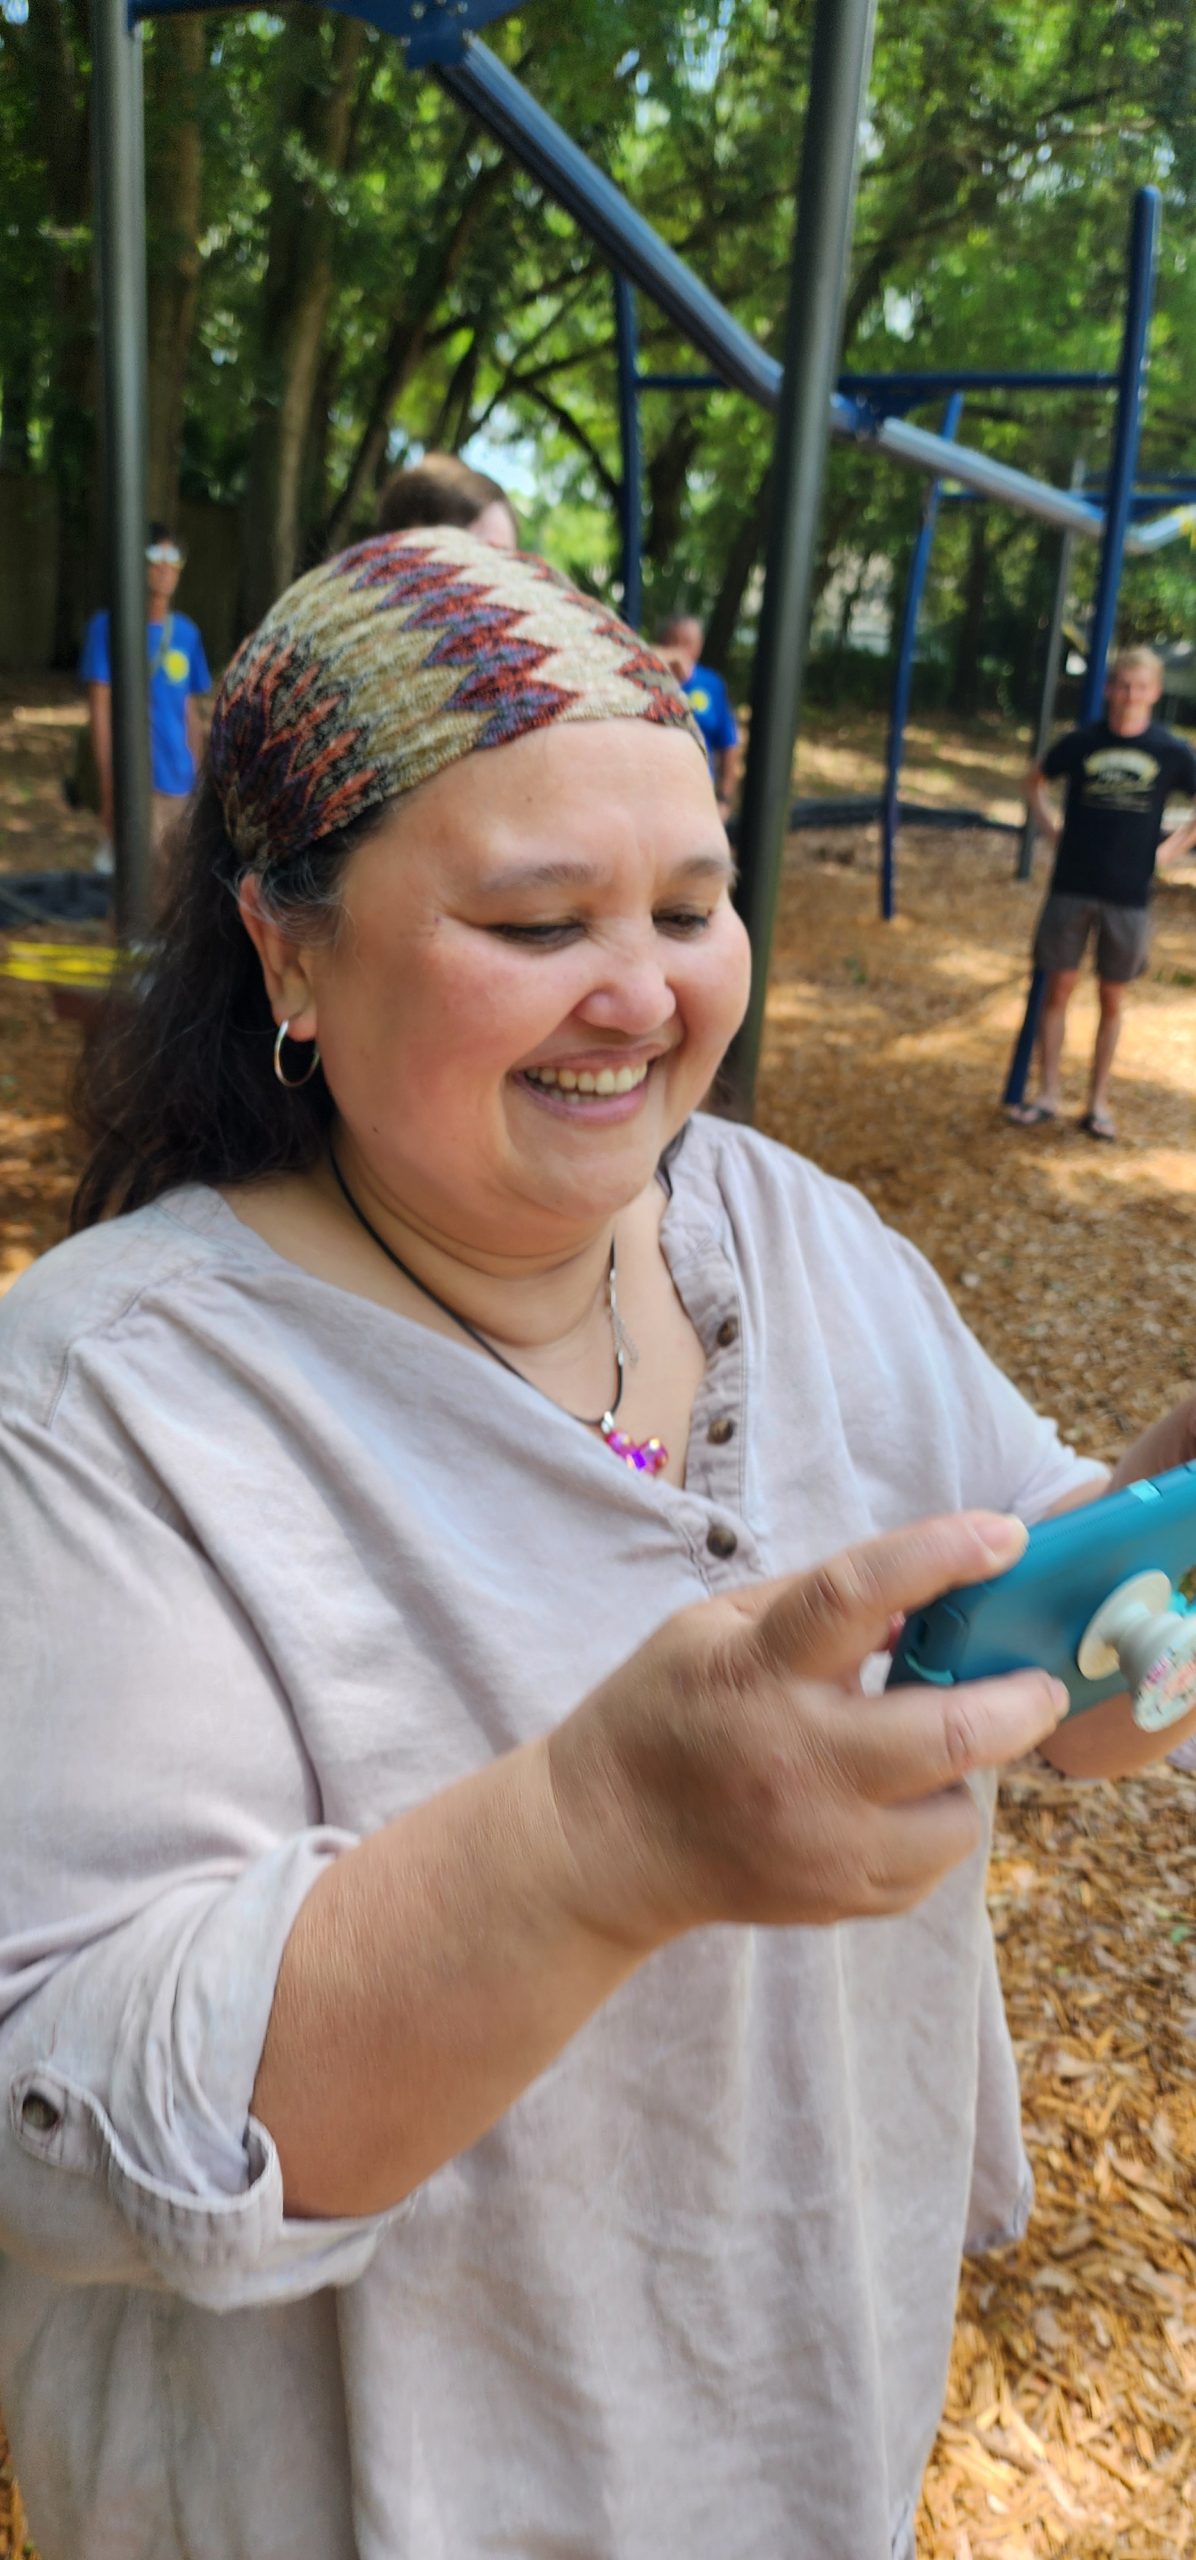
WOW! #BLEEP! What a fun hunt! Thanks to all that played and let me tell you, we had an unexpected assist from KQ4ACS adding in a point of distraction from the hunters as they got closer! LOL Not a joke! Stay tuned to our socials and website for more PARC fun!


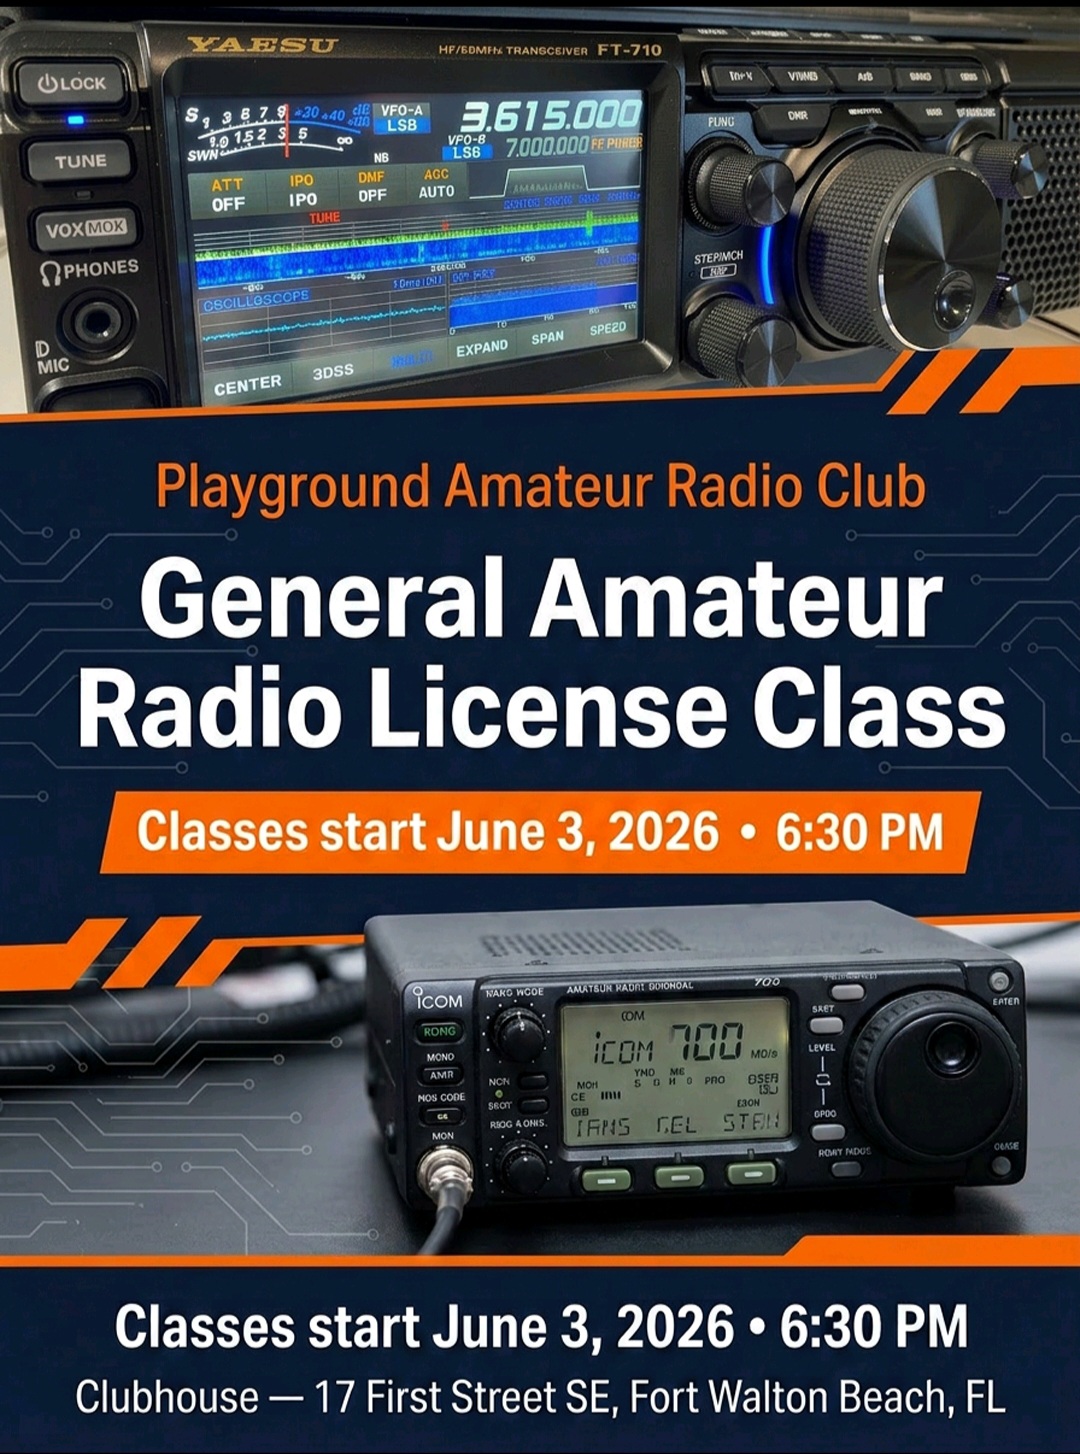
Interested in taking a FREE amateur radio license class for a general class operators license? Of course you are! Sign up at PARCFWB@GMAIL.COM
Classes start 3 June 2026 630 pm CDT at 17 First St SE Fort Walton Beach Florida.
Class Details
Cost: Free
Start Date: June 3, 2026
Time: 6:30 PM CDT
Location: 17 First St SE, Fort Walton Beach, FL
How to Register: Email PARCFWB@GMAIL.COM
Tip: If you are planning to attend, it’s usually a good idea to grab the current ARRL General Class License Manual ahead of time so you can follow along with the weekly chapters!
Best of luck to everyone taking the class and getting ready to upgrade!
The Playground Amateur Radio Club Fort Walton Beach Florida has come a long way in just a few short years! We have expanded Amateur Radio capabilities, functions, events, community participation, engaged with new partnerships, and assisted those with interest in the communications hobby with technical expertise and advice while volunteering a hands-on on approach!
Keep this news post bookmarked as a wonderful worldwide capability is soon to be announced!
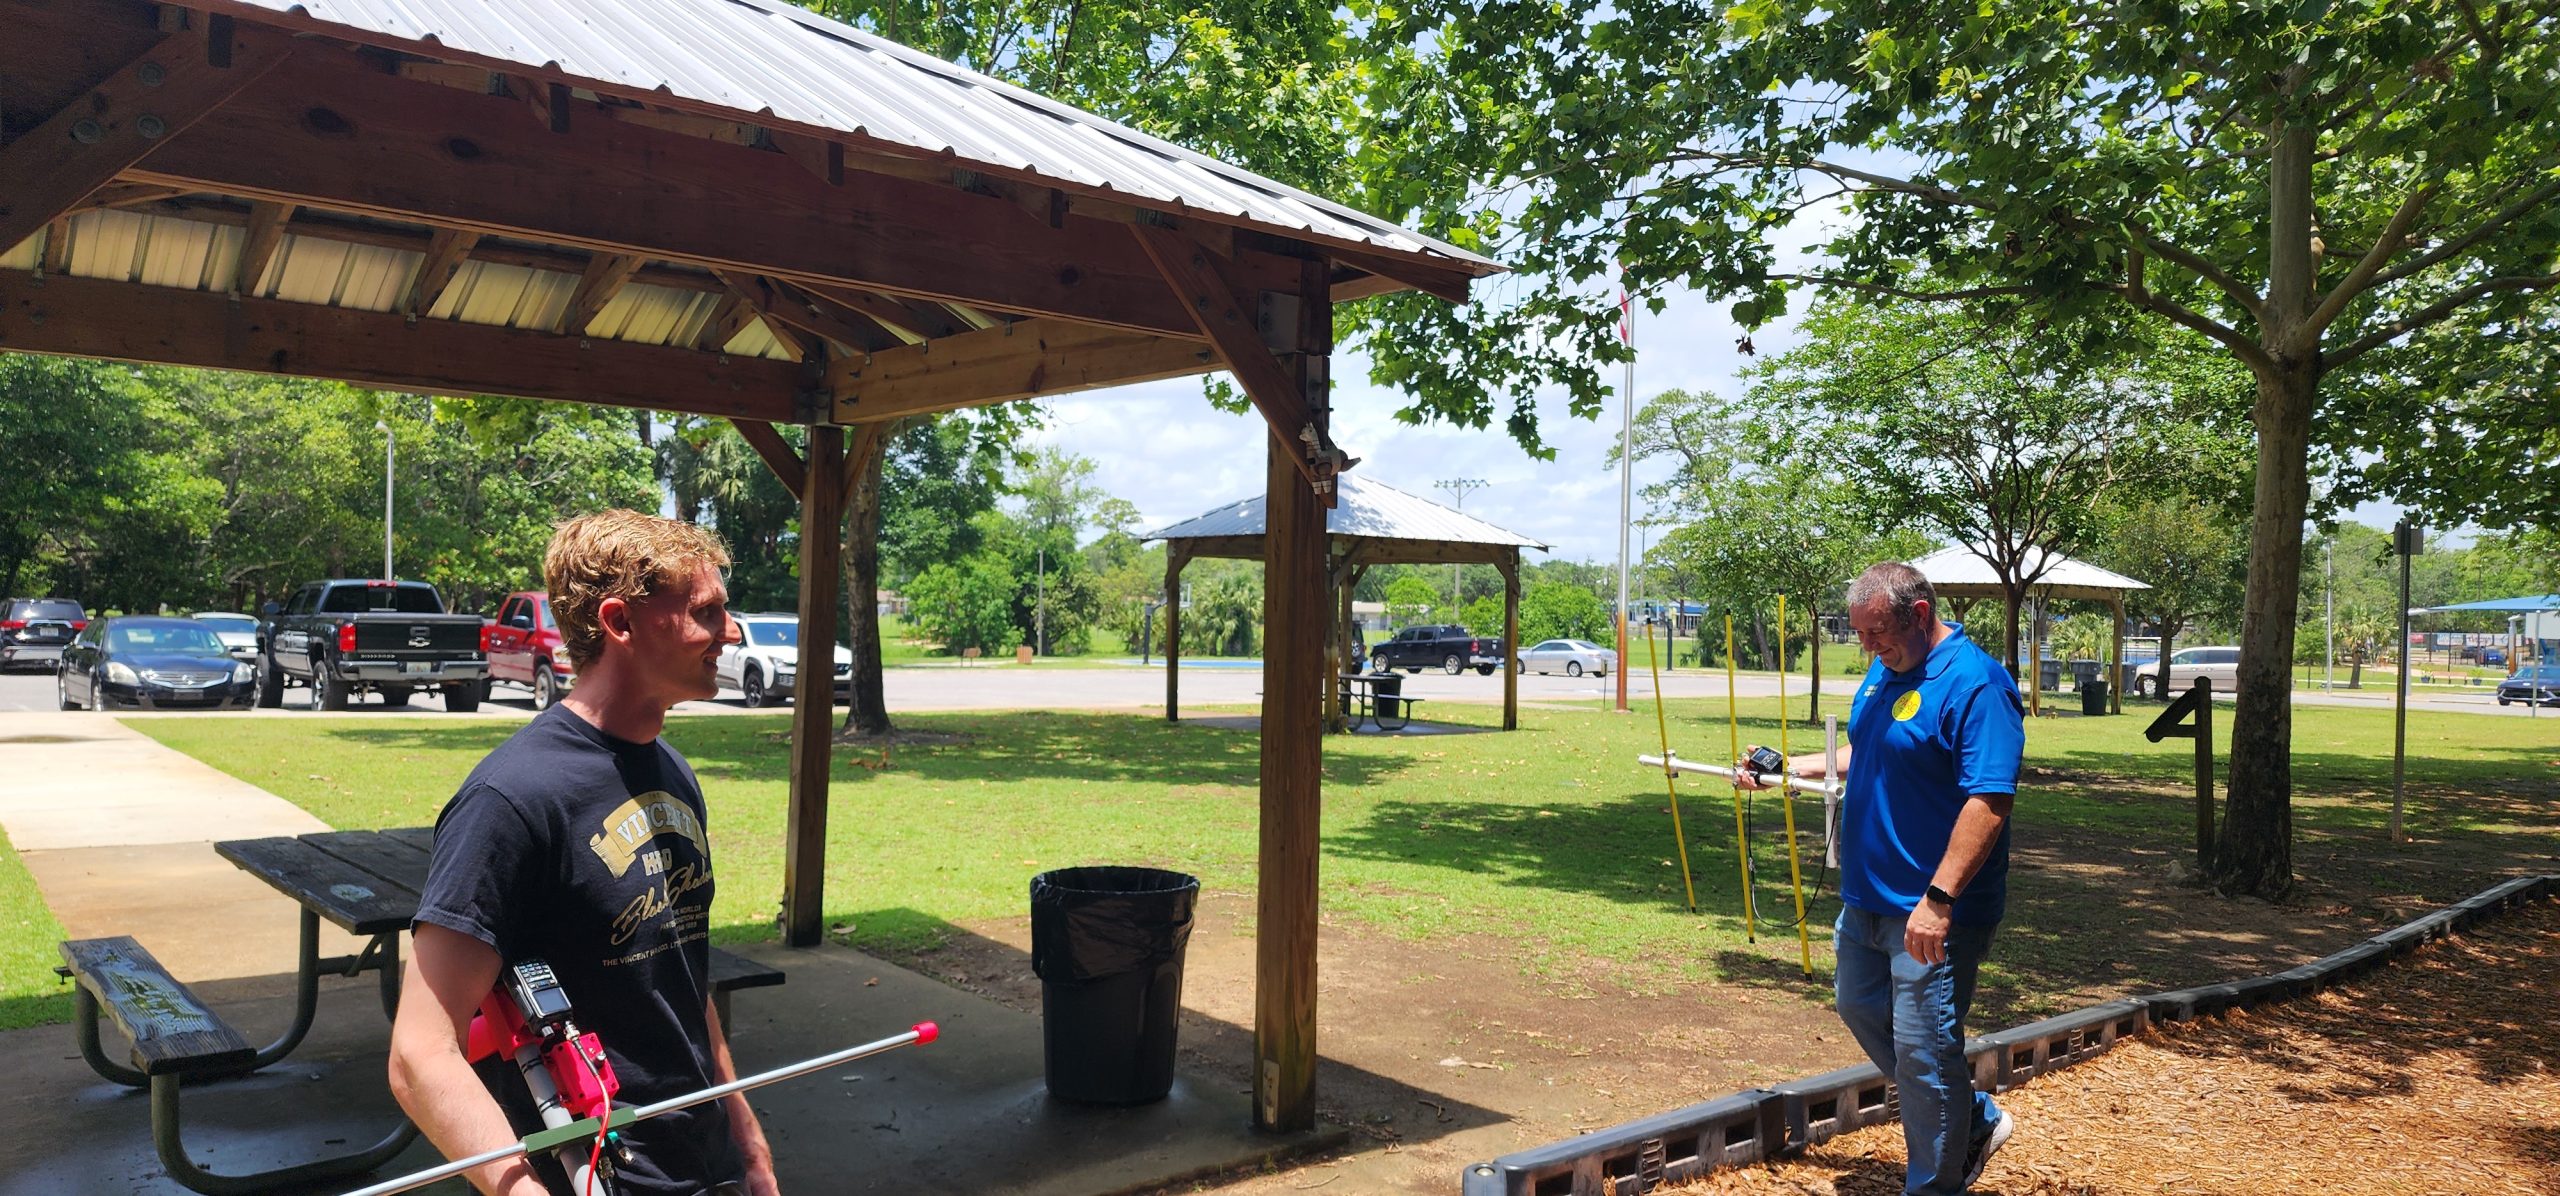
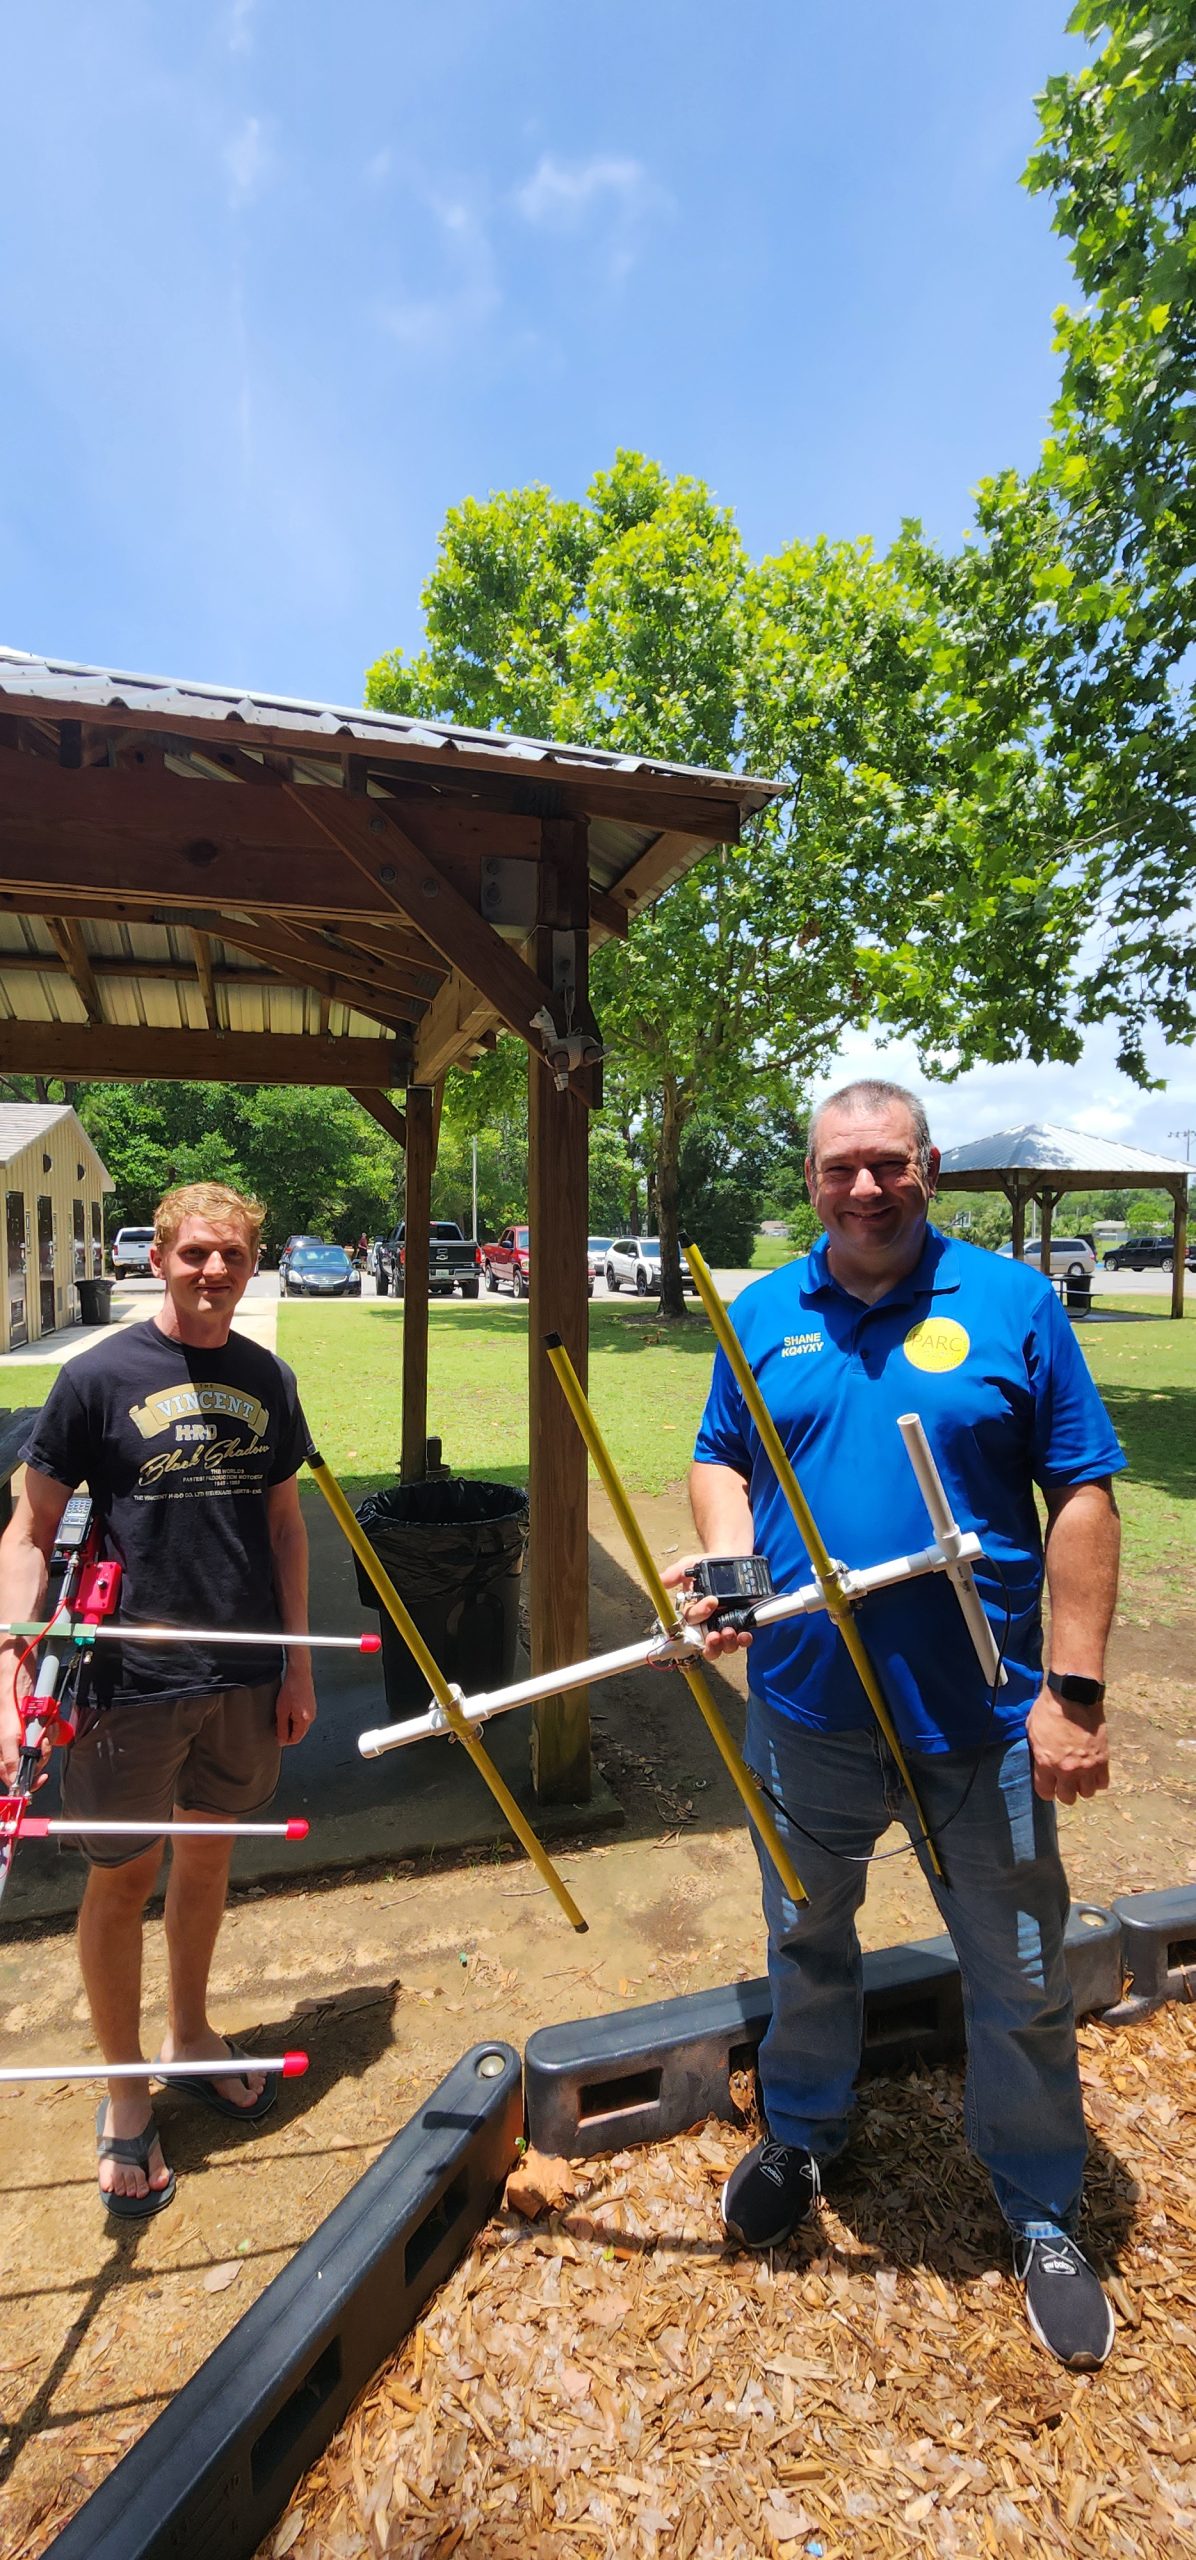
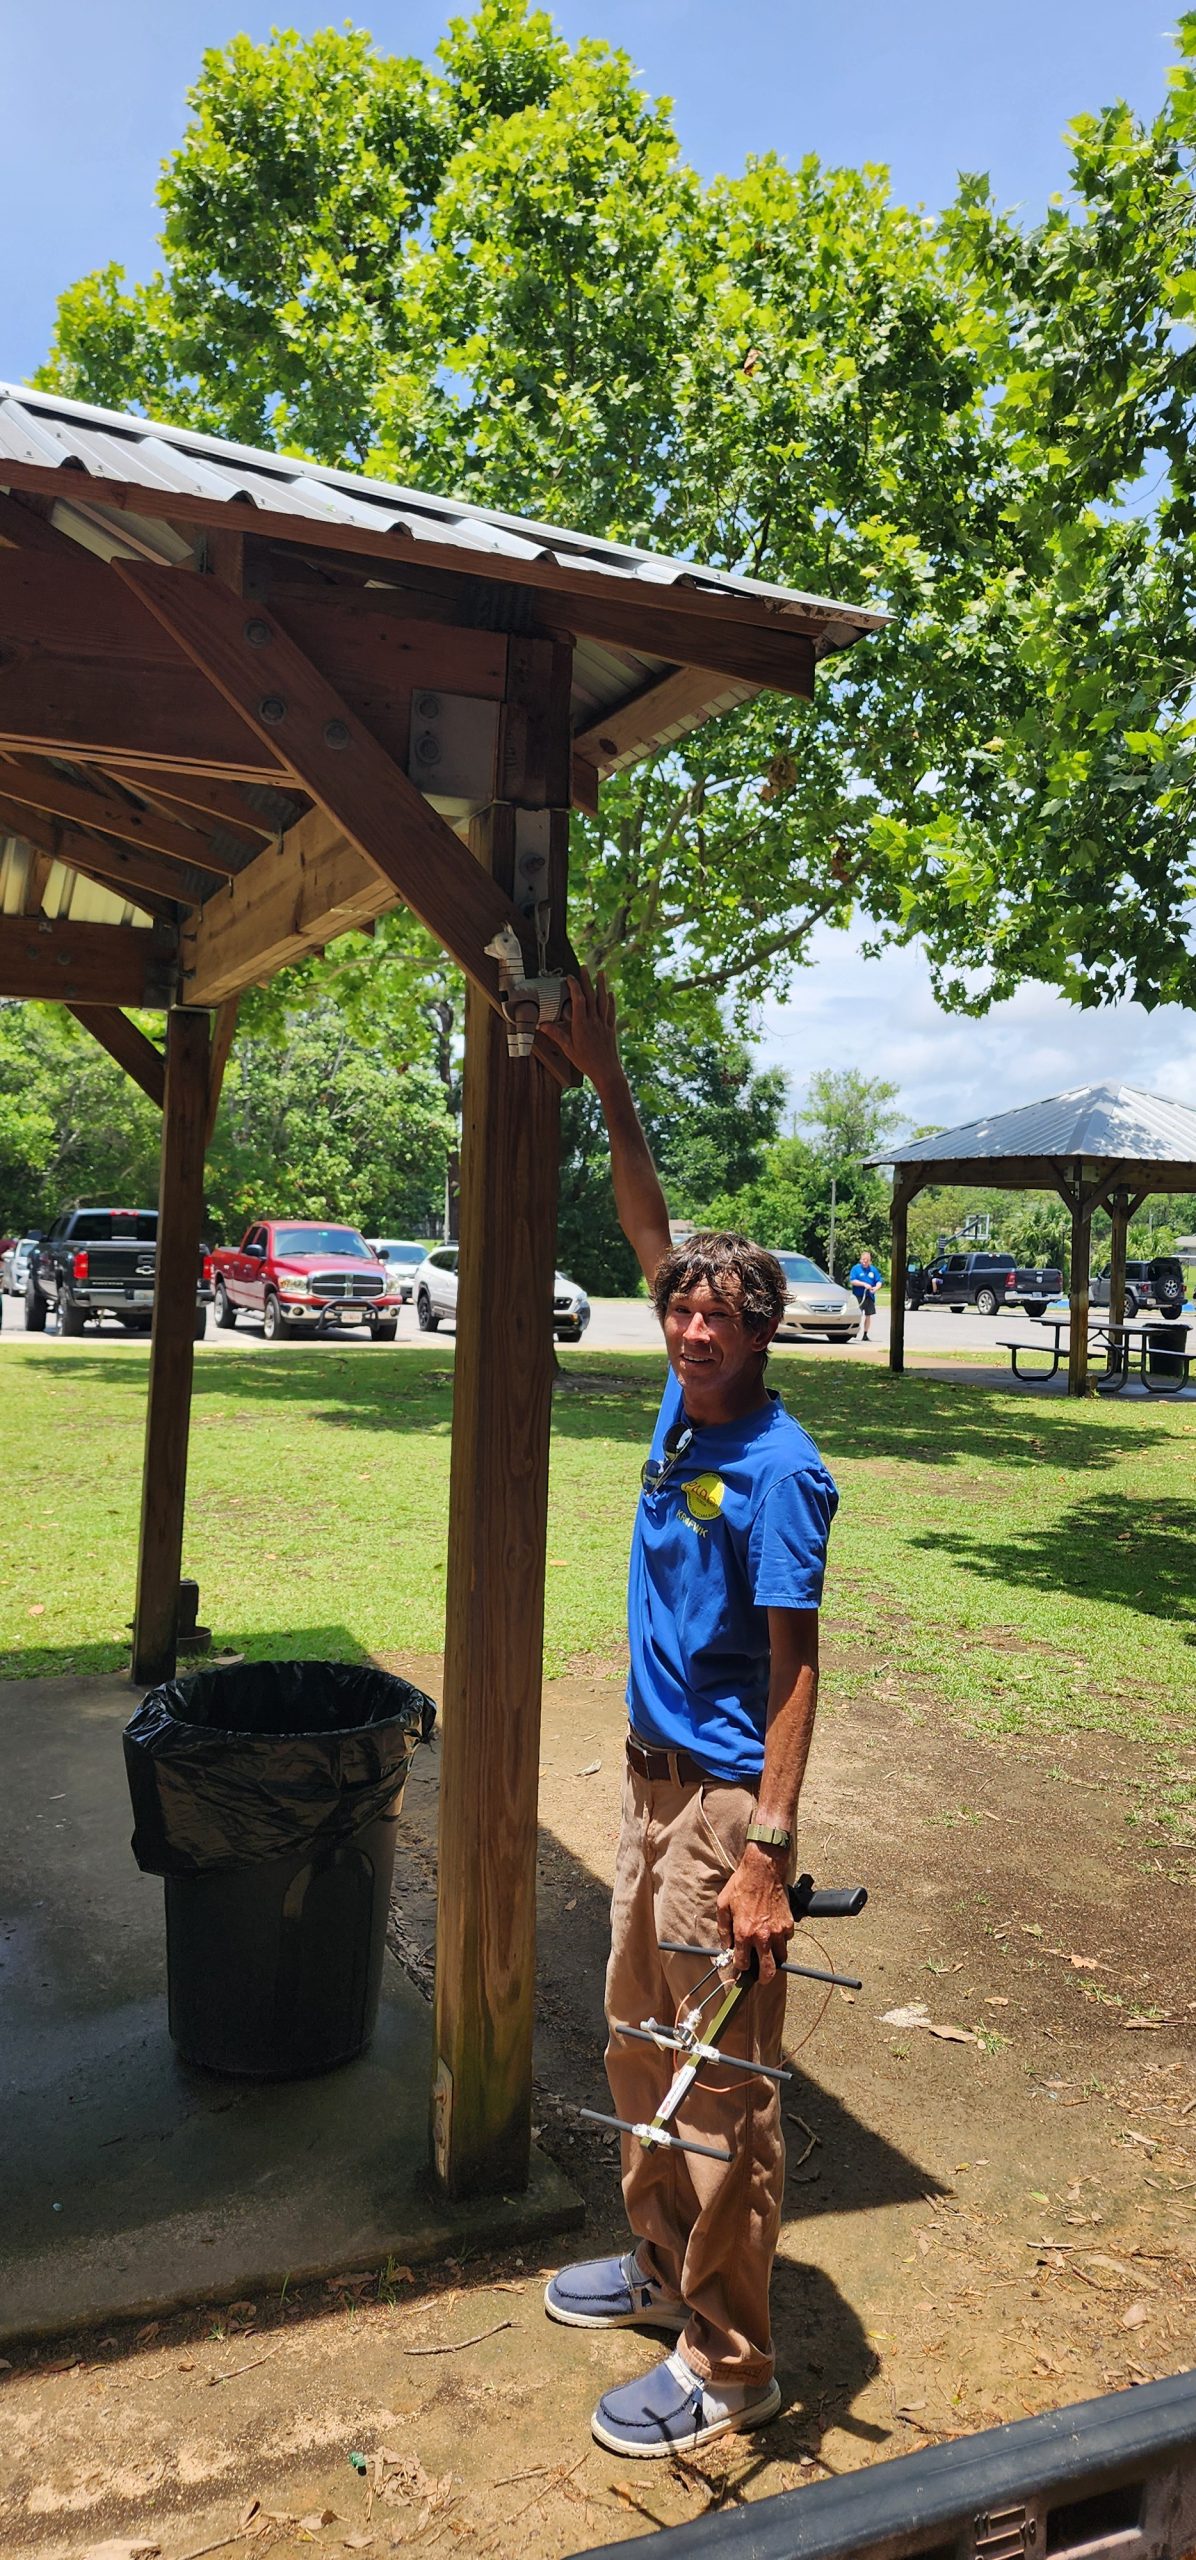
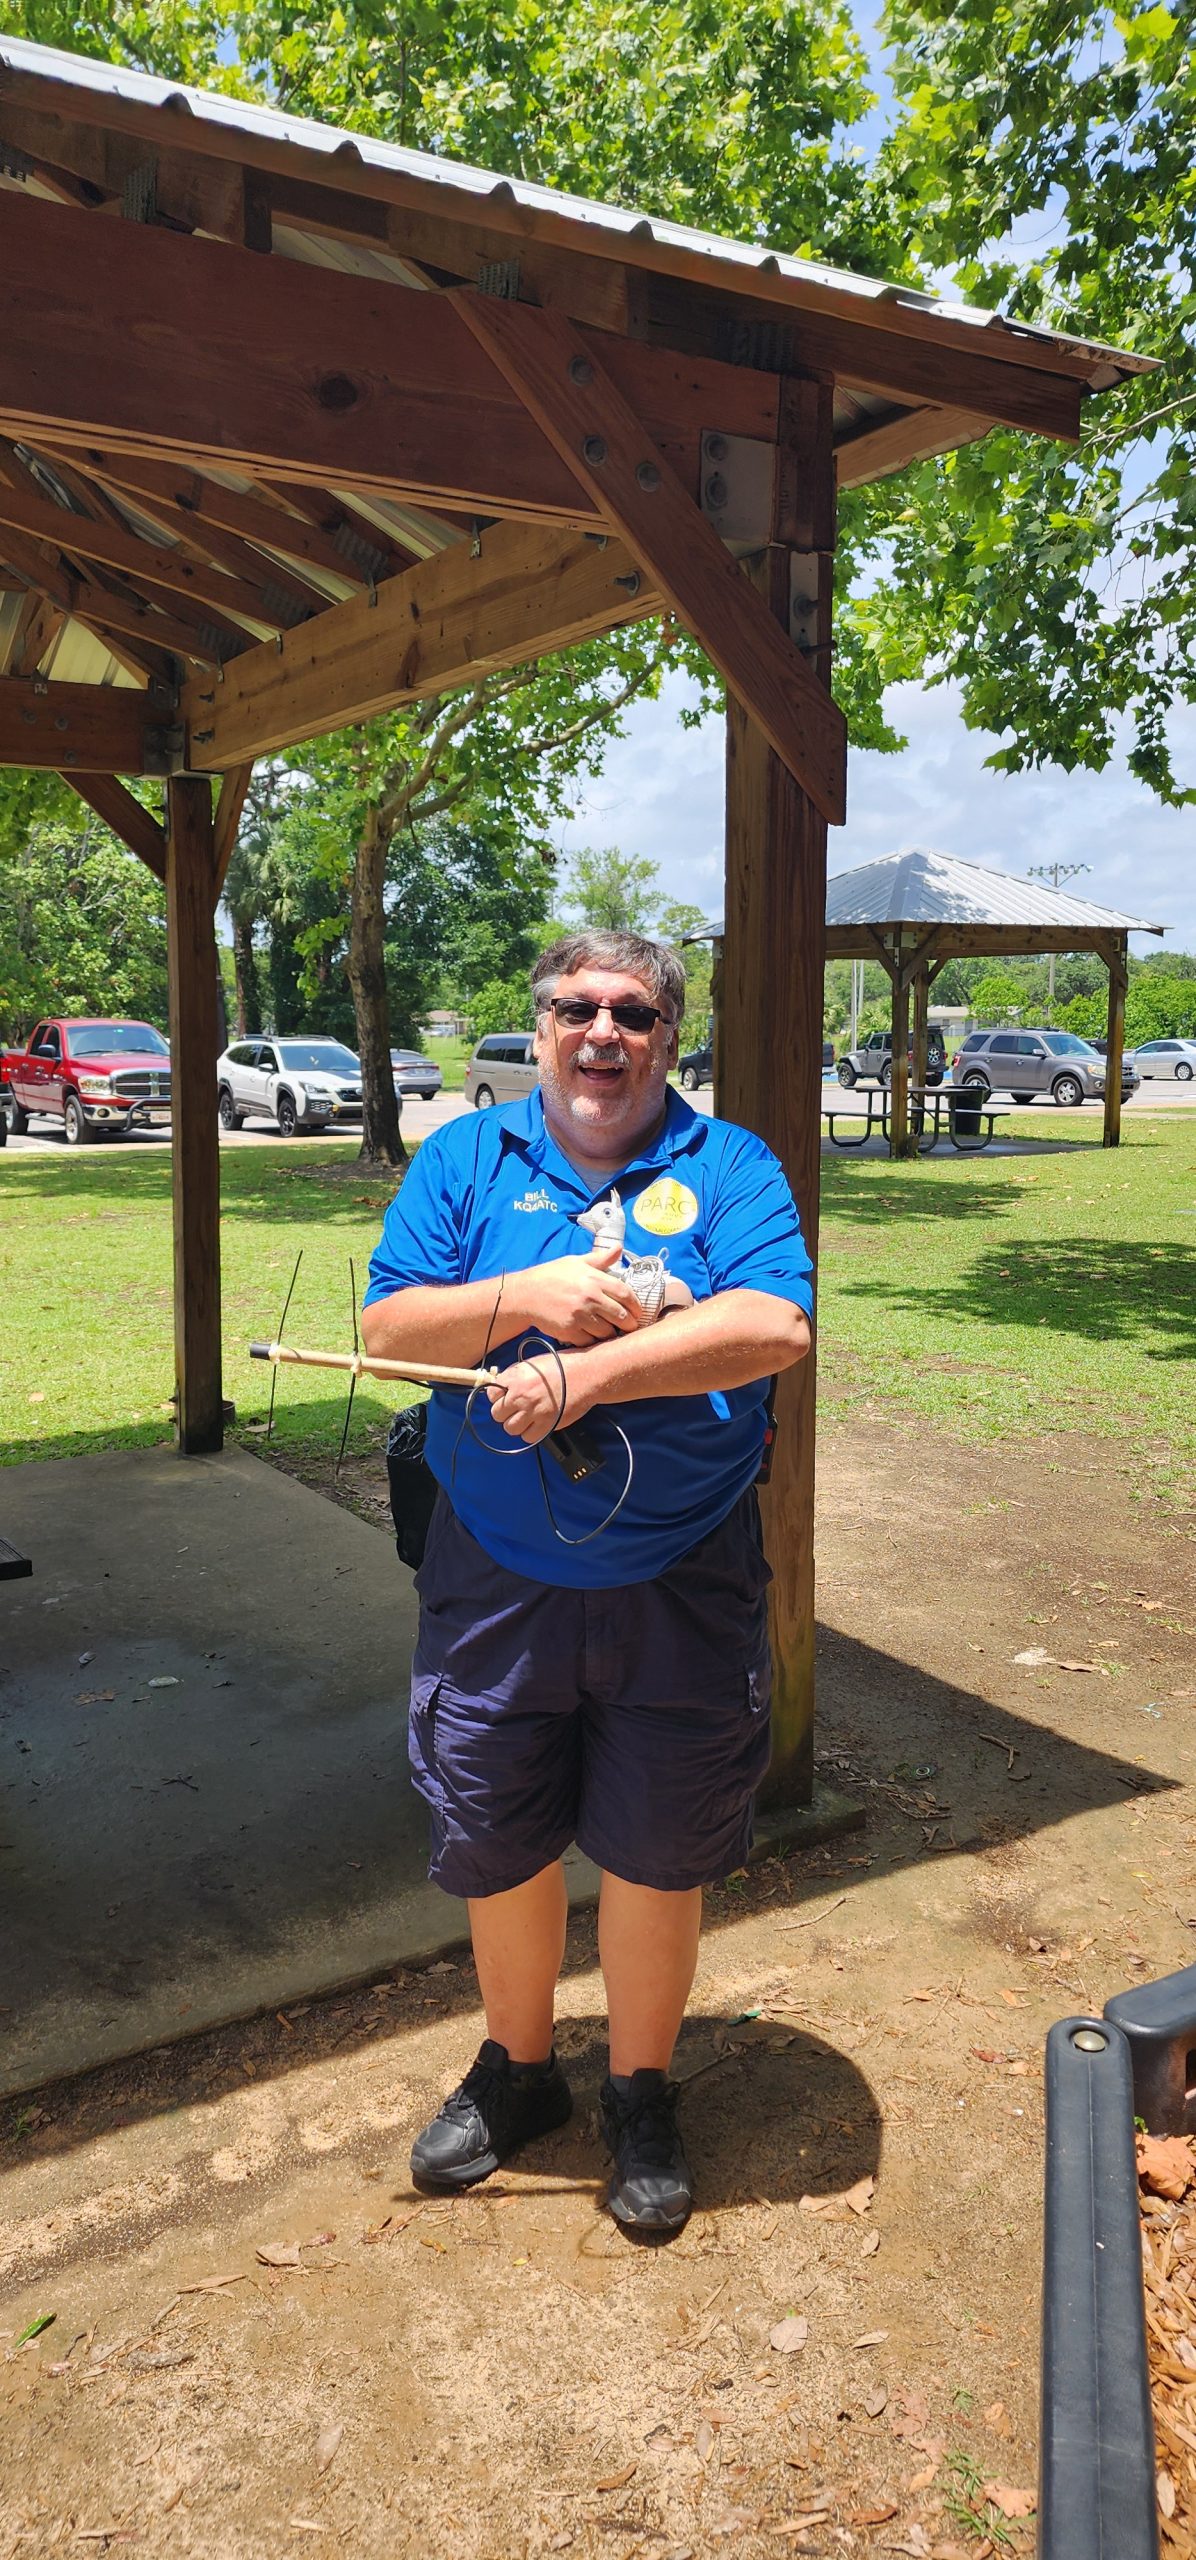
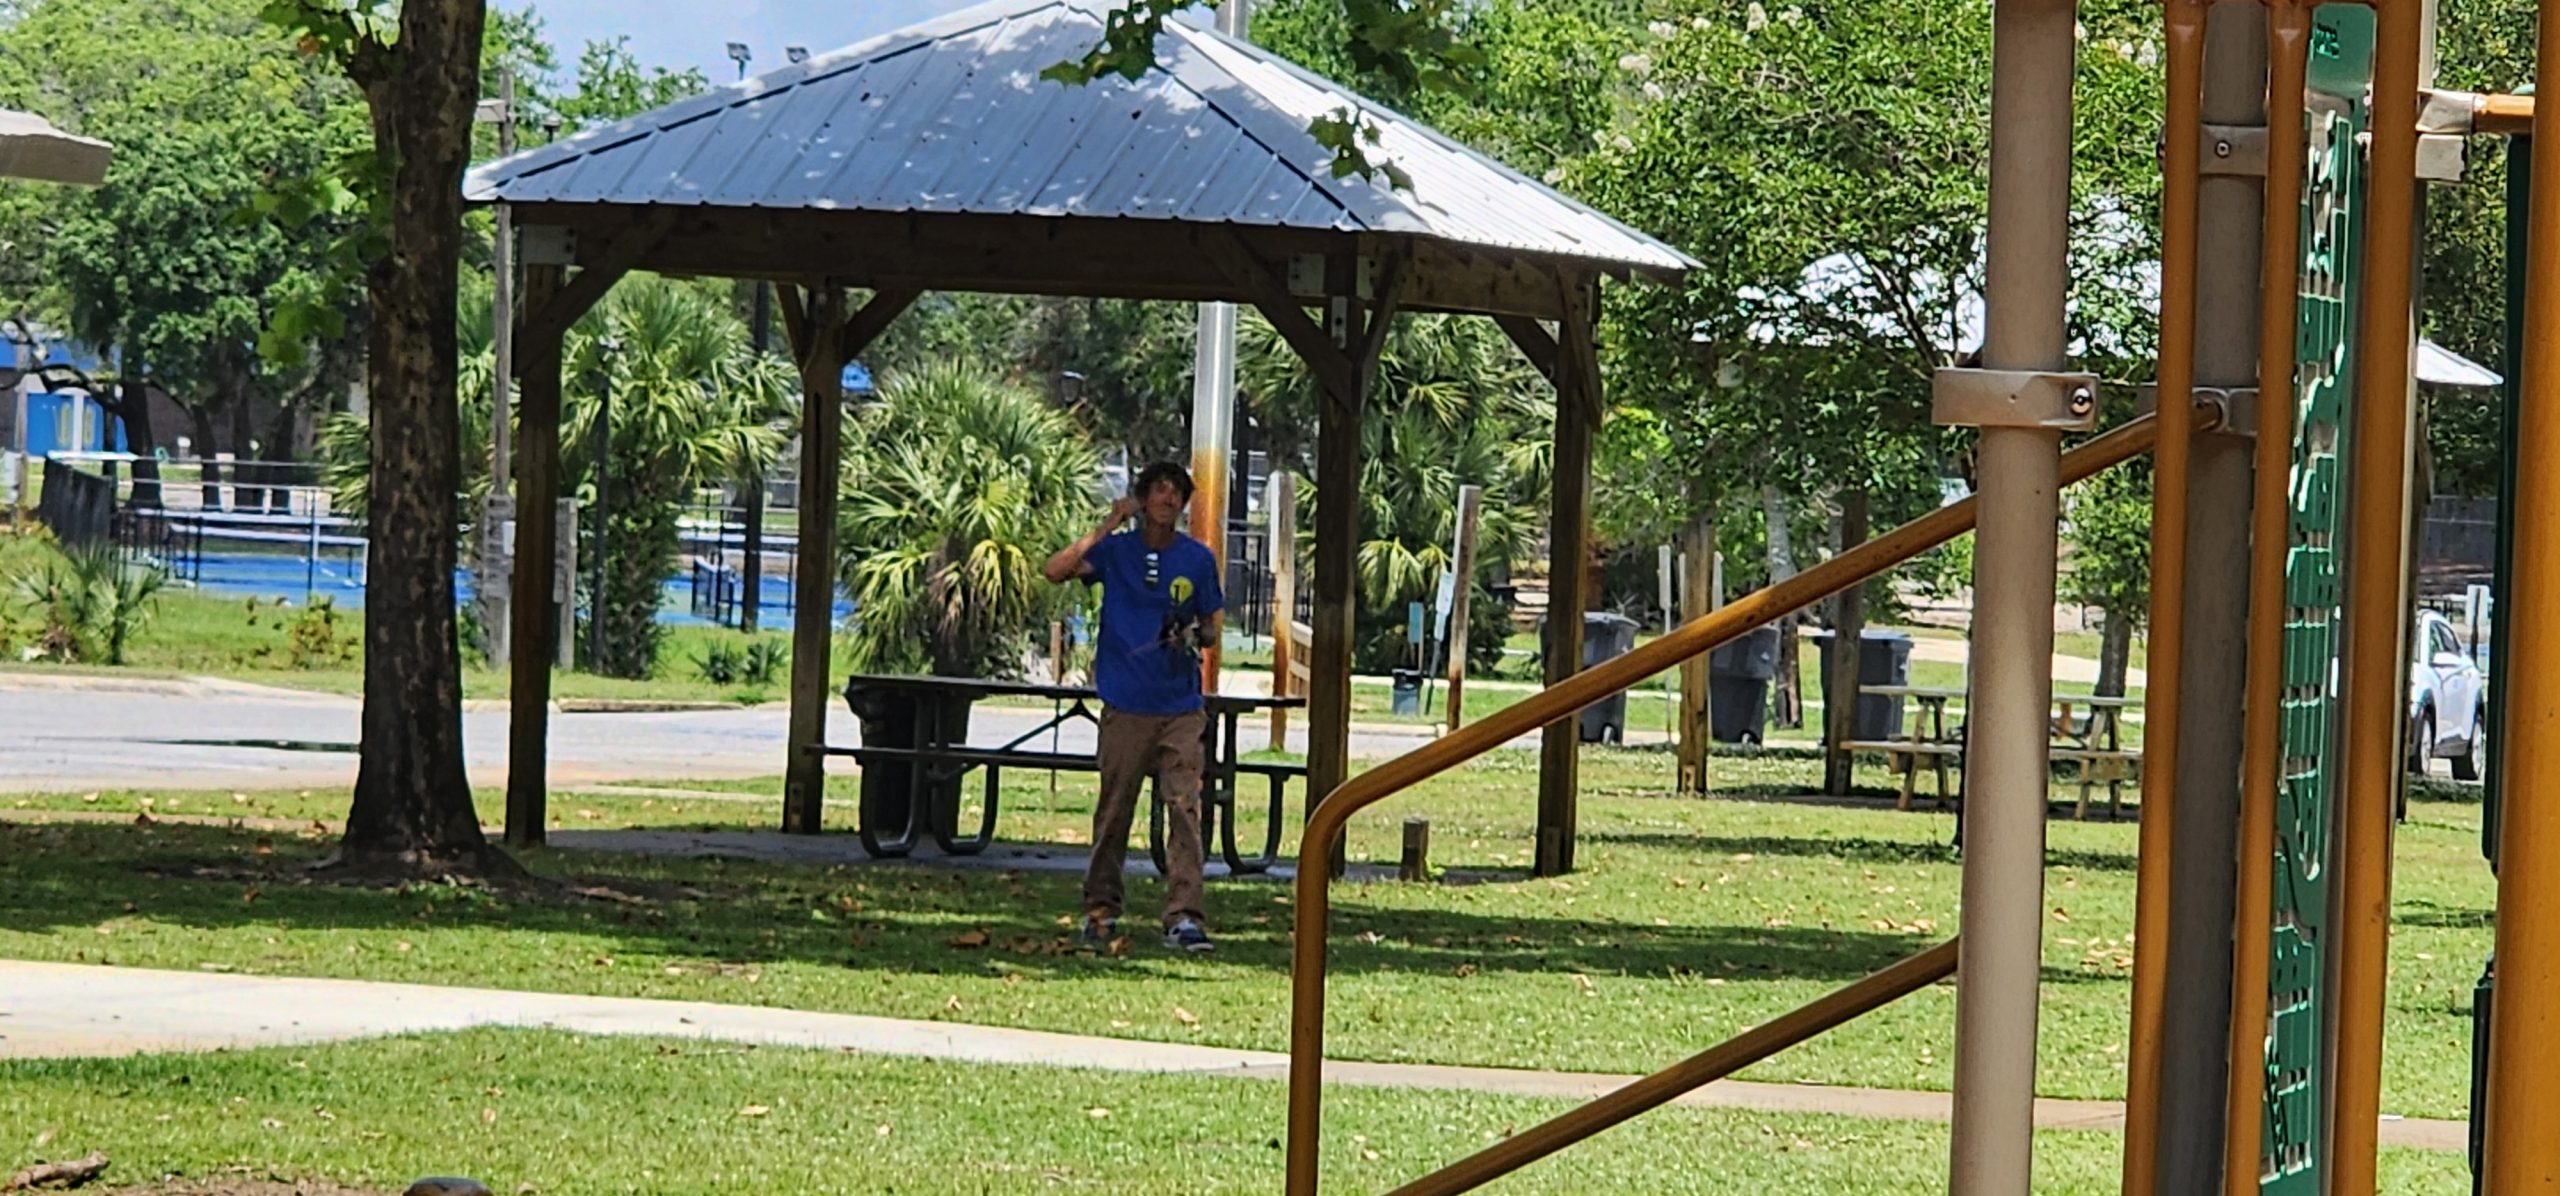
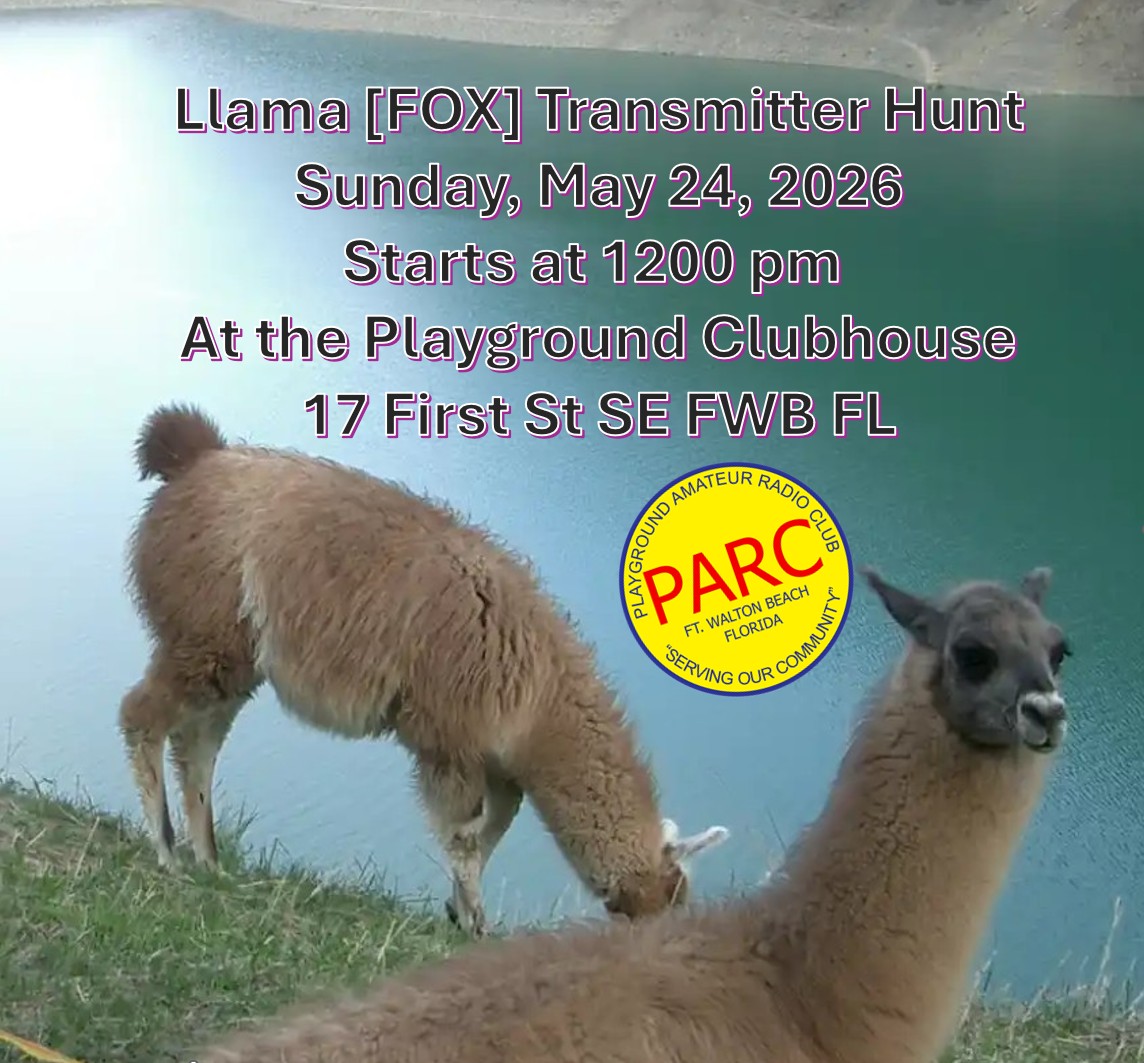
Ever played a high-tech game of hide-and-seek? Known as “T-hunting” or “bunny hunting,” a Fox Hunt involves tracking down a hidden, battery-powered radio transmitter using directional antennas and portable radios. While it’s a favorite hobby for amateur radio enthusiasts, it also builds critical skills for search and rescue and locating signal interference. The Playground Team is inviting you to a Llama Hunt!
You might be wondering: Why the Llama? It started as an “in the moment” joke at a local ham event when someone lost a llama keychain. In true ham fashion, everyone jumped in to help “rescue” the lost llama, and the tradition stuck! Today, our 3D printing team keeps the legend alive with custom llamas to remind us all to take a break, share a laugh, and stay kind.
Ready to join the hunt? The Playground Amateur Radio Club invites you to grab your gear and see if you can find the Llama [FOX] first!
24 May at 1200 pm 17 First ST SE Fort Walton Beach is the starting point! We will see you at the start and welcome you back to the Clubhouse for the results!
Powered by WordPress & Theme by Anders Norén